After watching an inspiring webinar by Julianne Kost, I was motivated to have a go at what she called 'smoke flakes'. They might look impressive and challenging, but to anyone who is familiar with Duplicate, Blending Modes, Transform, and Adjustment Layers in Photoshop, it should be relatively straightforward.
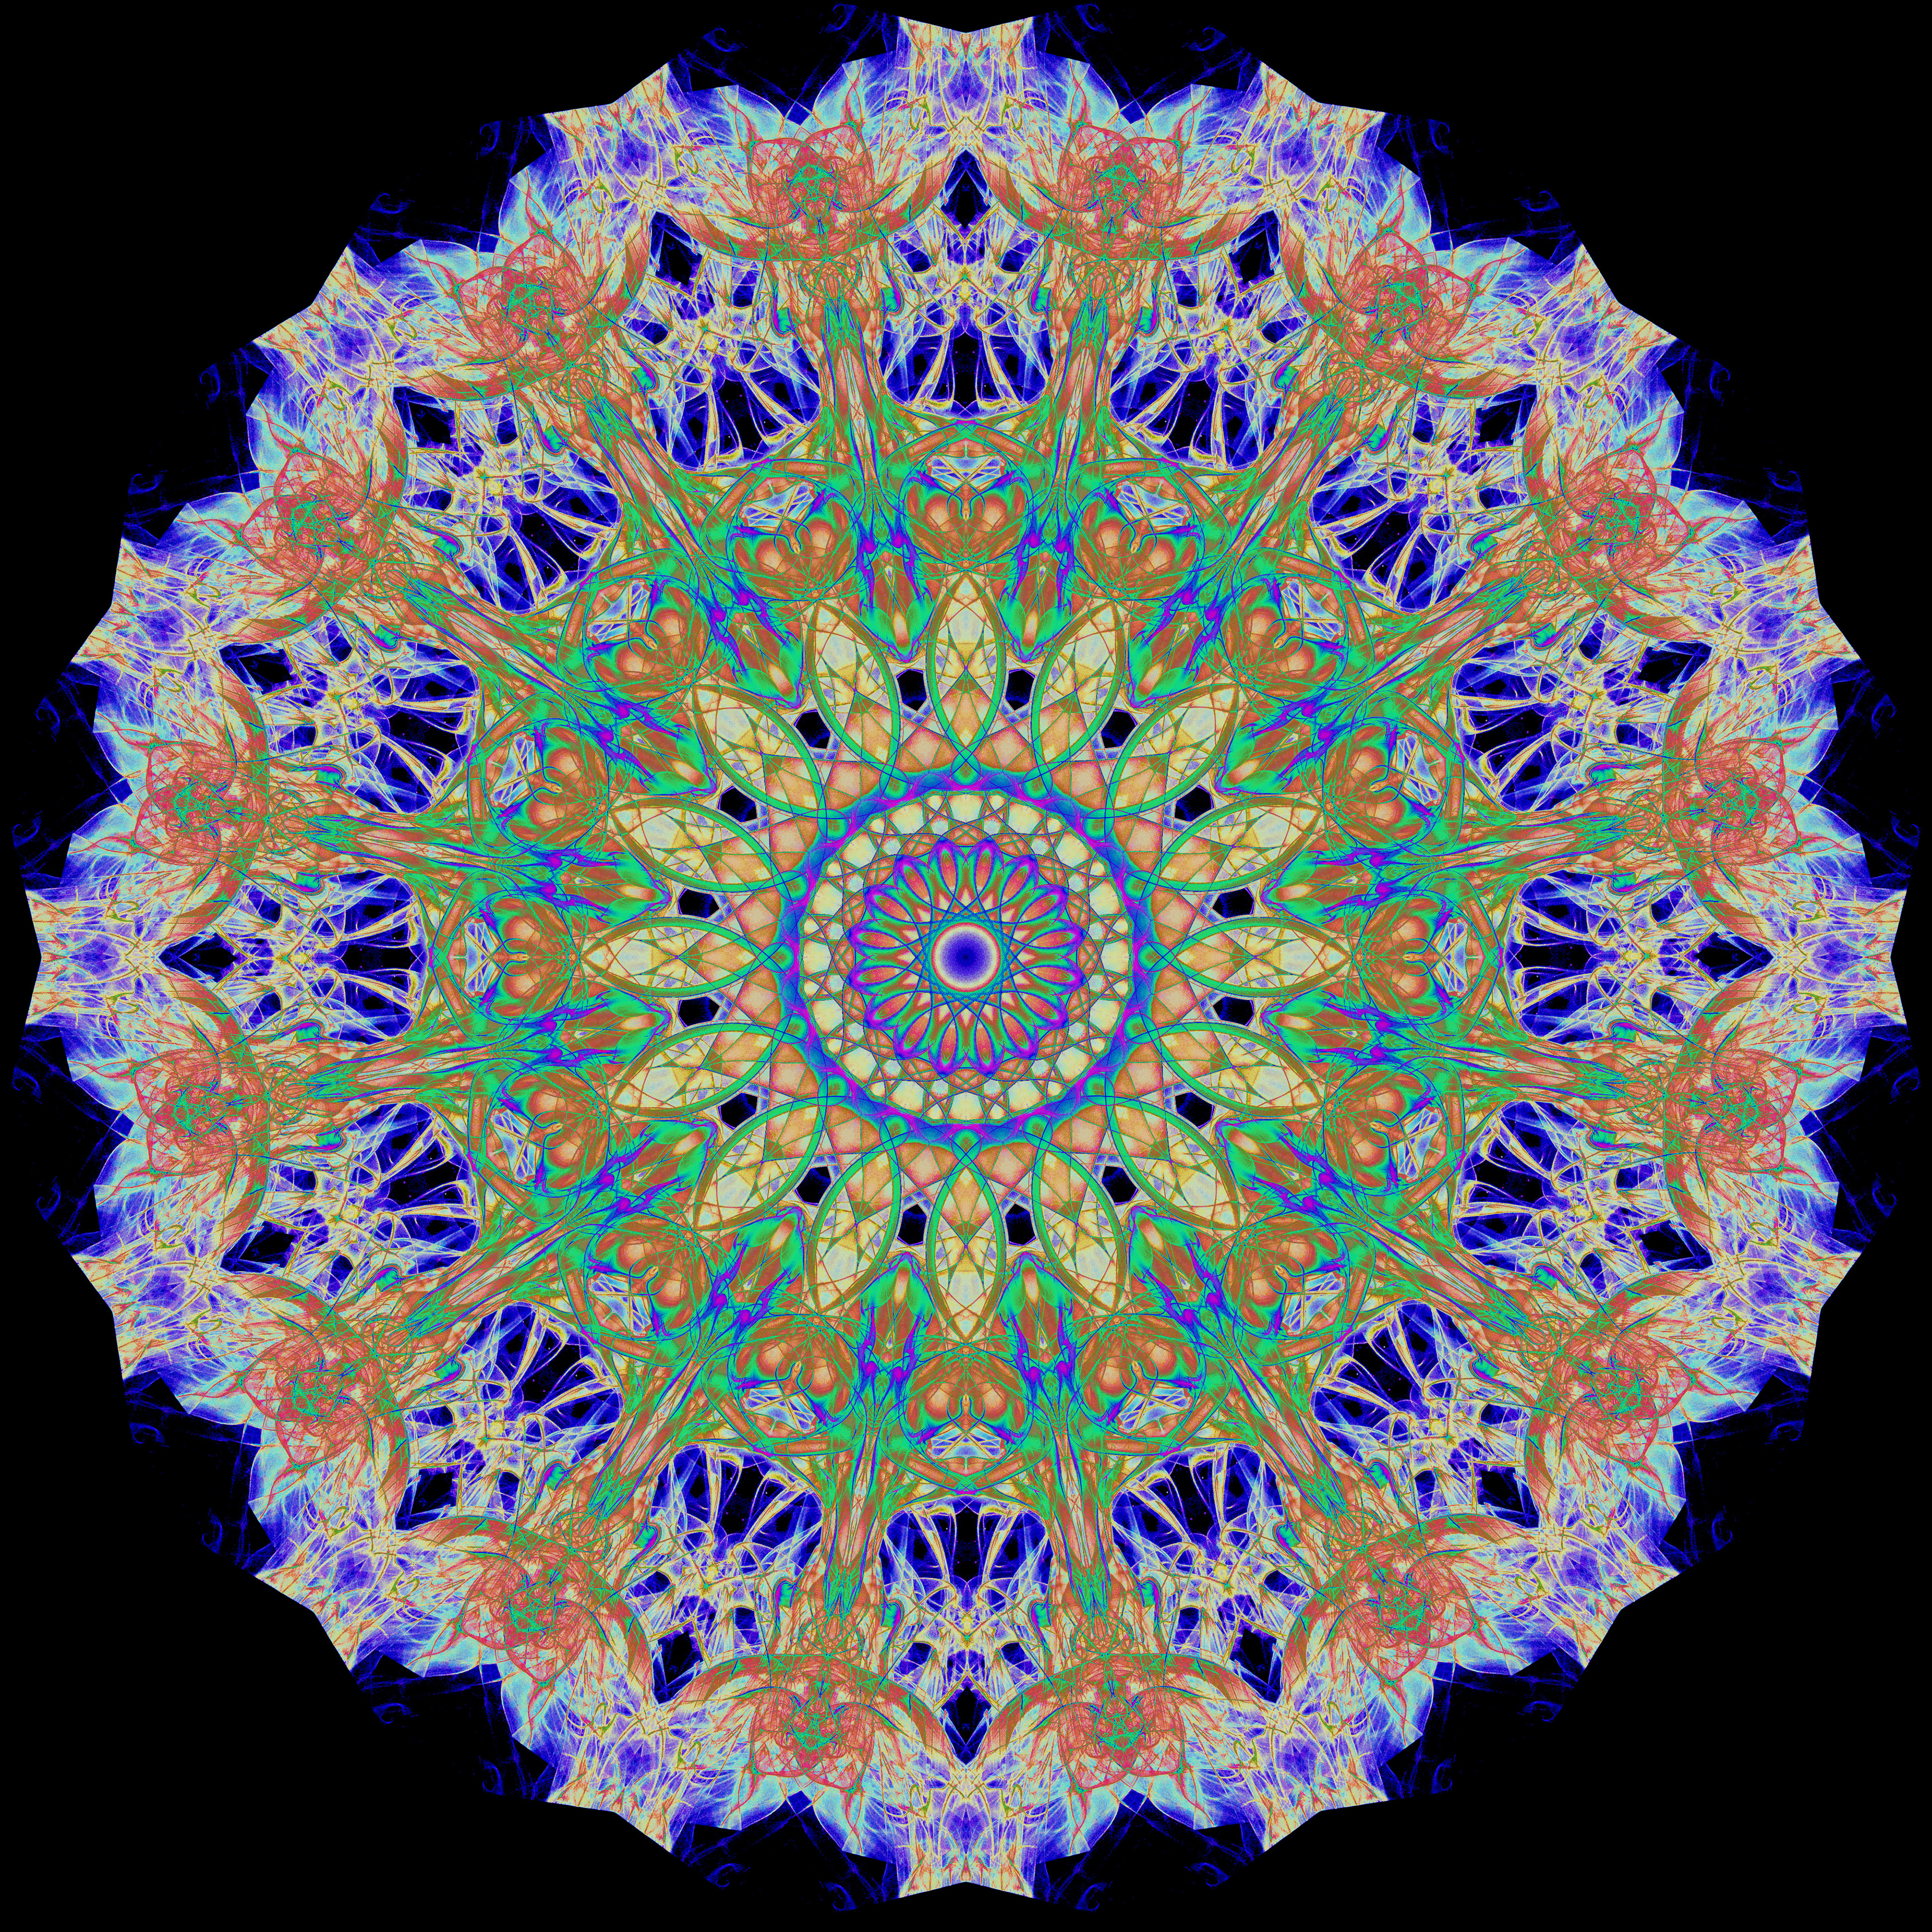
Here I will show you step by step how I achieved this image.
Here I will show you step by step how I achieved this image.
You can see more of my smoke flakes here.

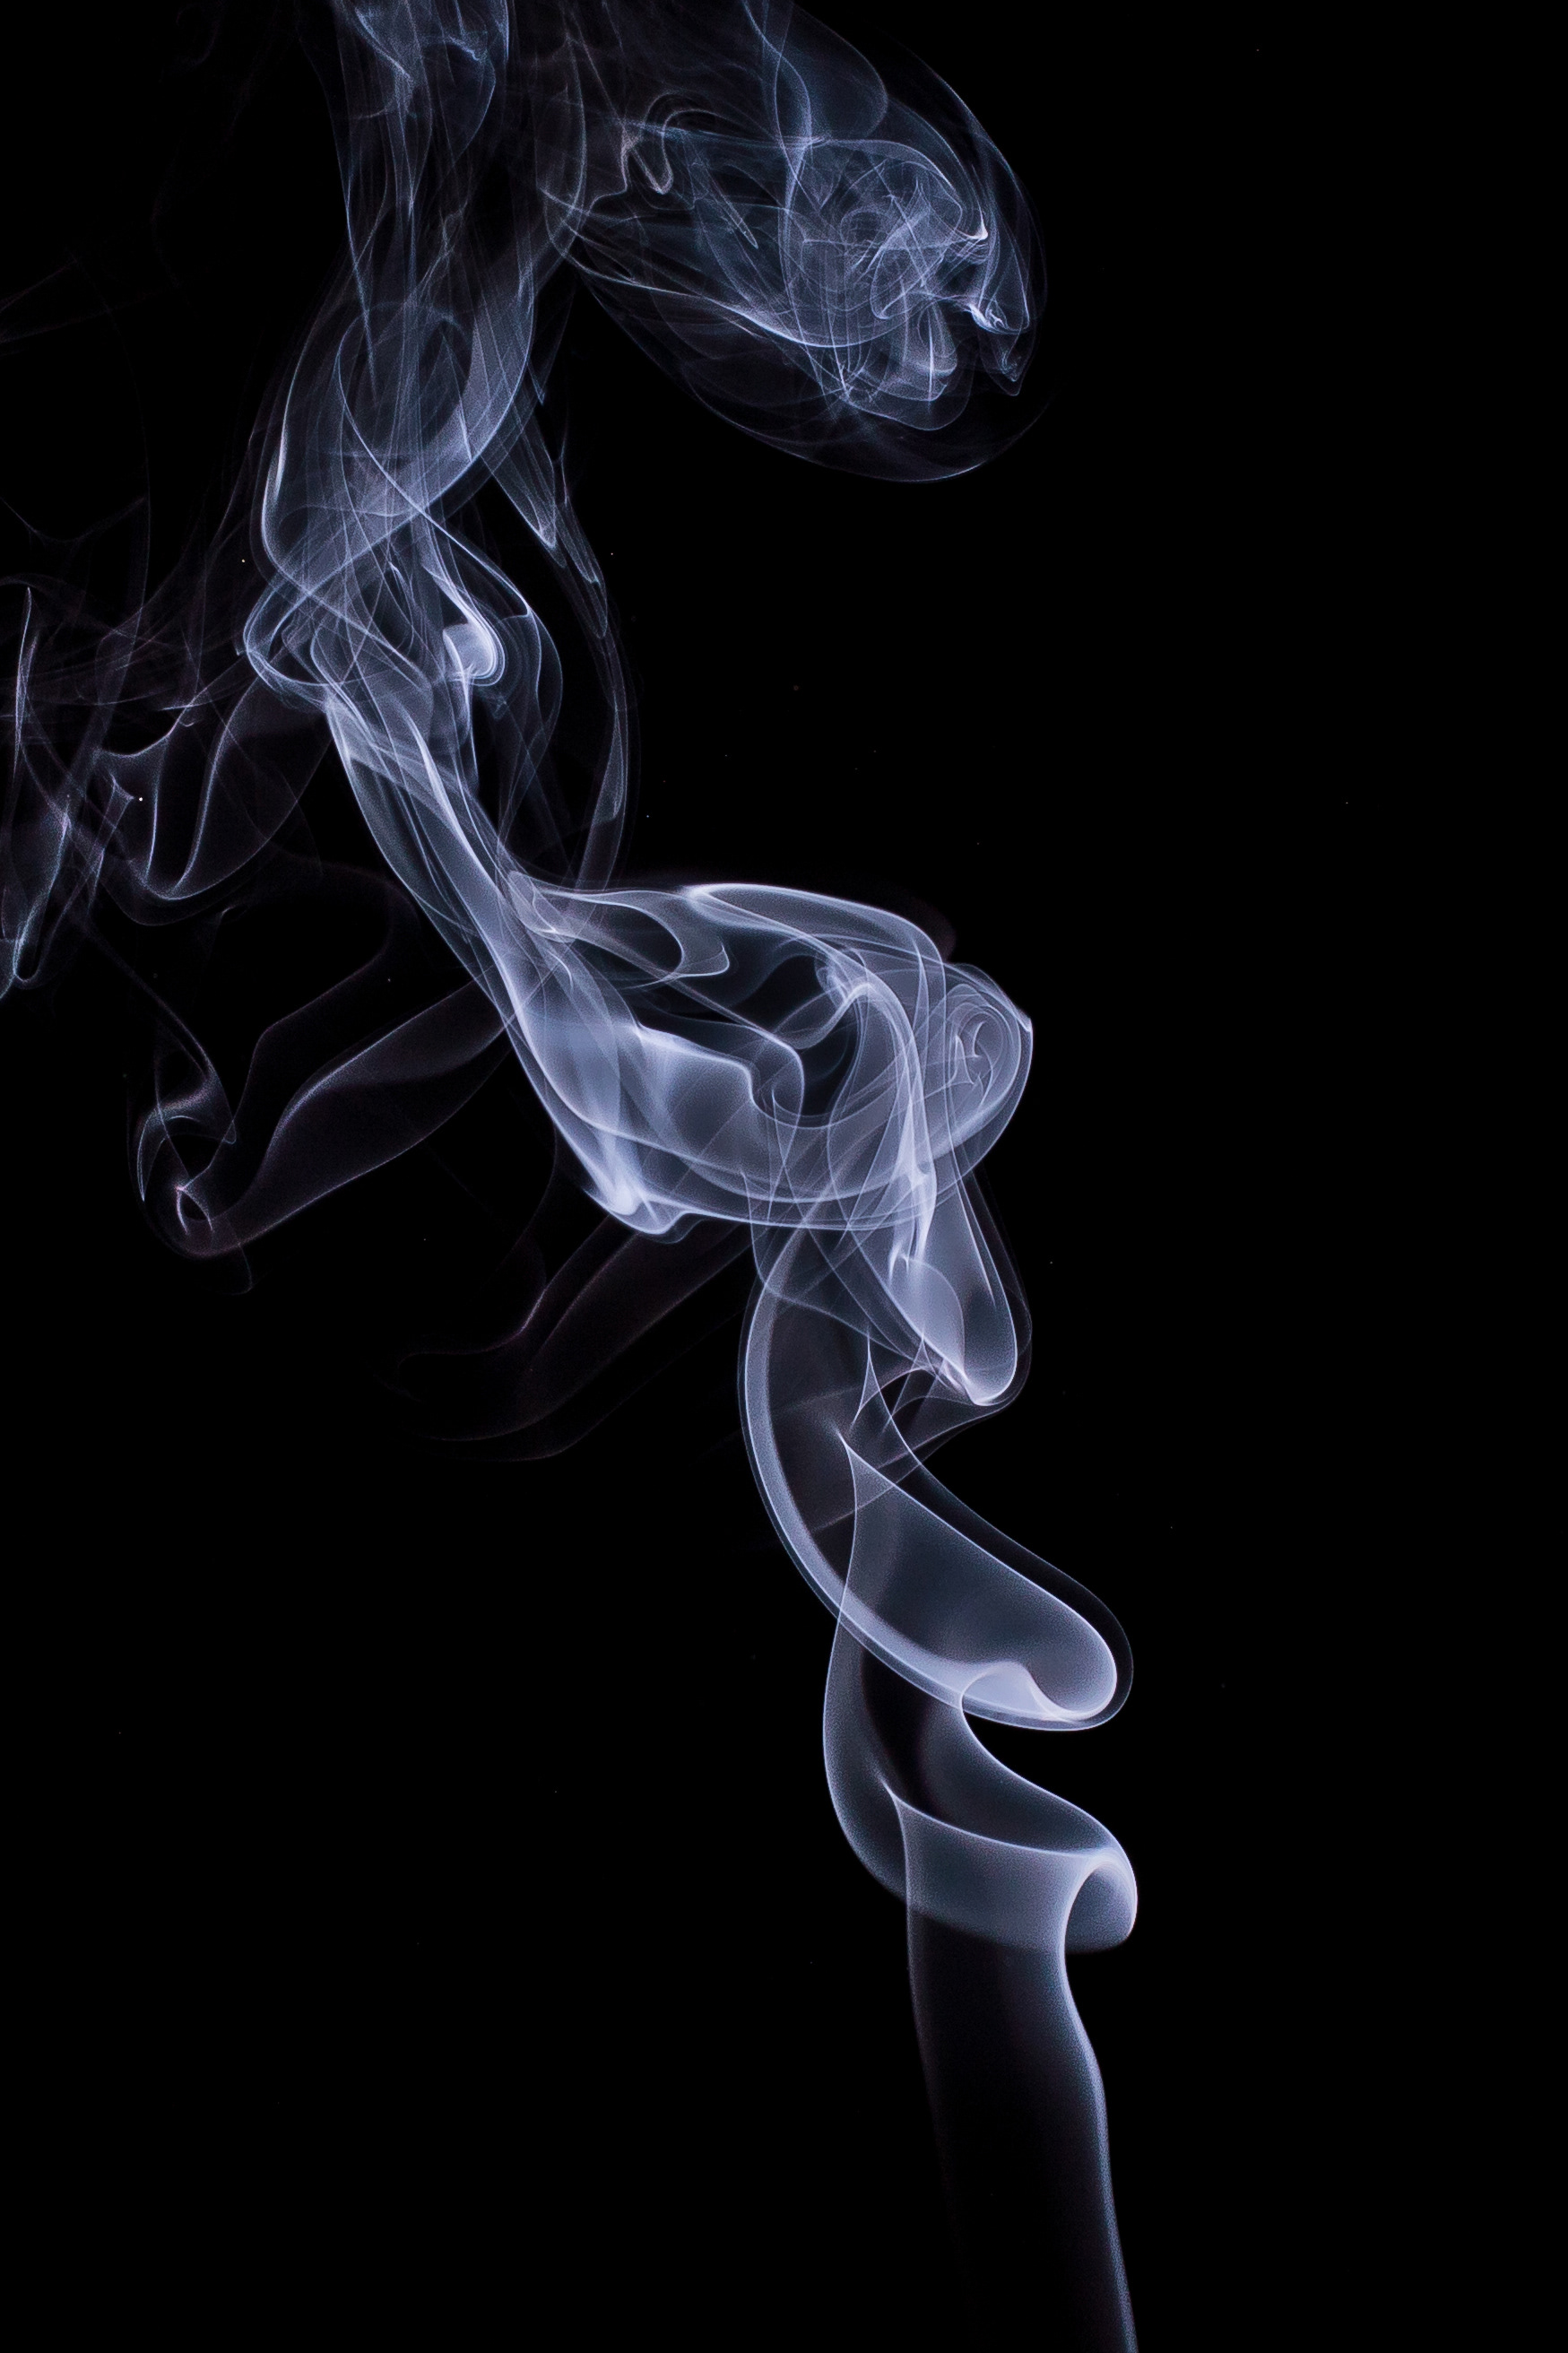
I started with creating a blank black canvas, 6000x4000 pixels. I then opened up an image I took some five years ago of smoke rising from an incense stick against a black background.
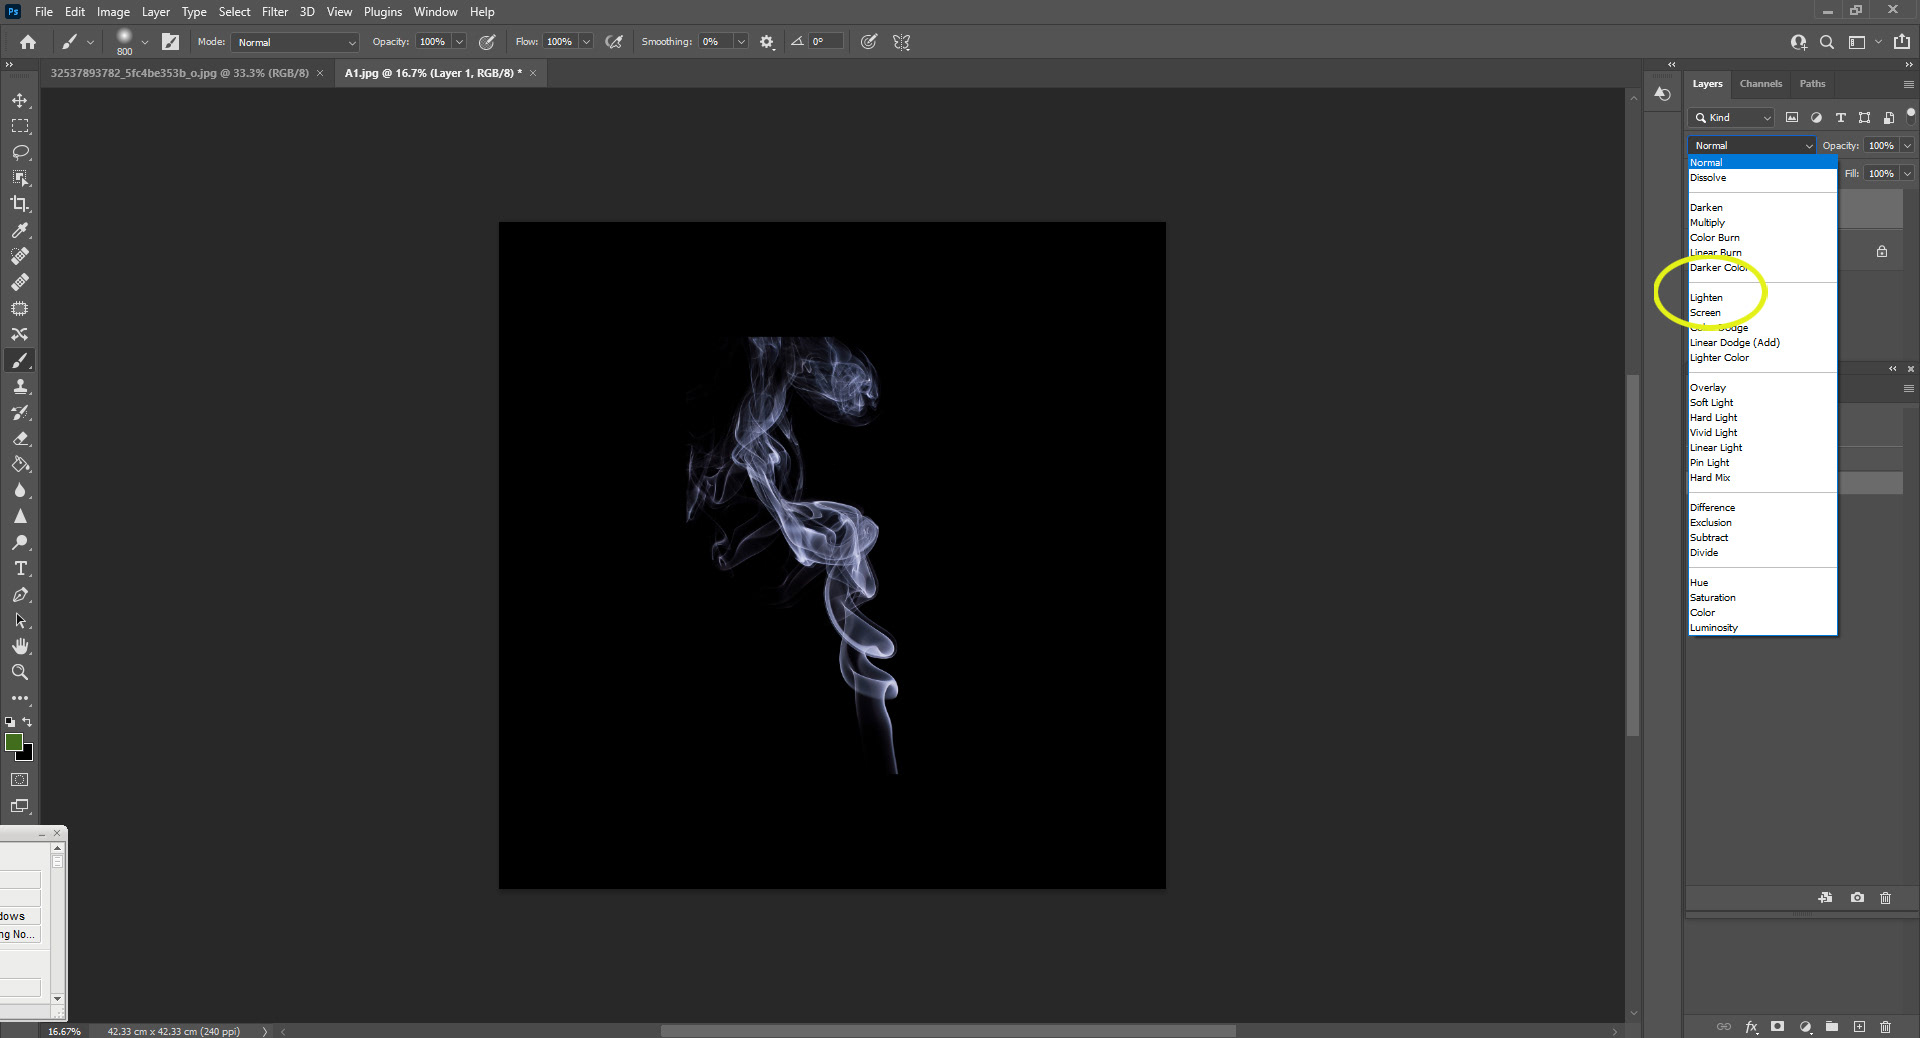
This image was then pasted onto the black canvas, with the blending mode changed to Lighten.
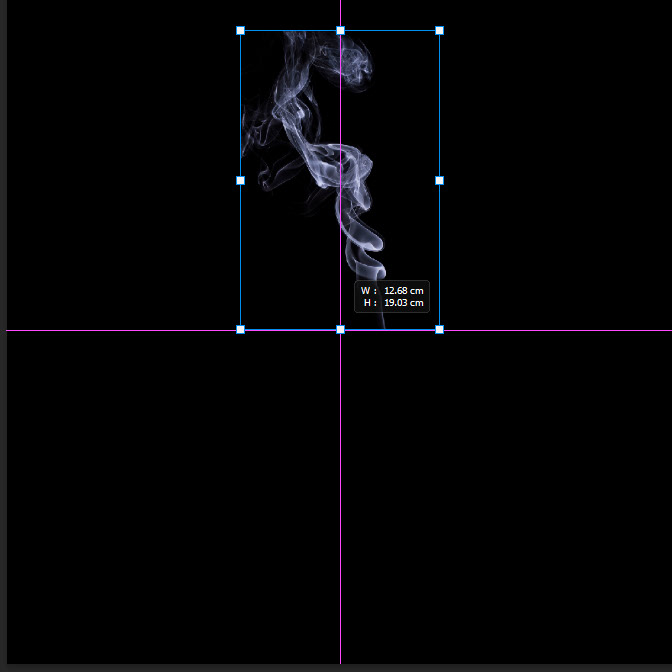
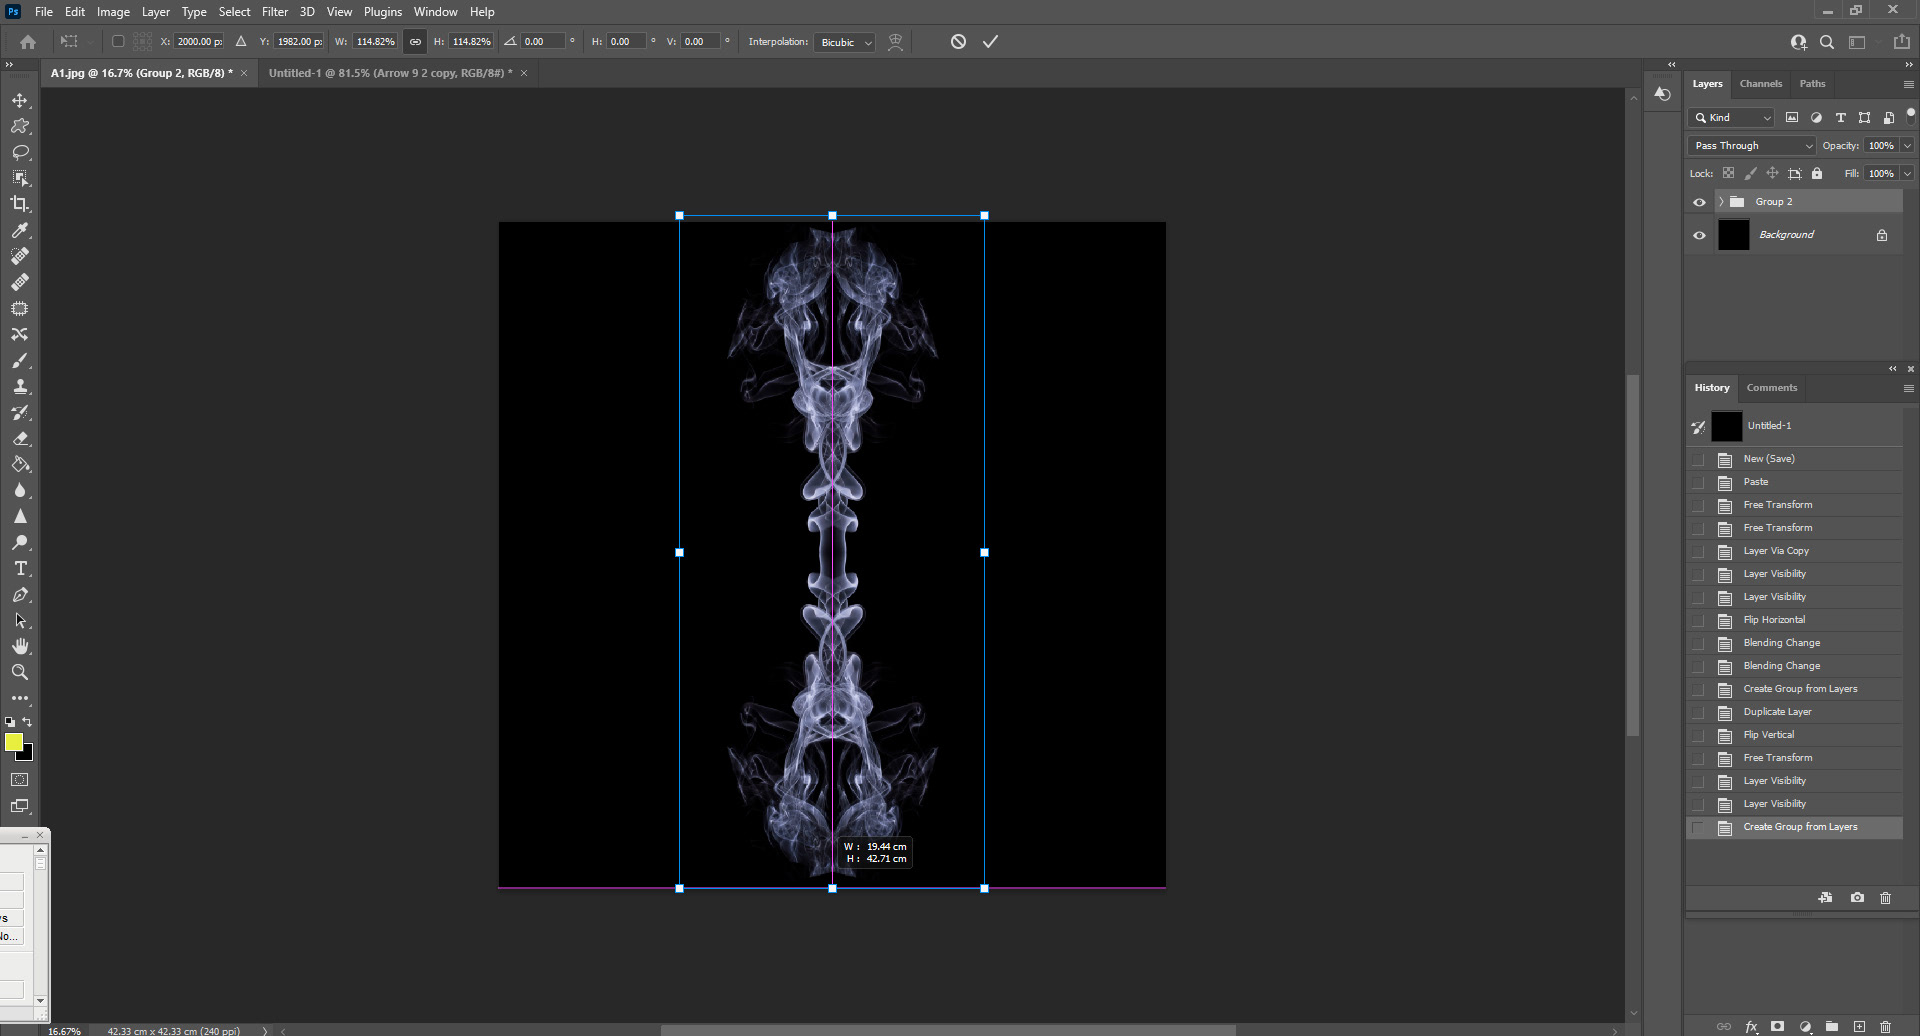
Using CTRL+T, I selected the image and moved it to the top half of the canvas, resizing it to make sure it fitted above that 'middle line', then straightened it to make the lower part of the smoke point straight down.
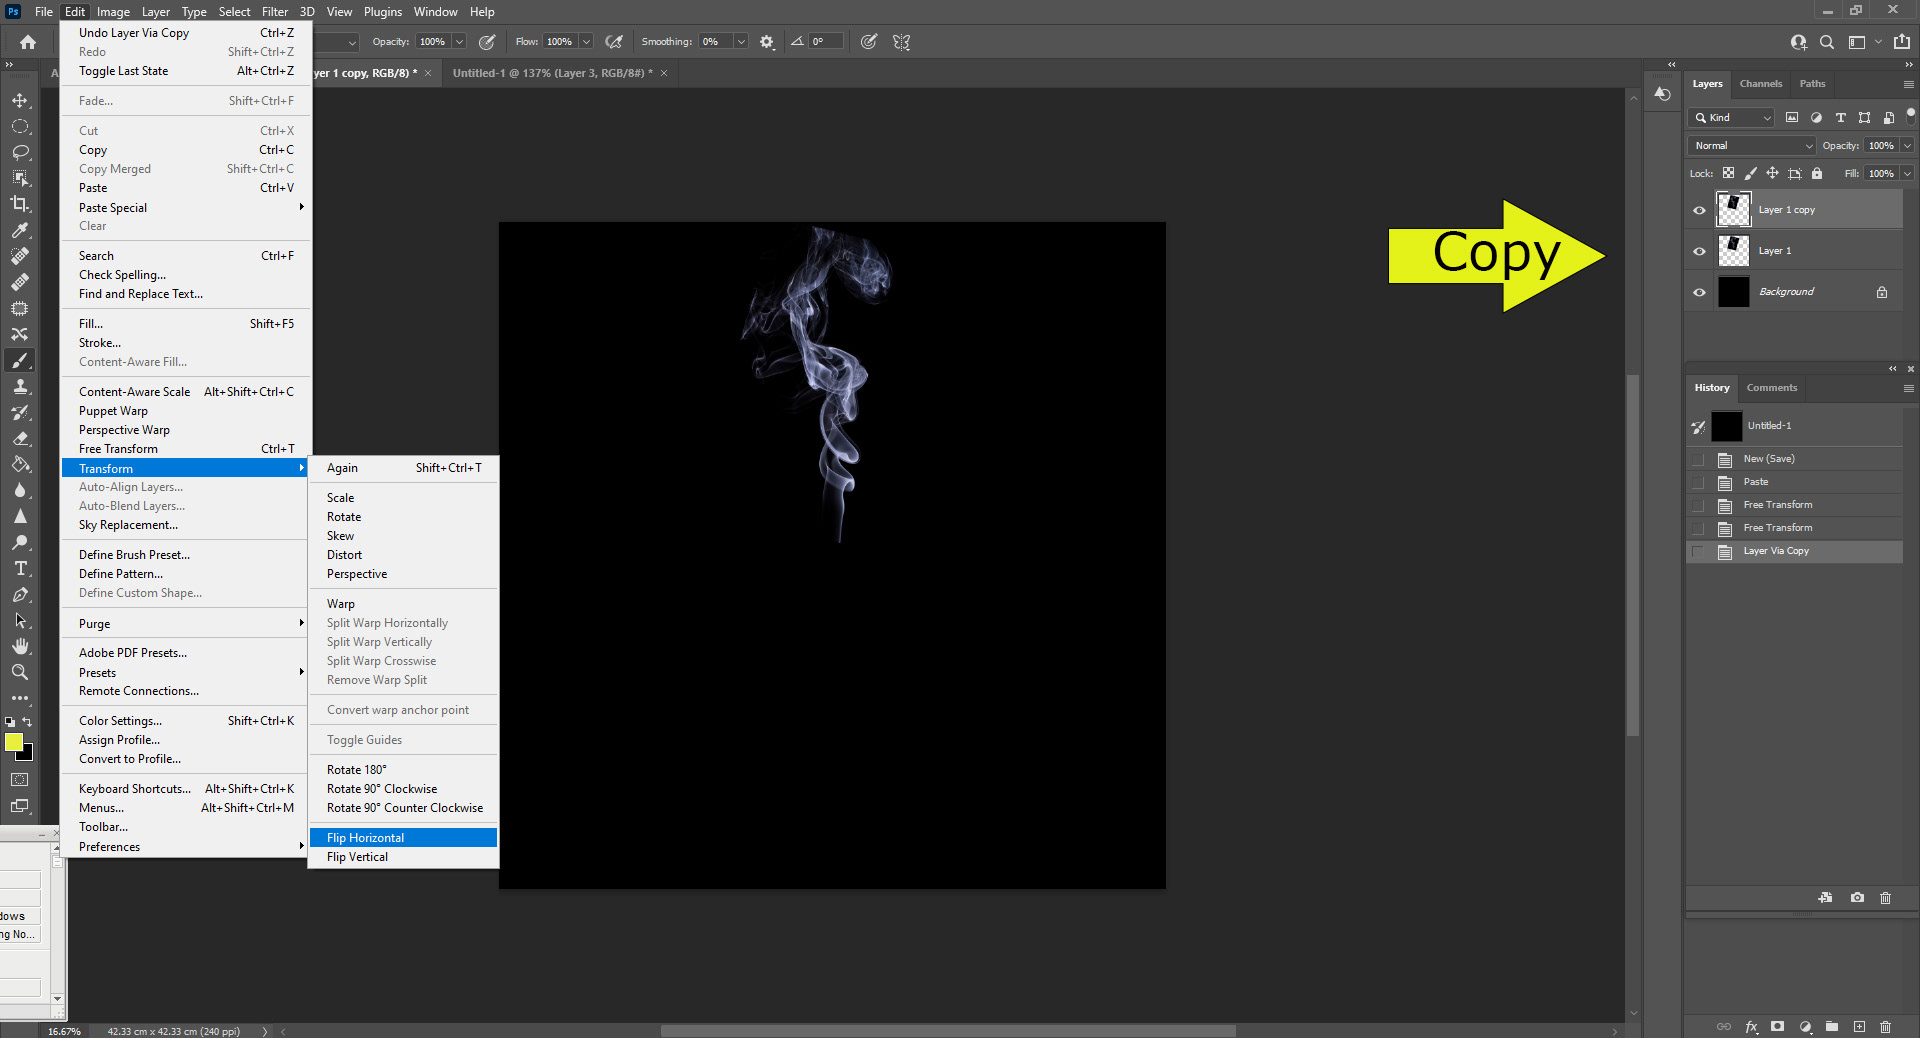
Creating a copy of the smoke image using CTRL+J, I then flipped the copy horizontally.
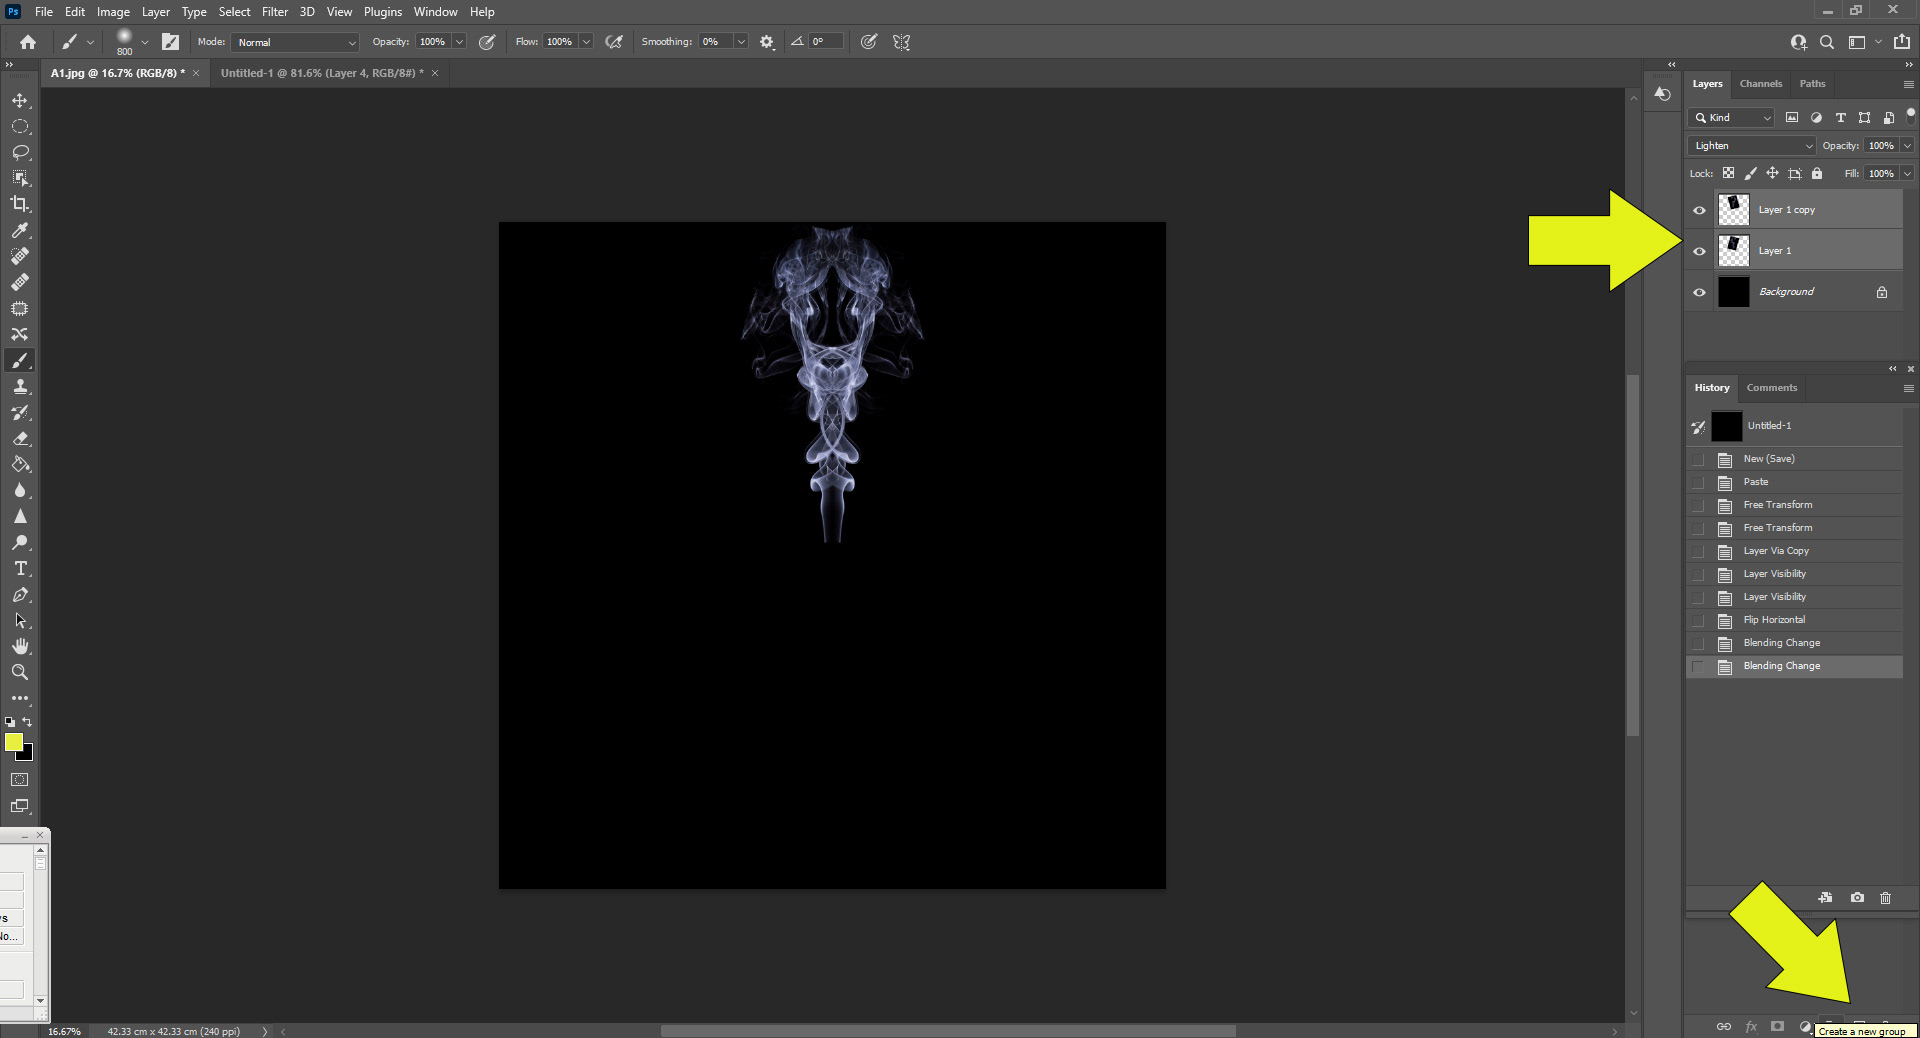
Making sure both layers were highlighted by clicking on them, I created a new group.
I then copied the new group using CTRL+J.
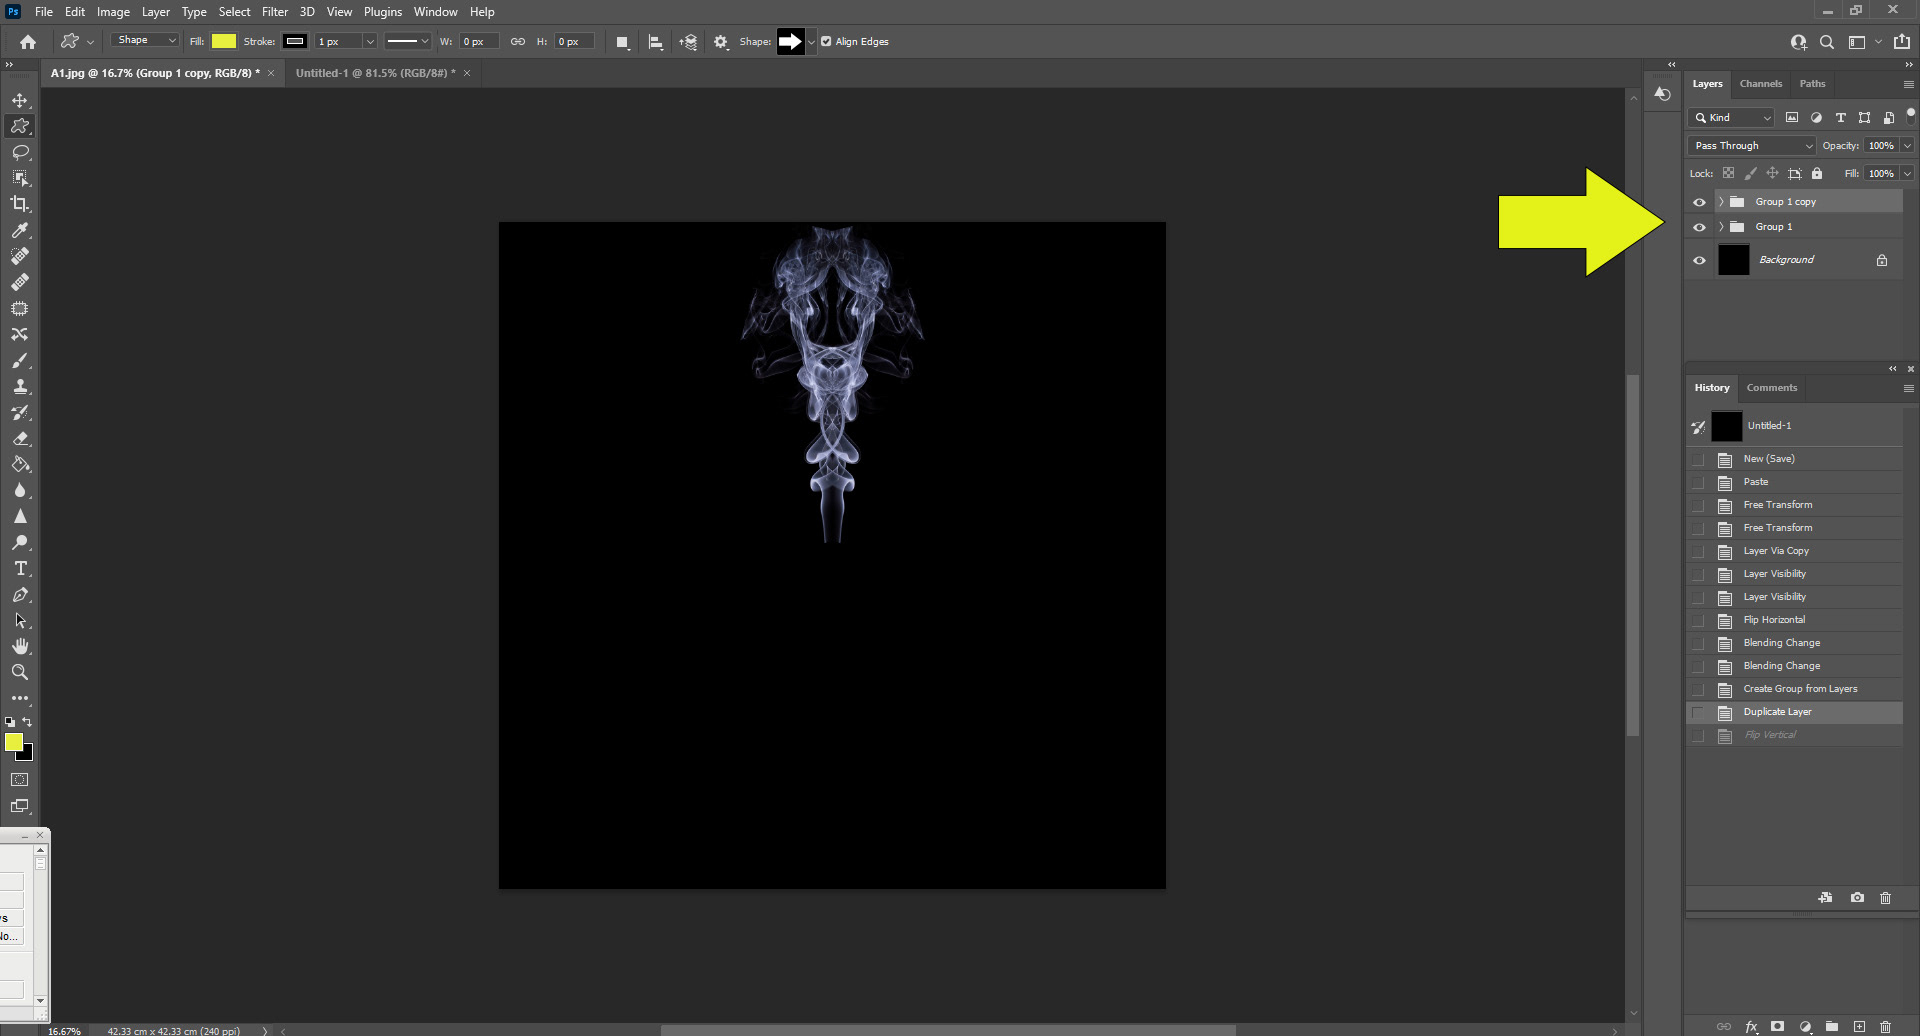
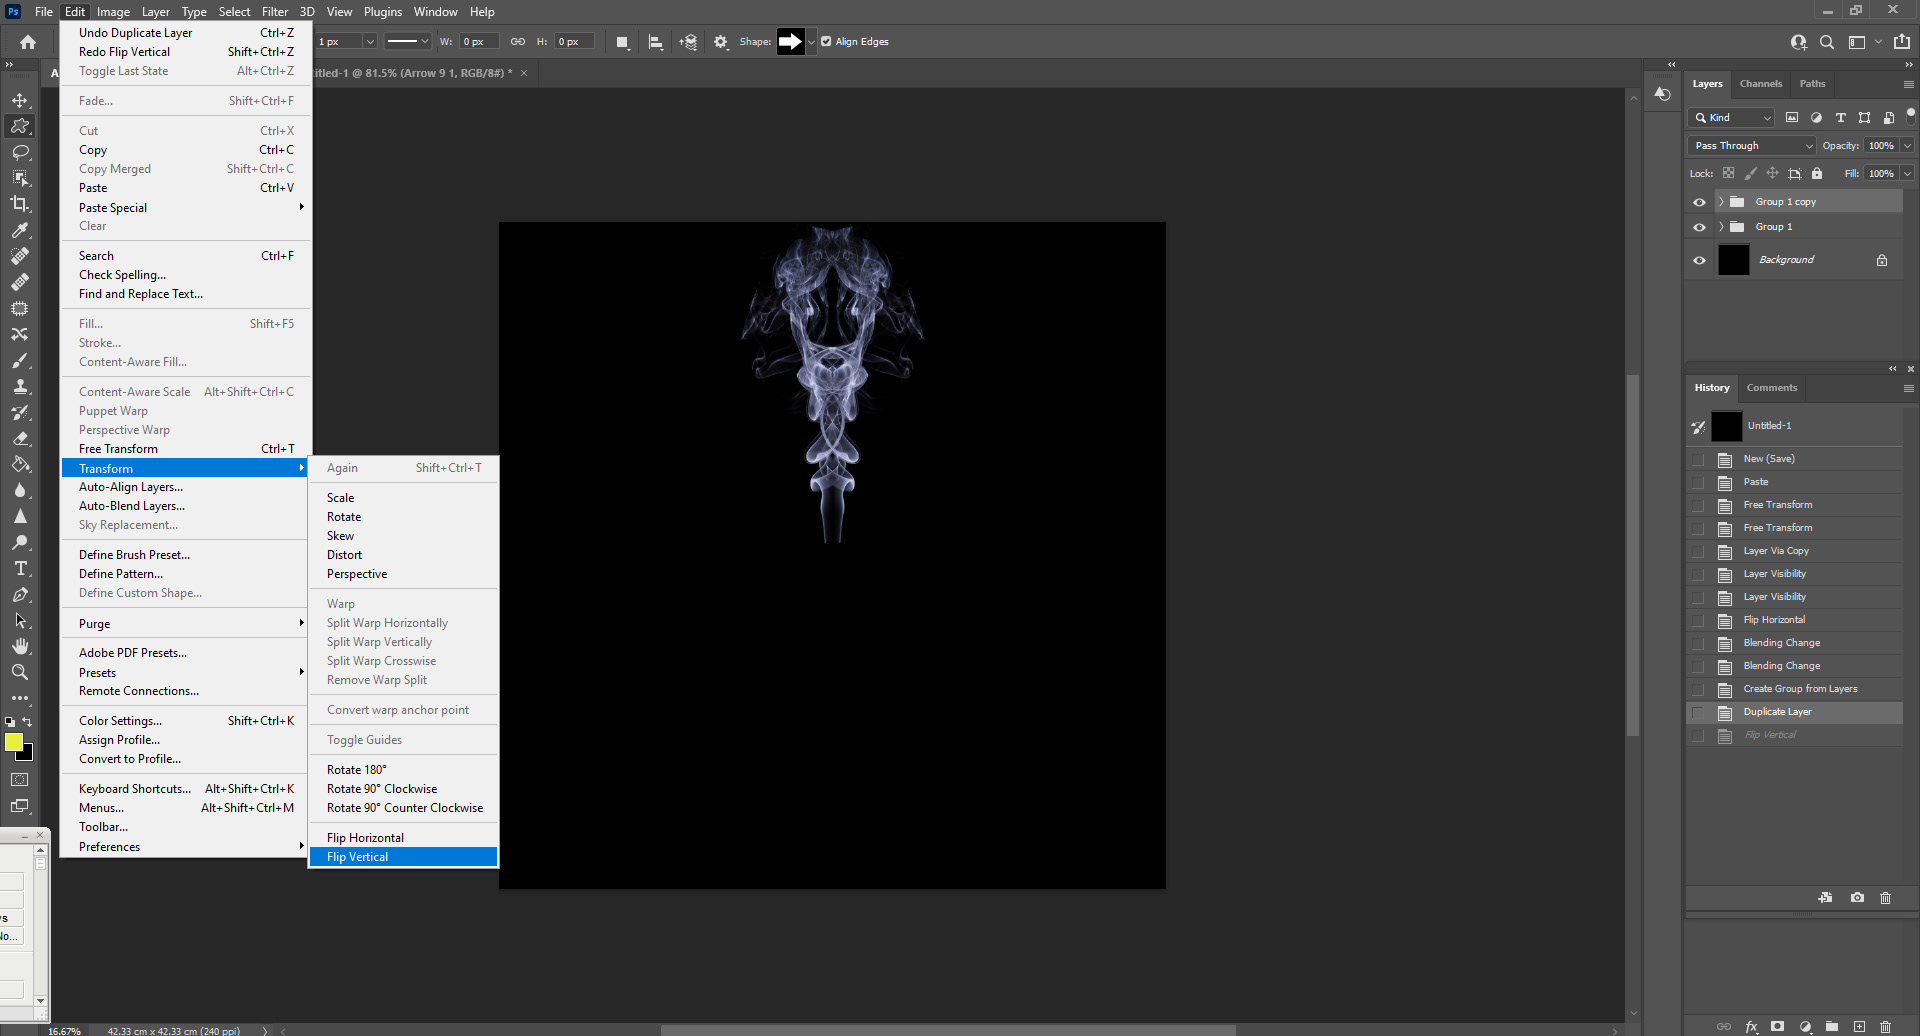
I then flipped the new group vertically.
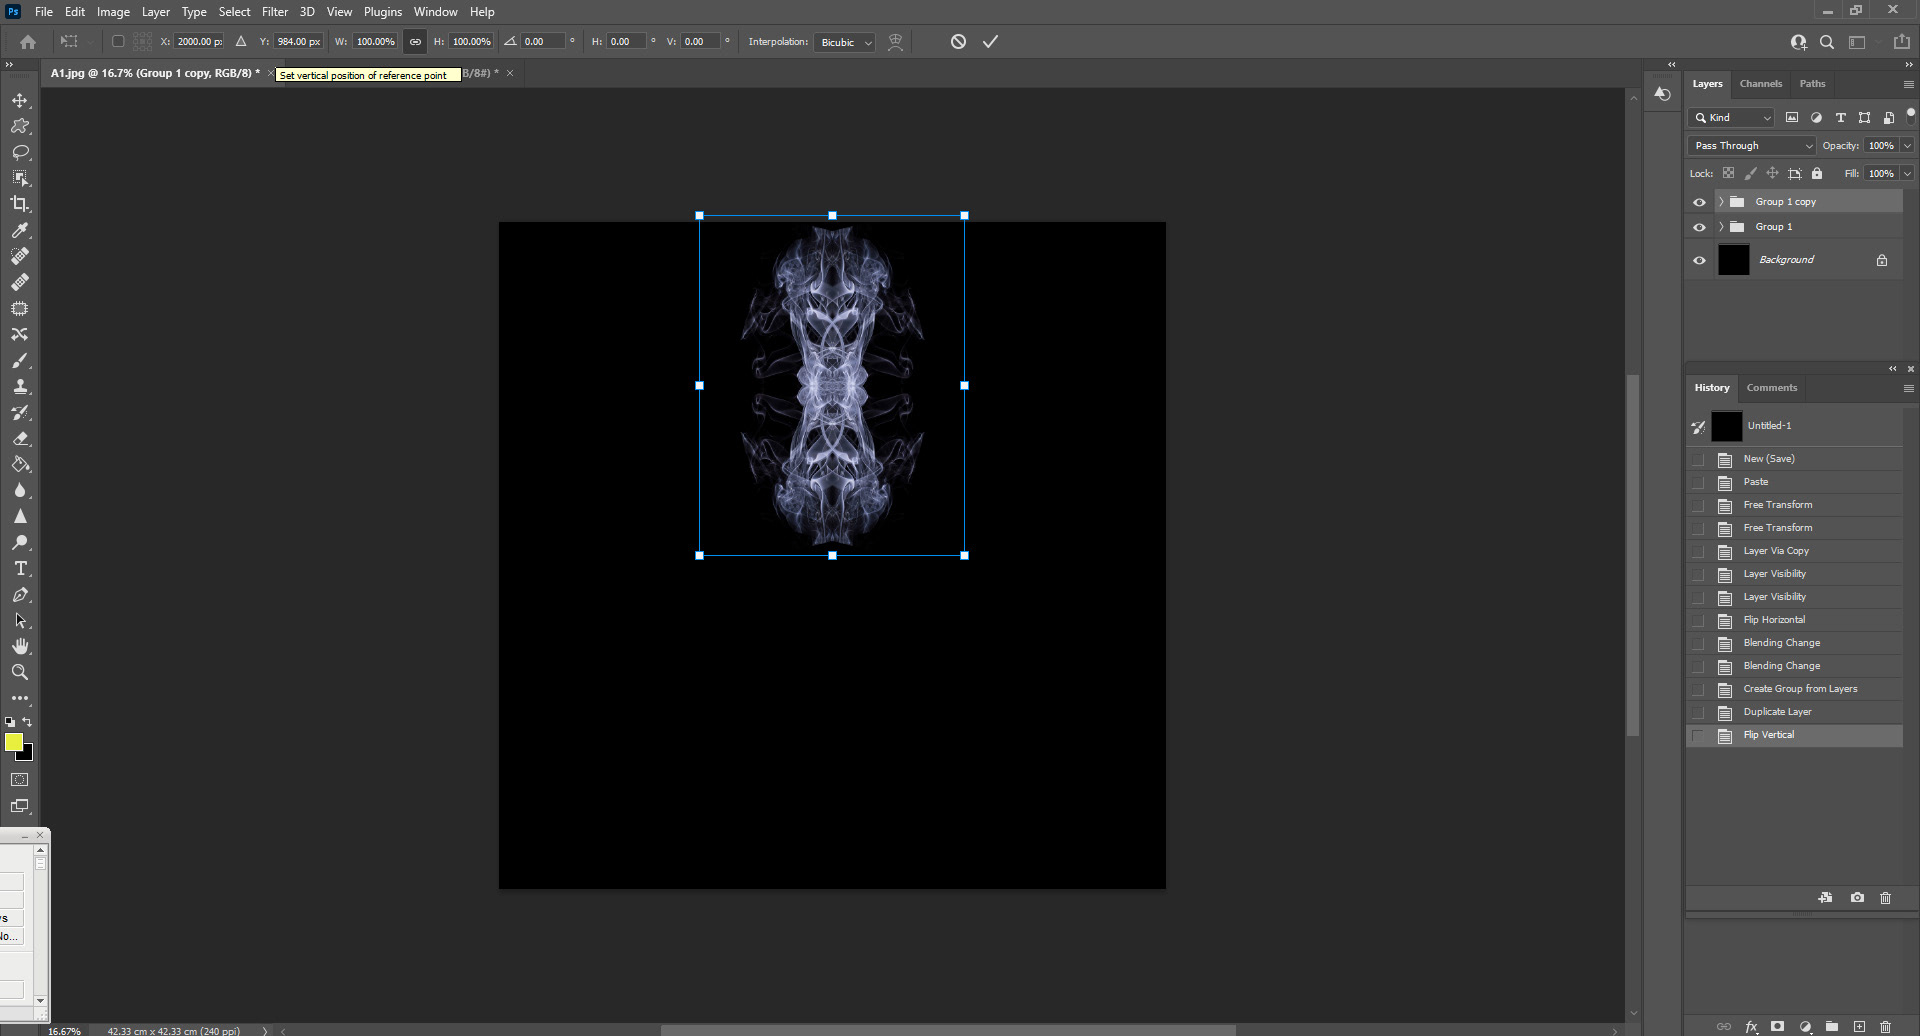
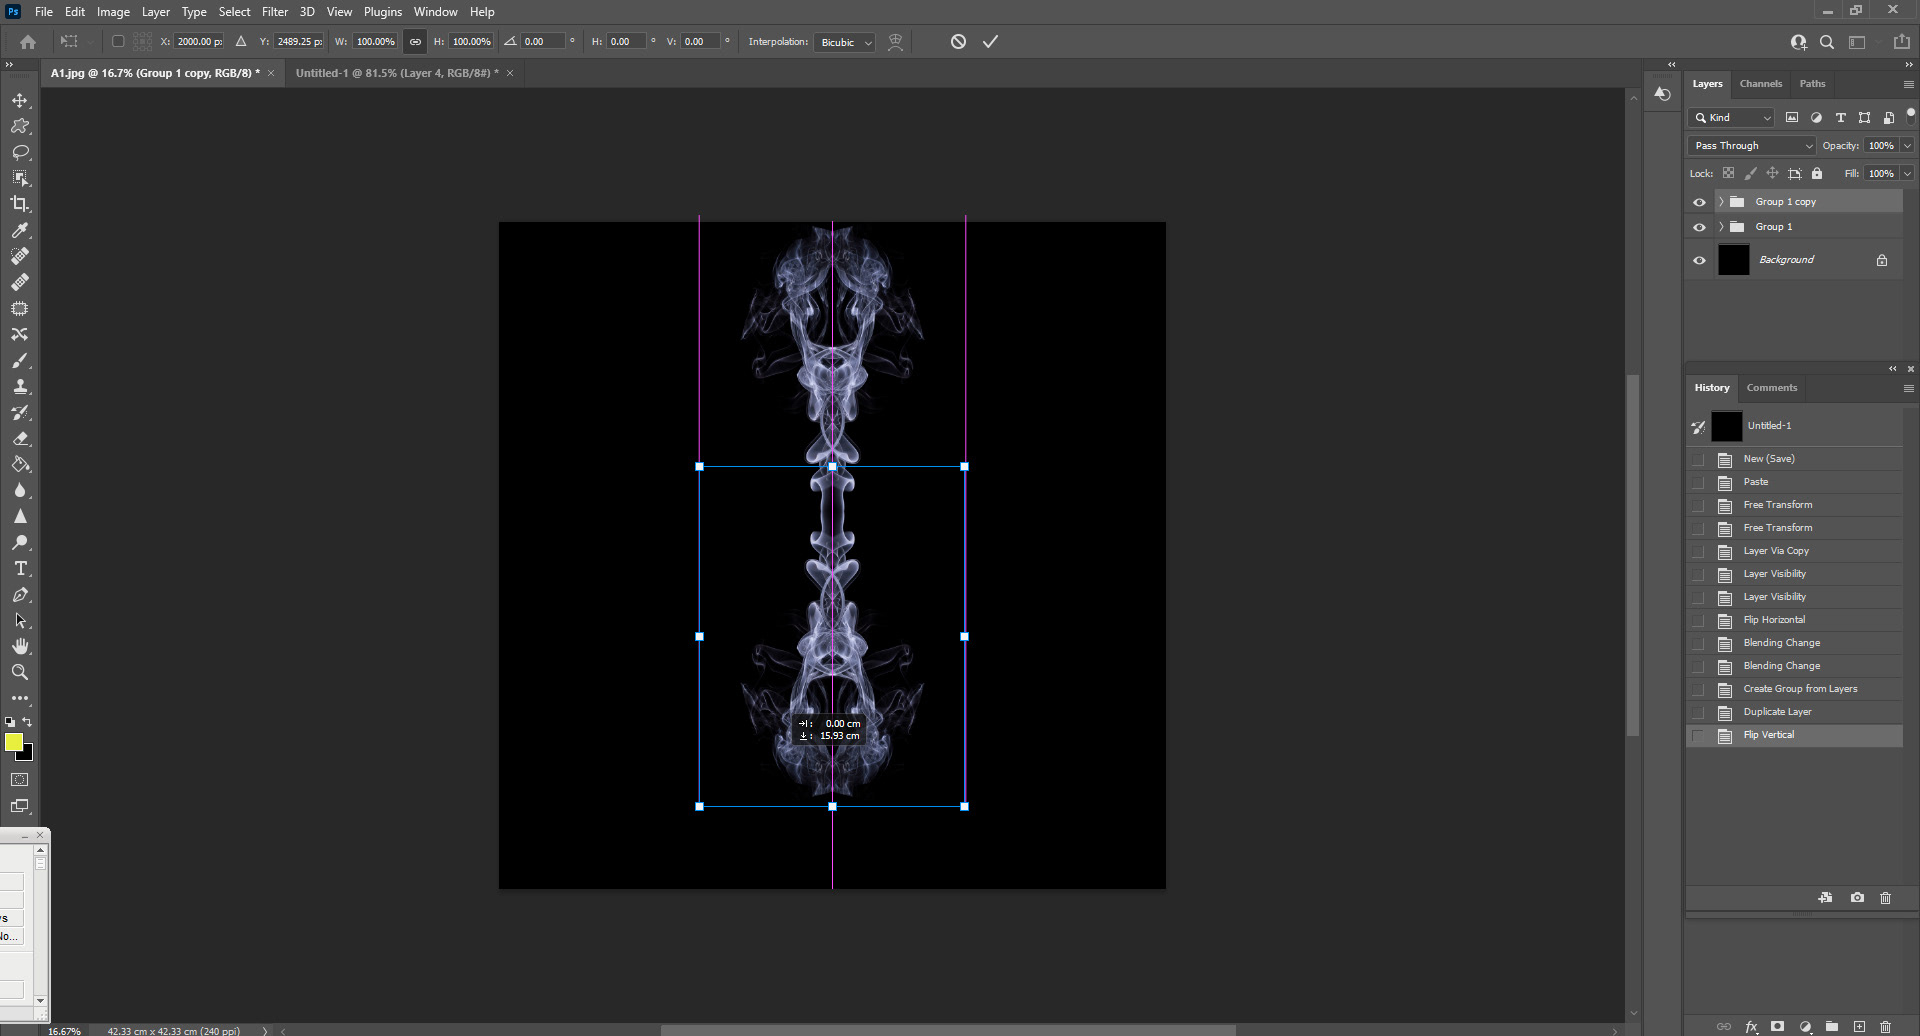
Selecting the group using CTRL+T, I dragged it downwards until I got an image I was happy with.
Like before, I selected both groups and created a new group.
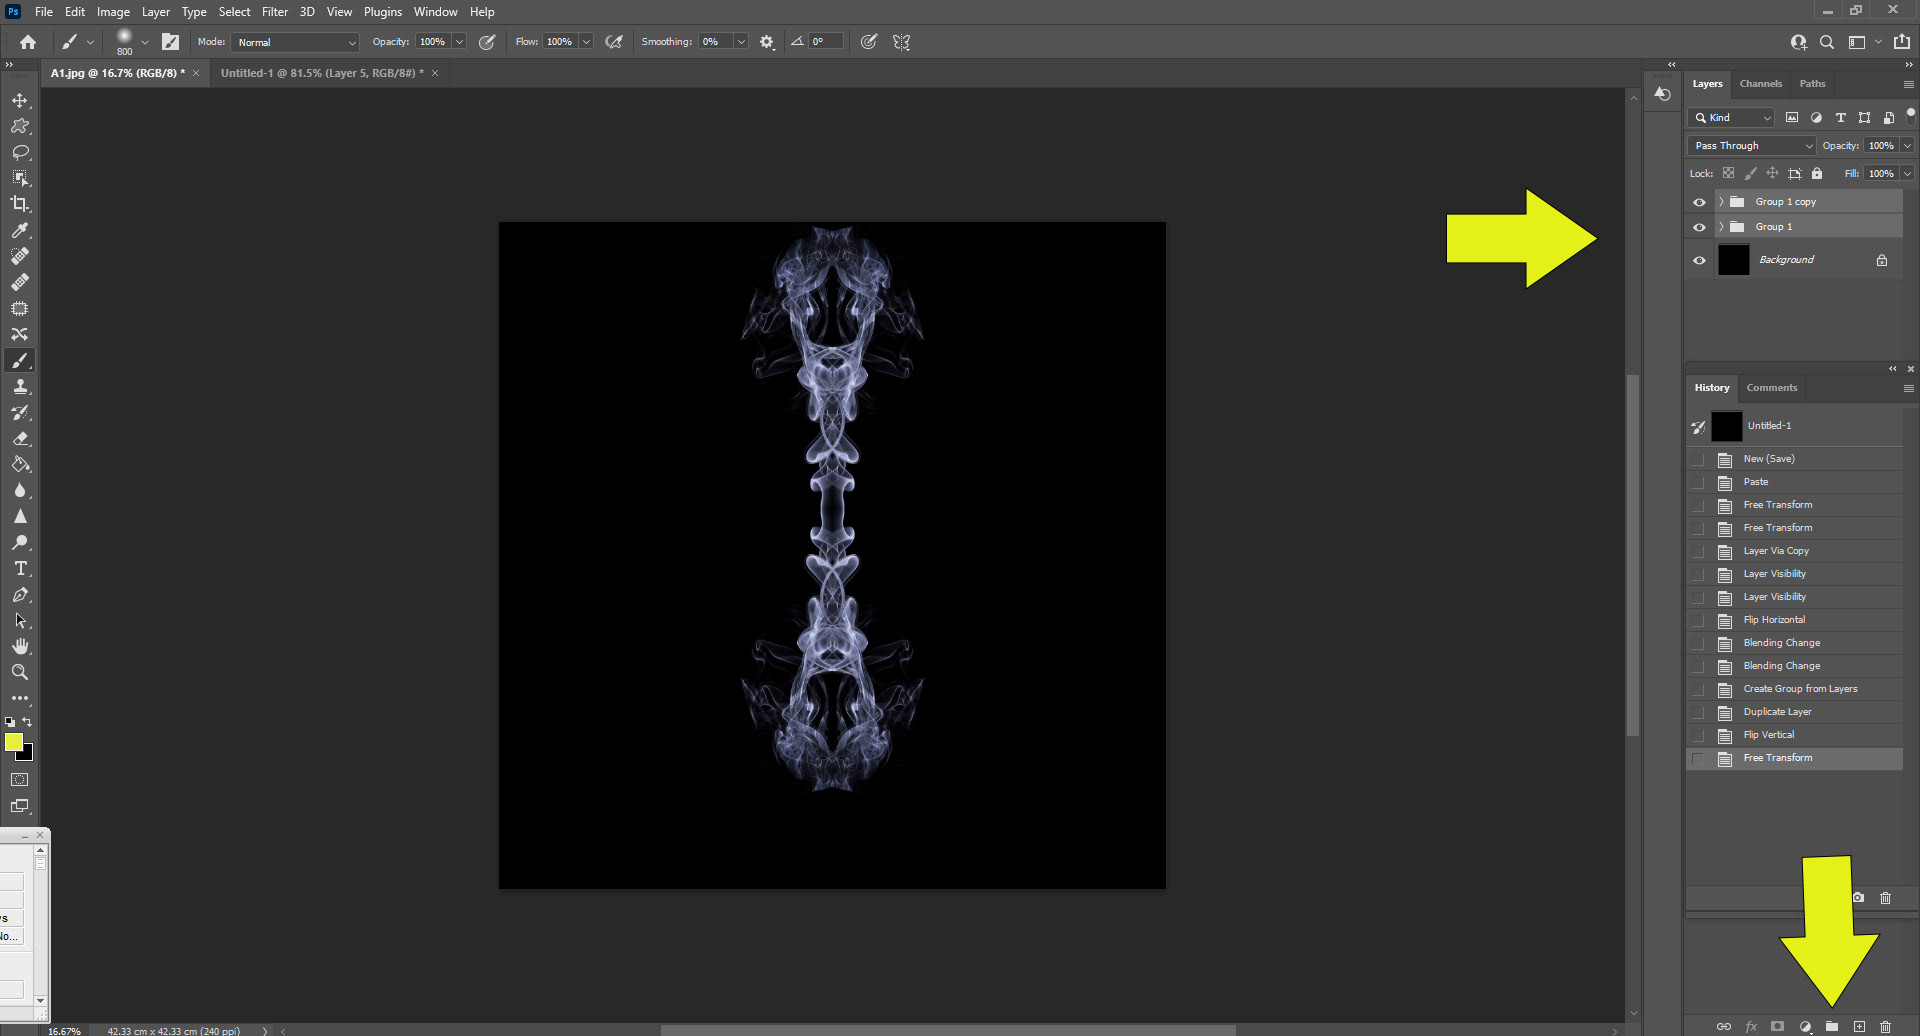
Next, I resized the image to fill the canvas vertically.
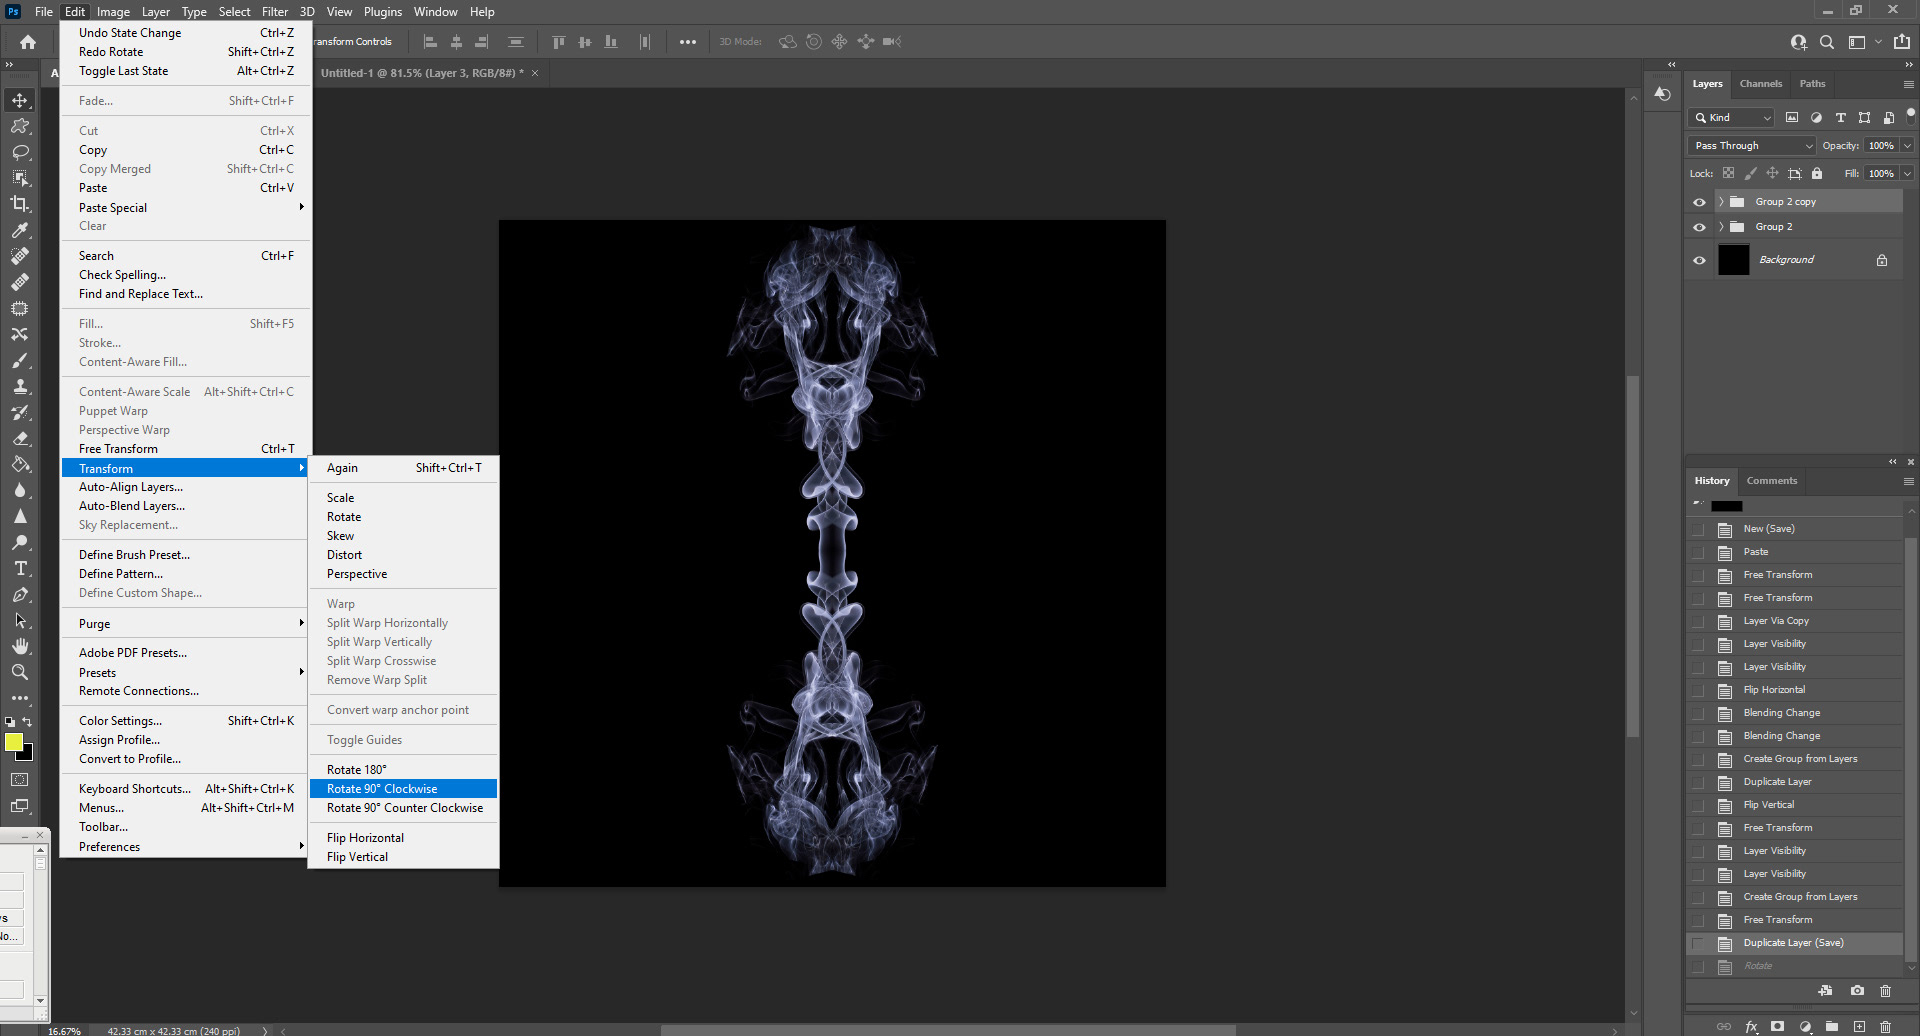
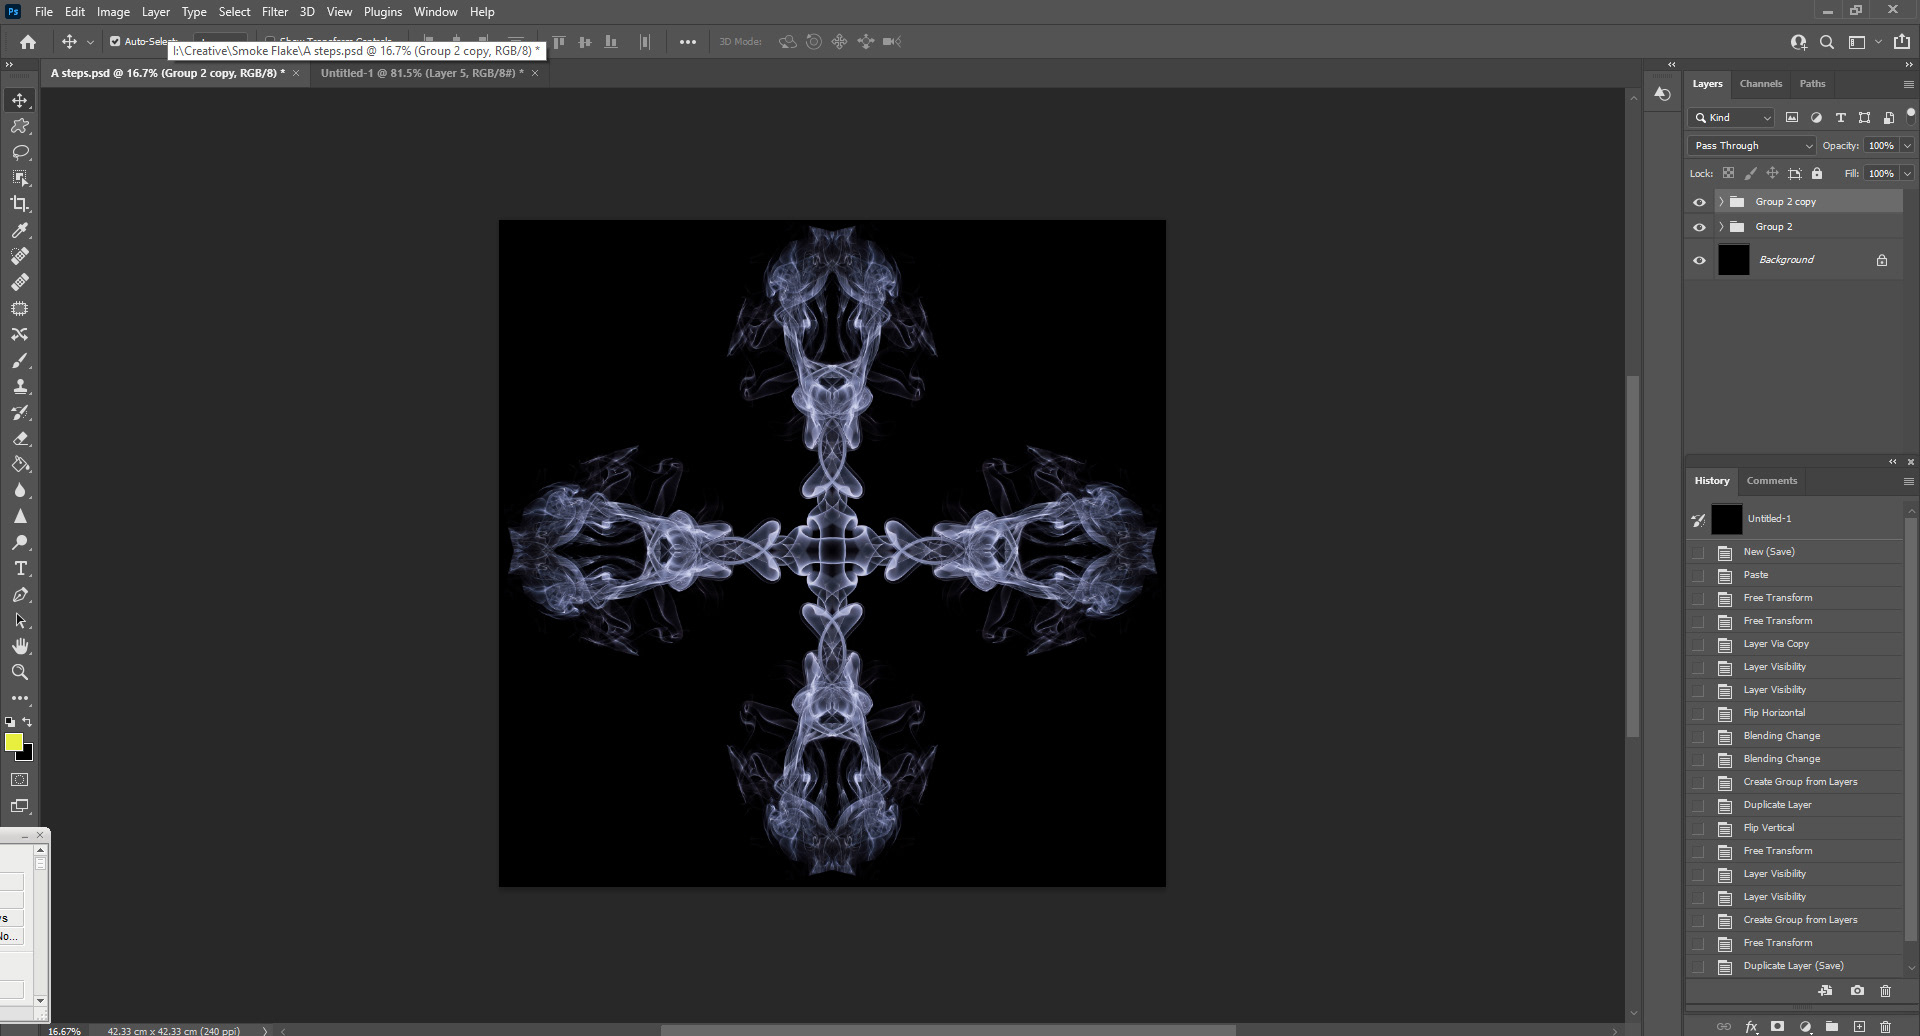
Duplicating the group as before, using CTRL+J, this time I rotated the new duplicate group by 90°.
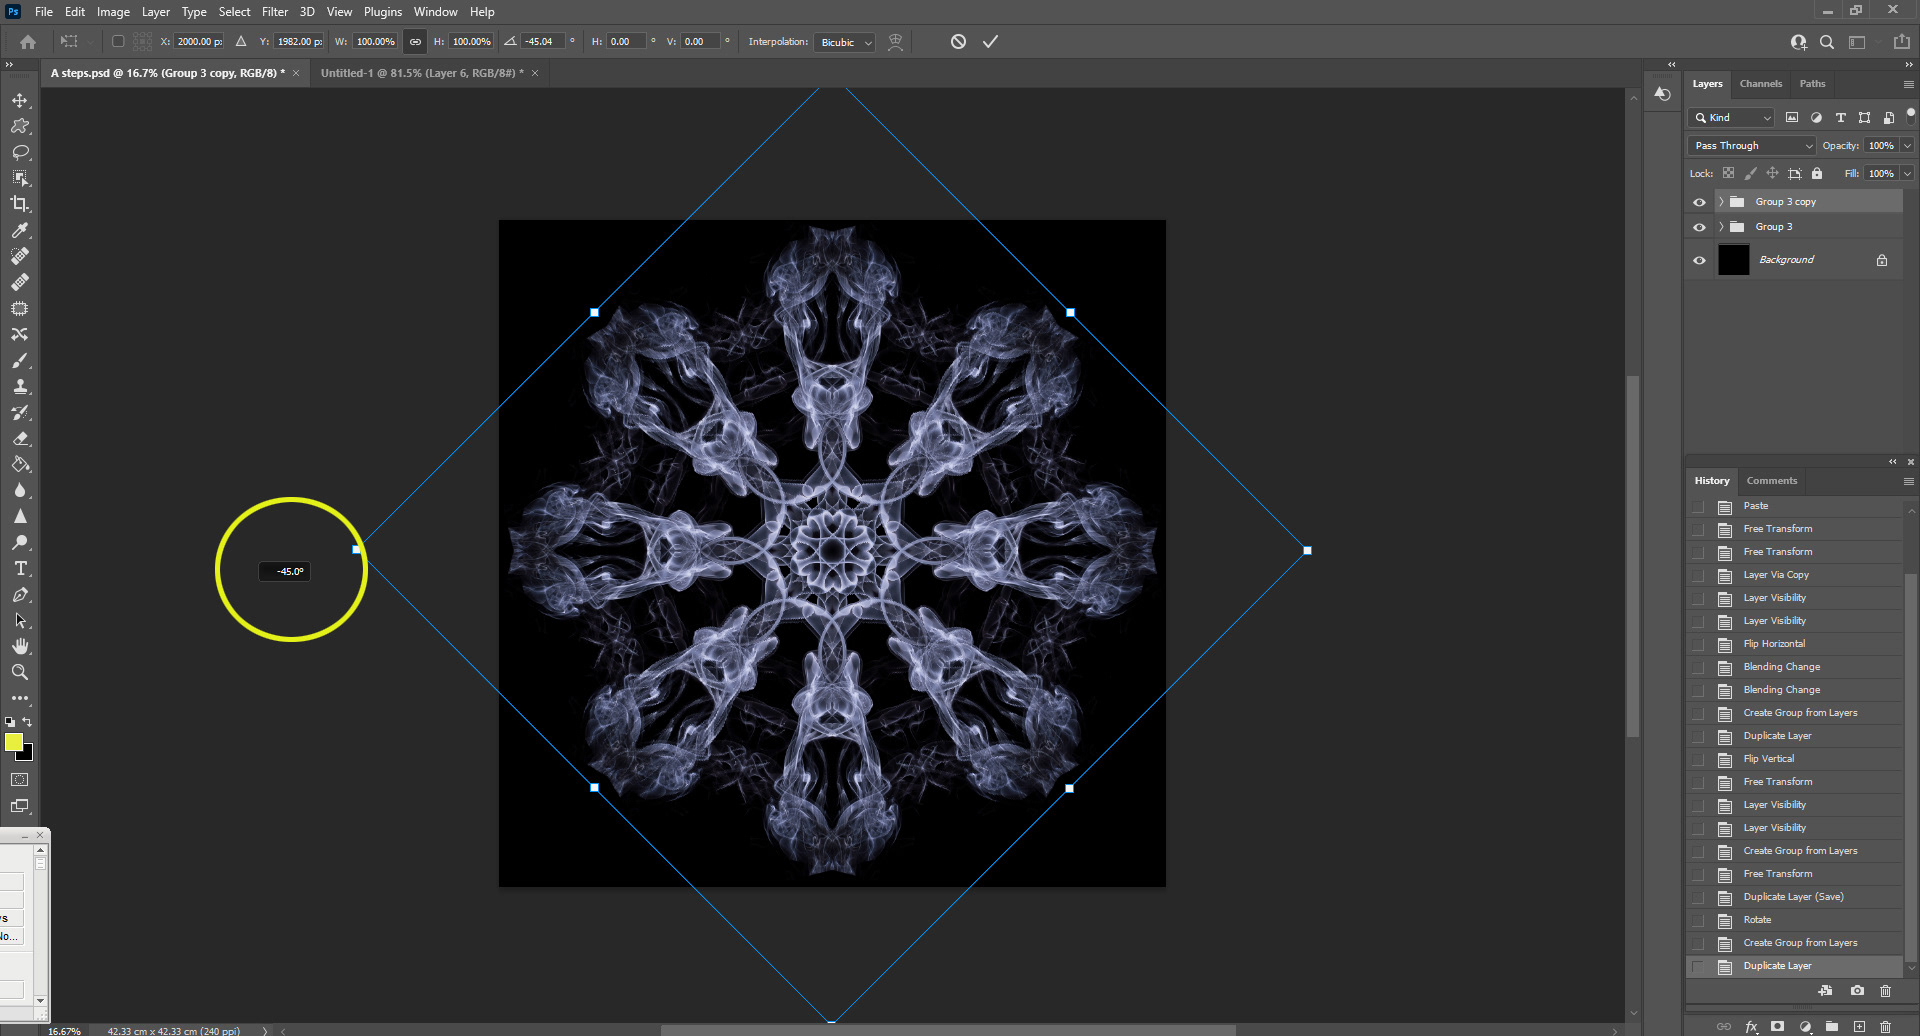
Going through the same process of selecting both groups and creating another new group from them, this time I selected and rotated the image using the mouse and dragging the corners until I got 45° in the little pop-up box.
Repeating that same process, this time I rotated the image 22.5°, ending up with this.
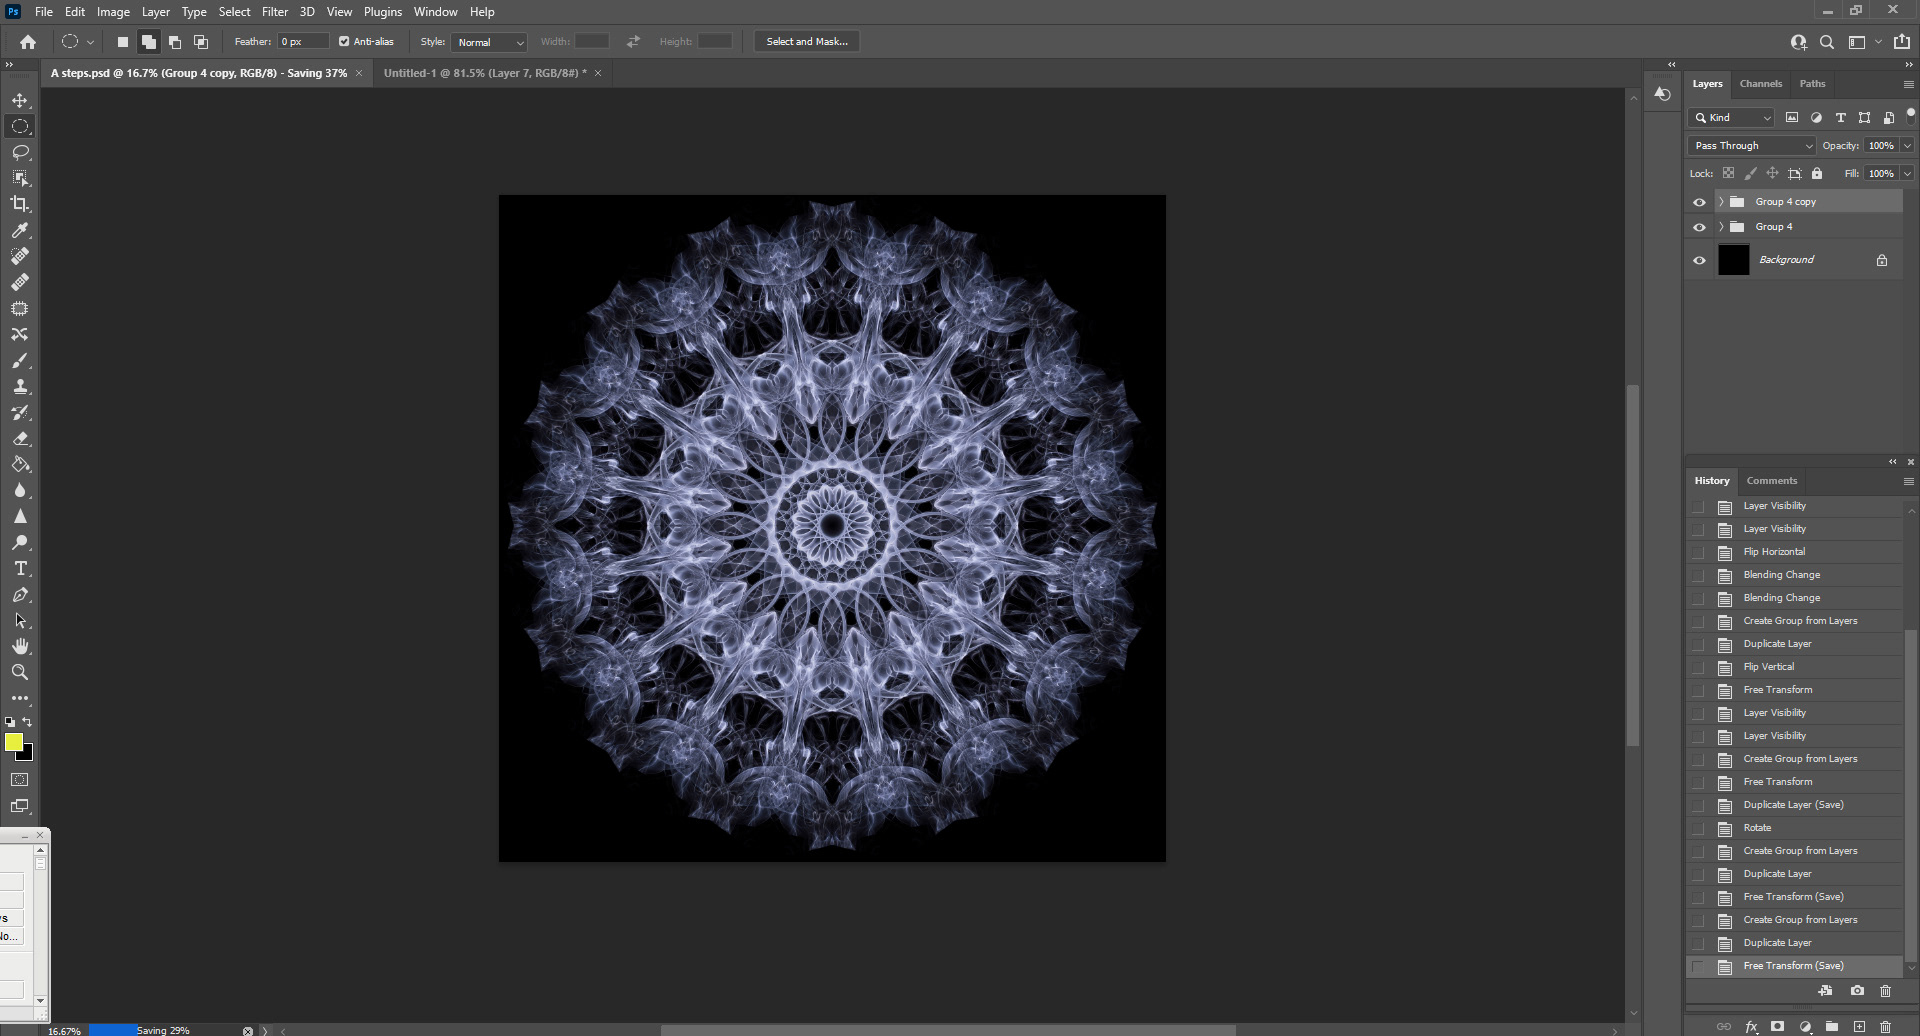
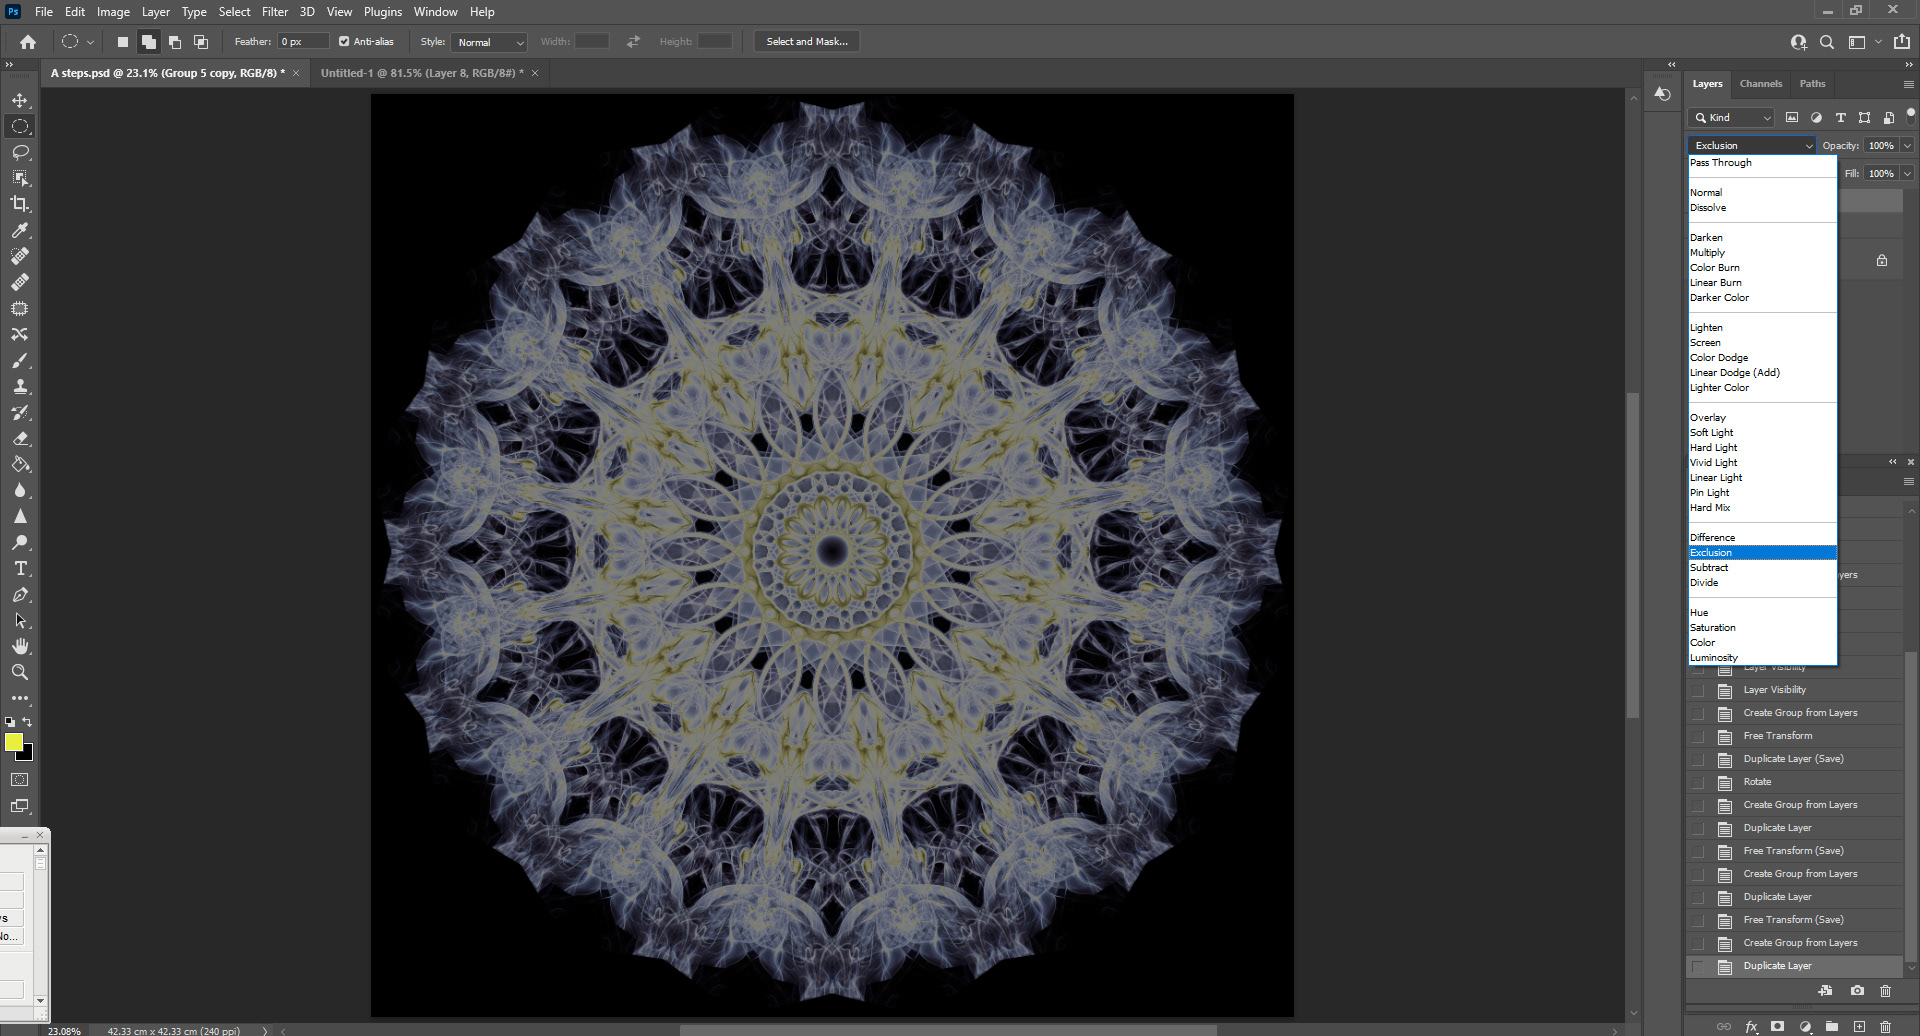
Yet again I created a new group from the other two groups, but this time I did not move the image, I merely changed the blending mode to Exclusion. As you can see, this has now introduced some extra colour into the image.
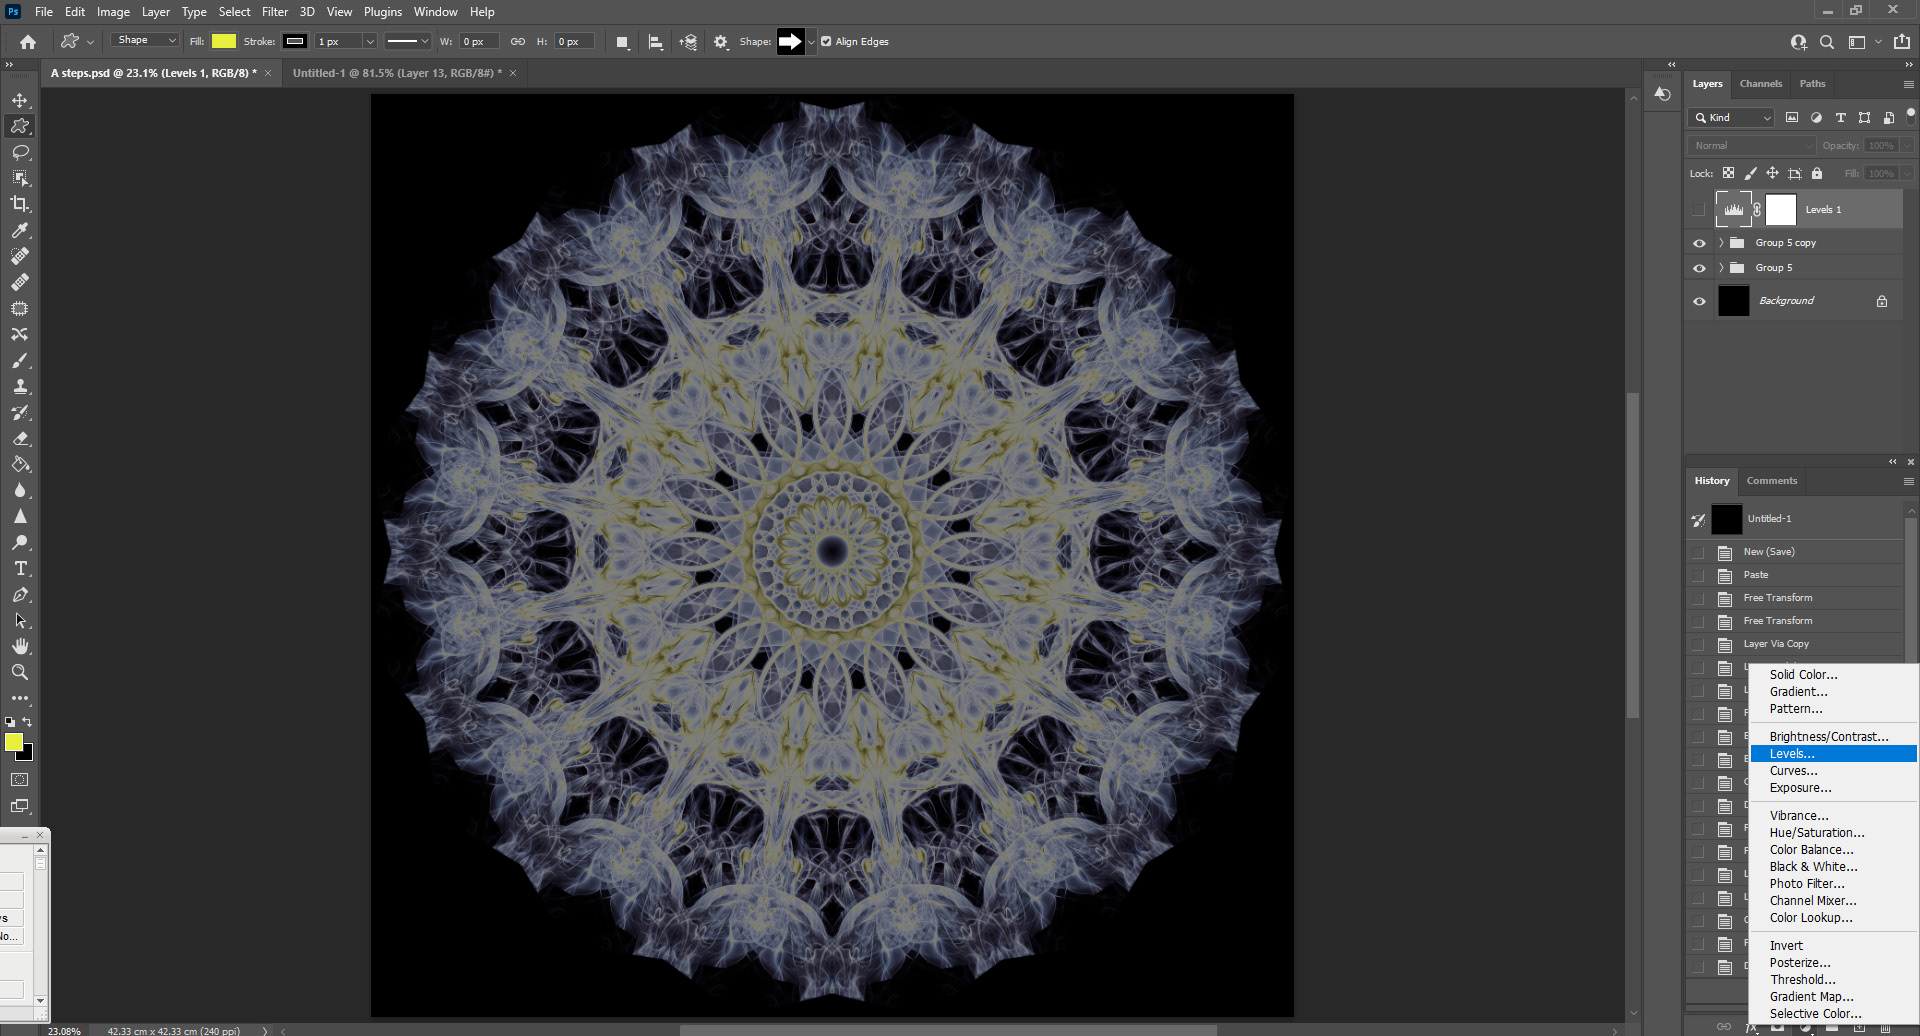
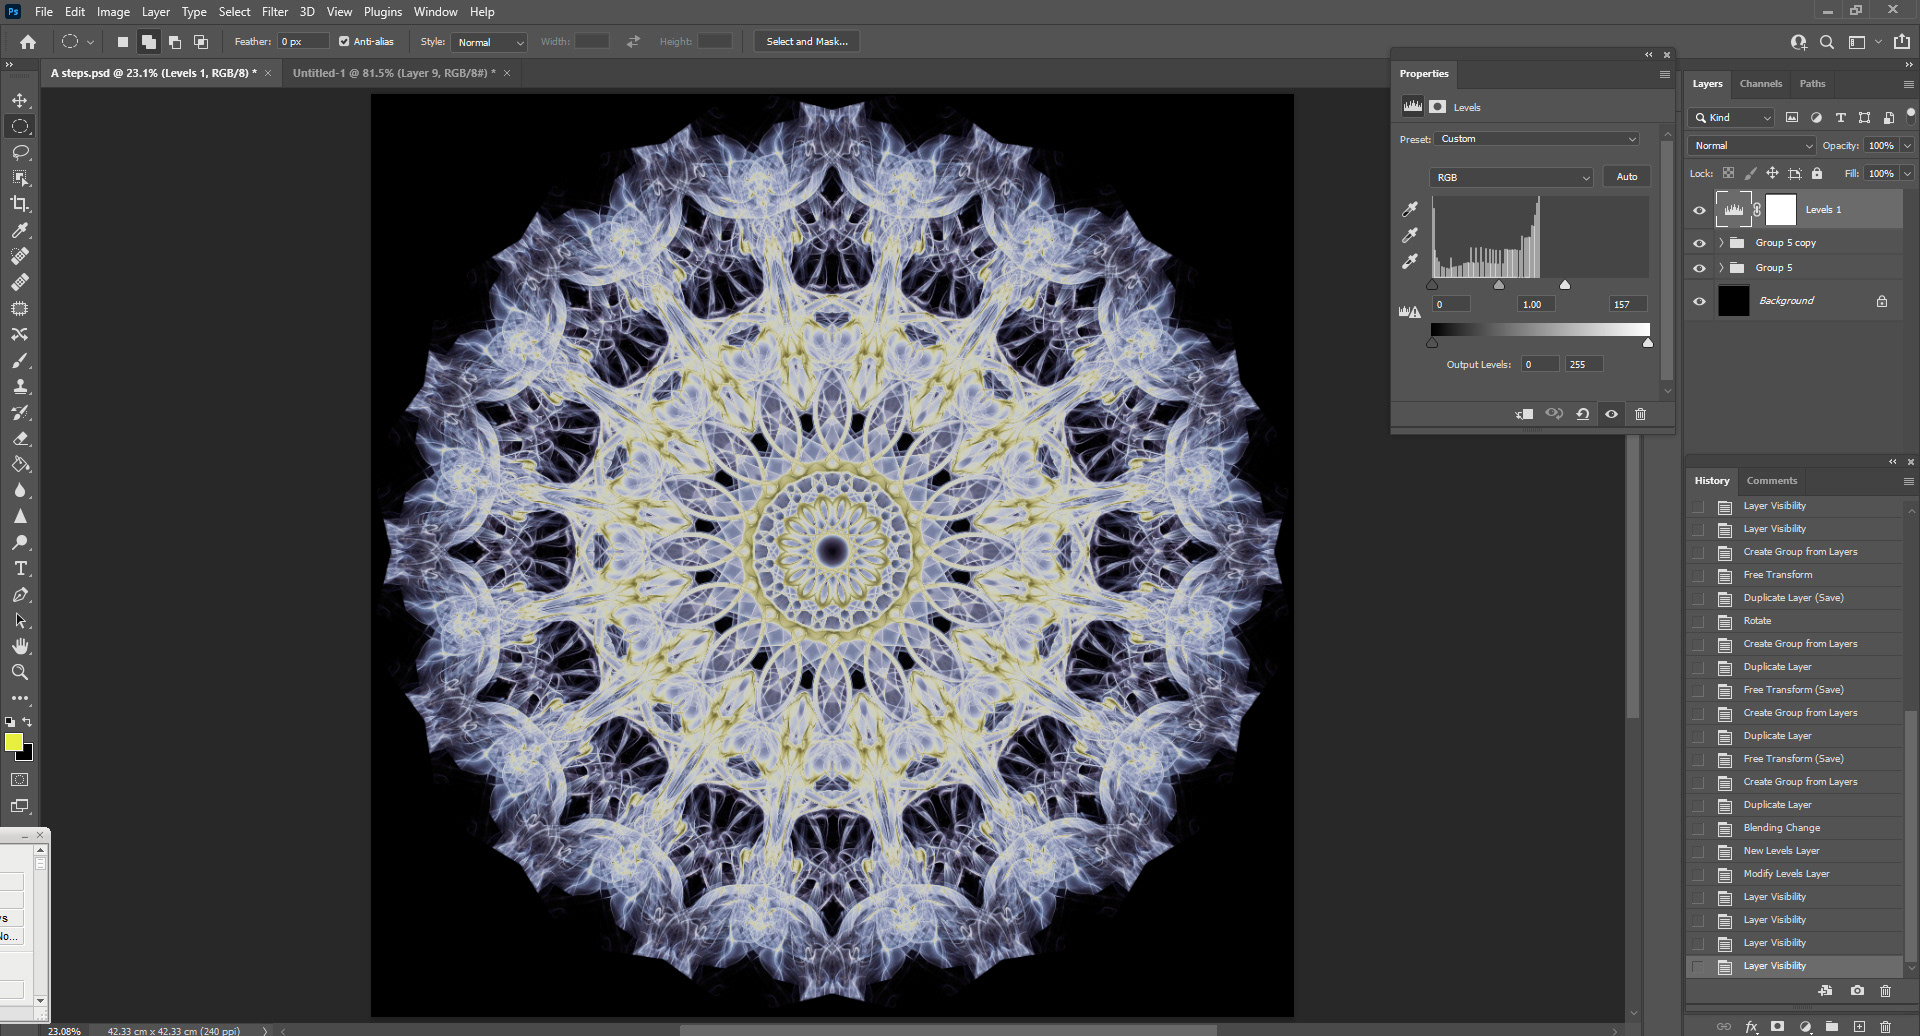
To brighten the image up, I used the Levels adjustment layer.
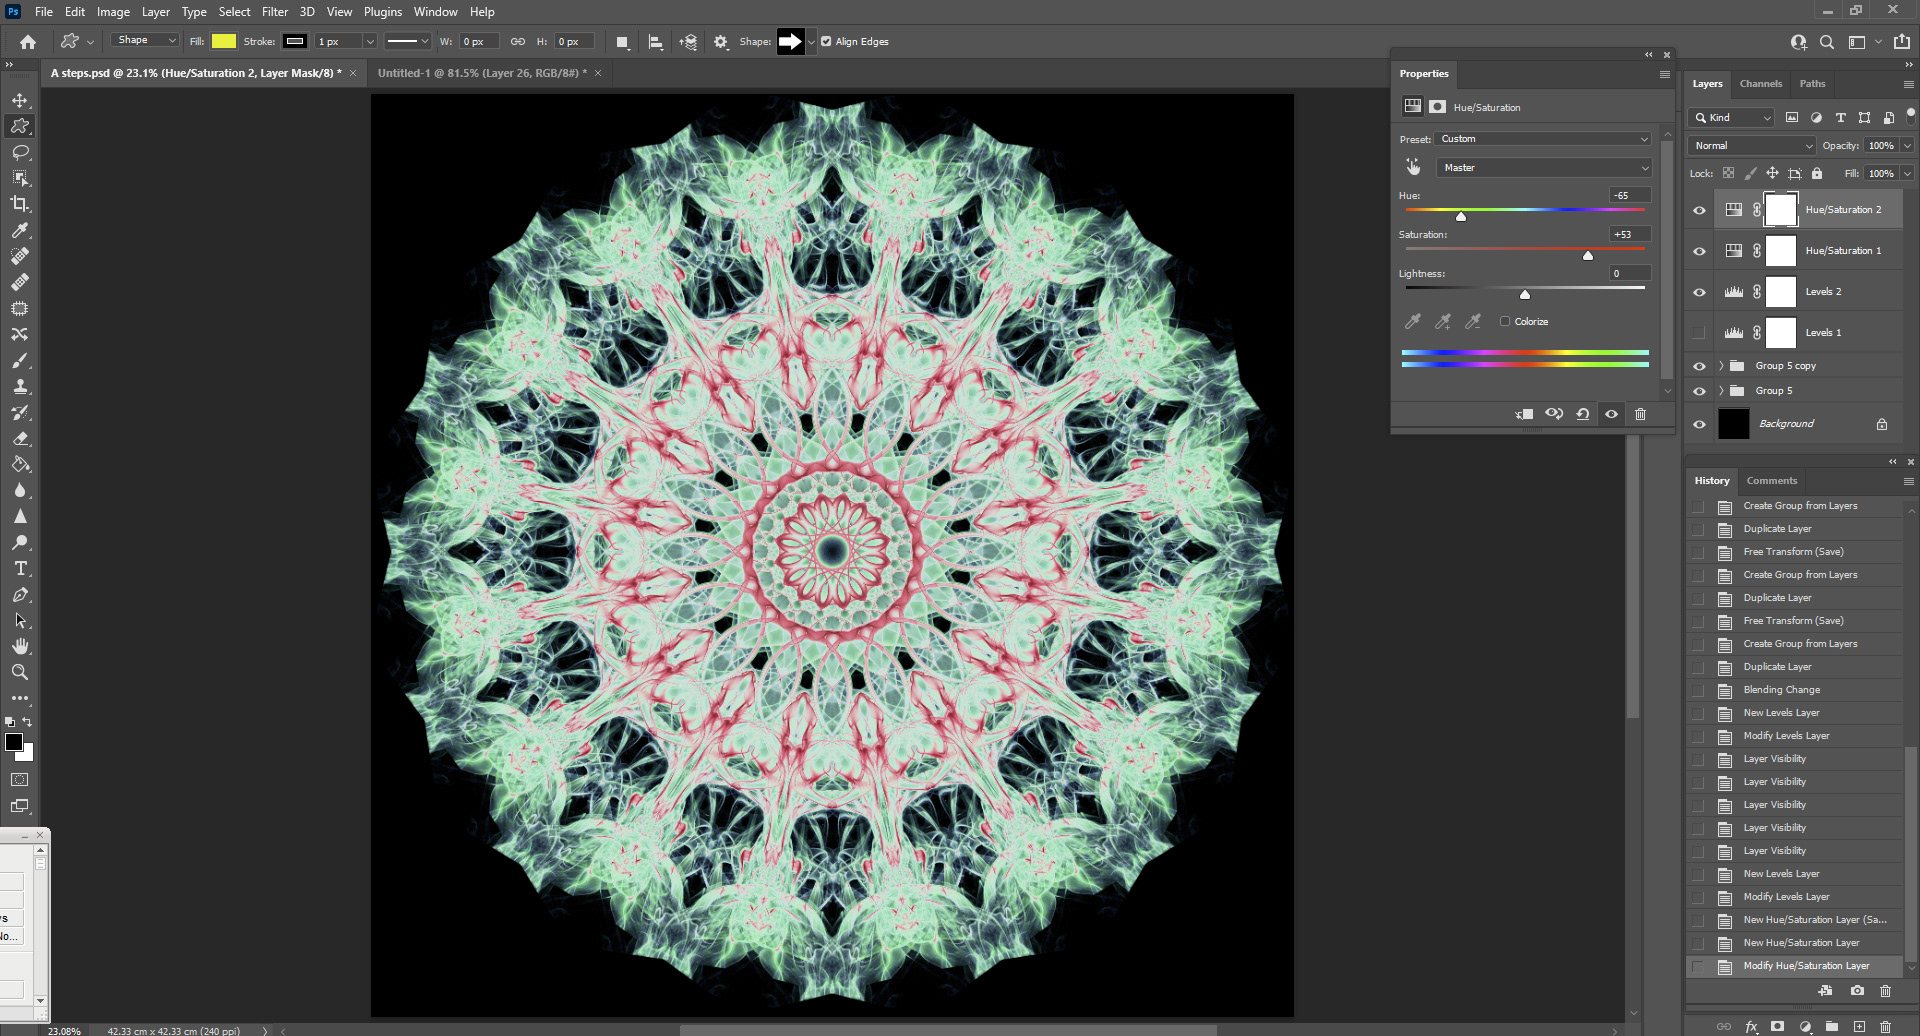
To change the colour, I used the Hue and Saturation adjustment layer.
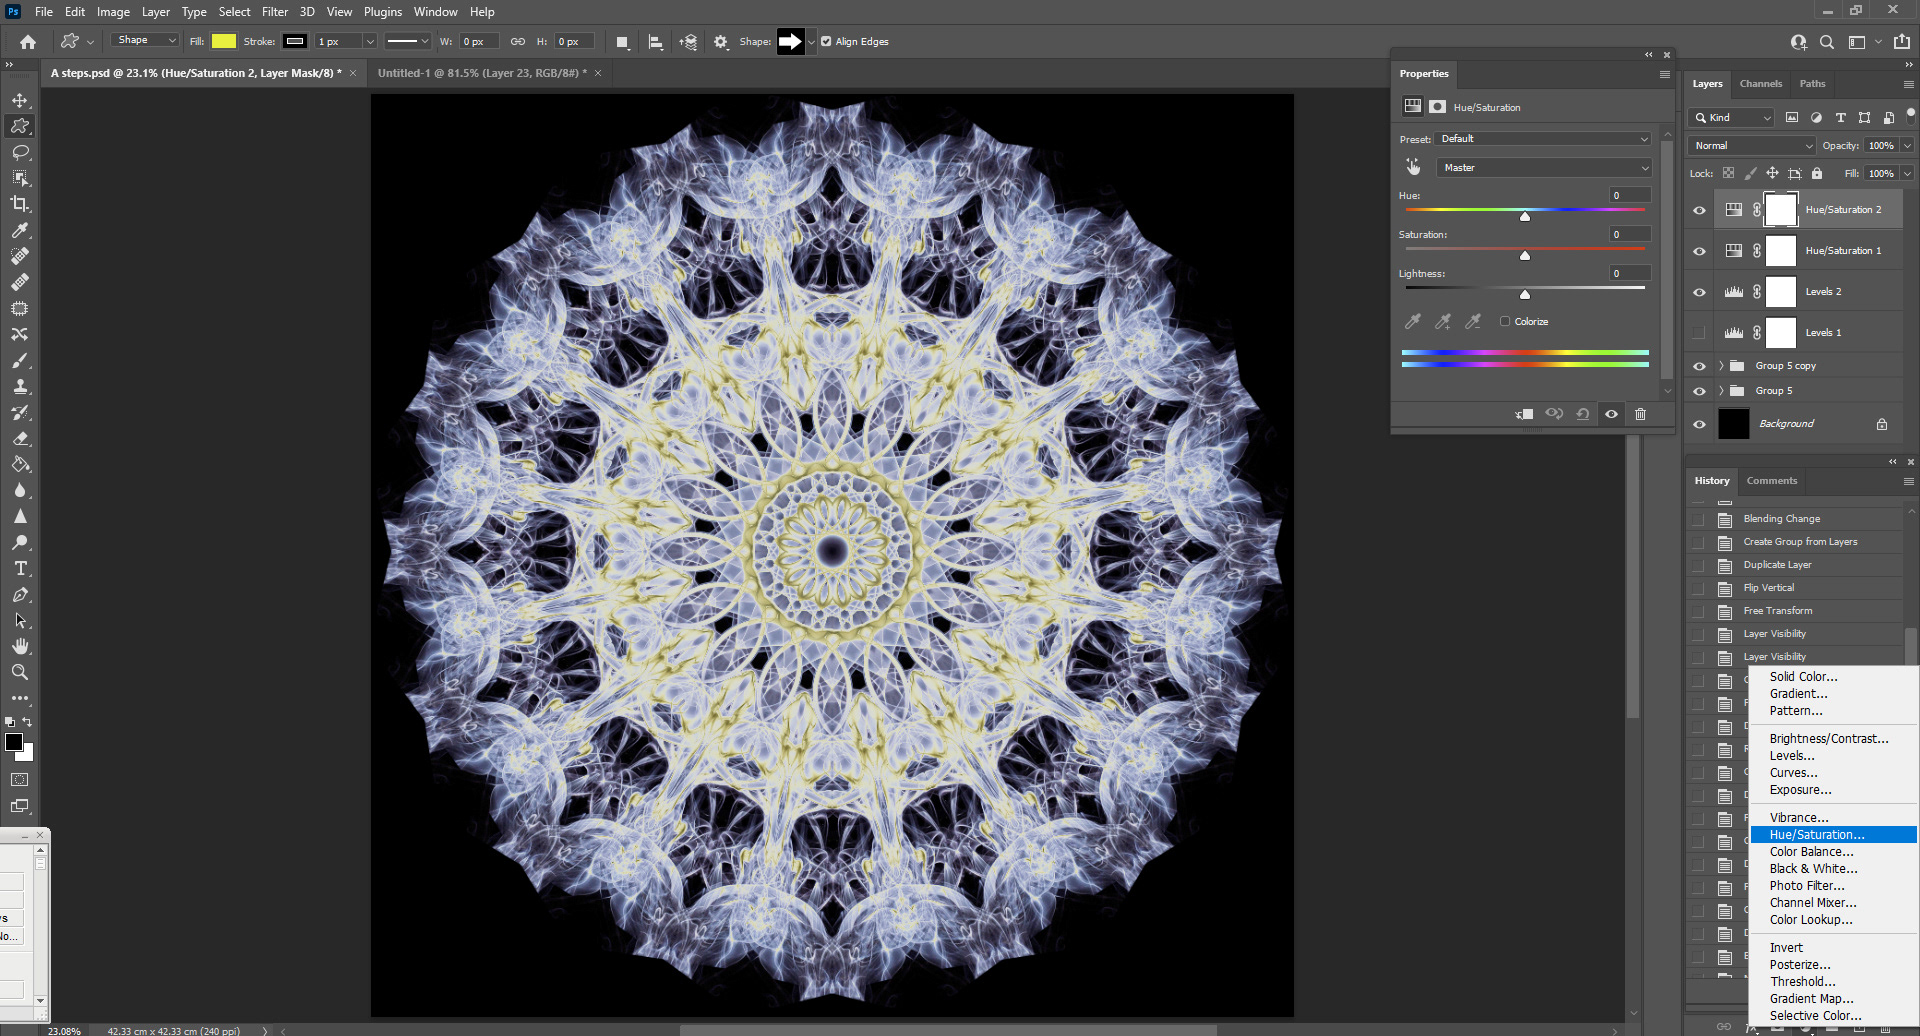
I played around and settled on this, for now.
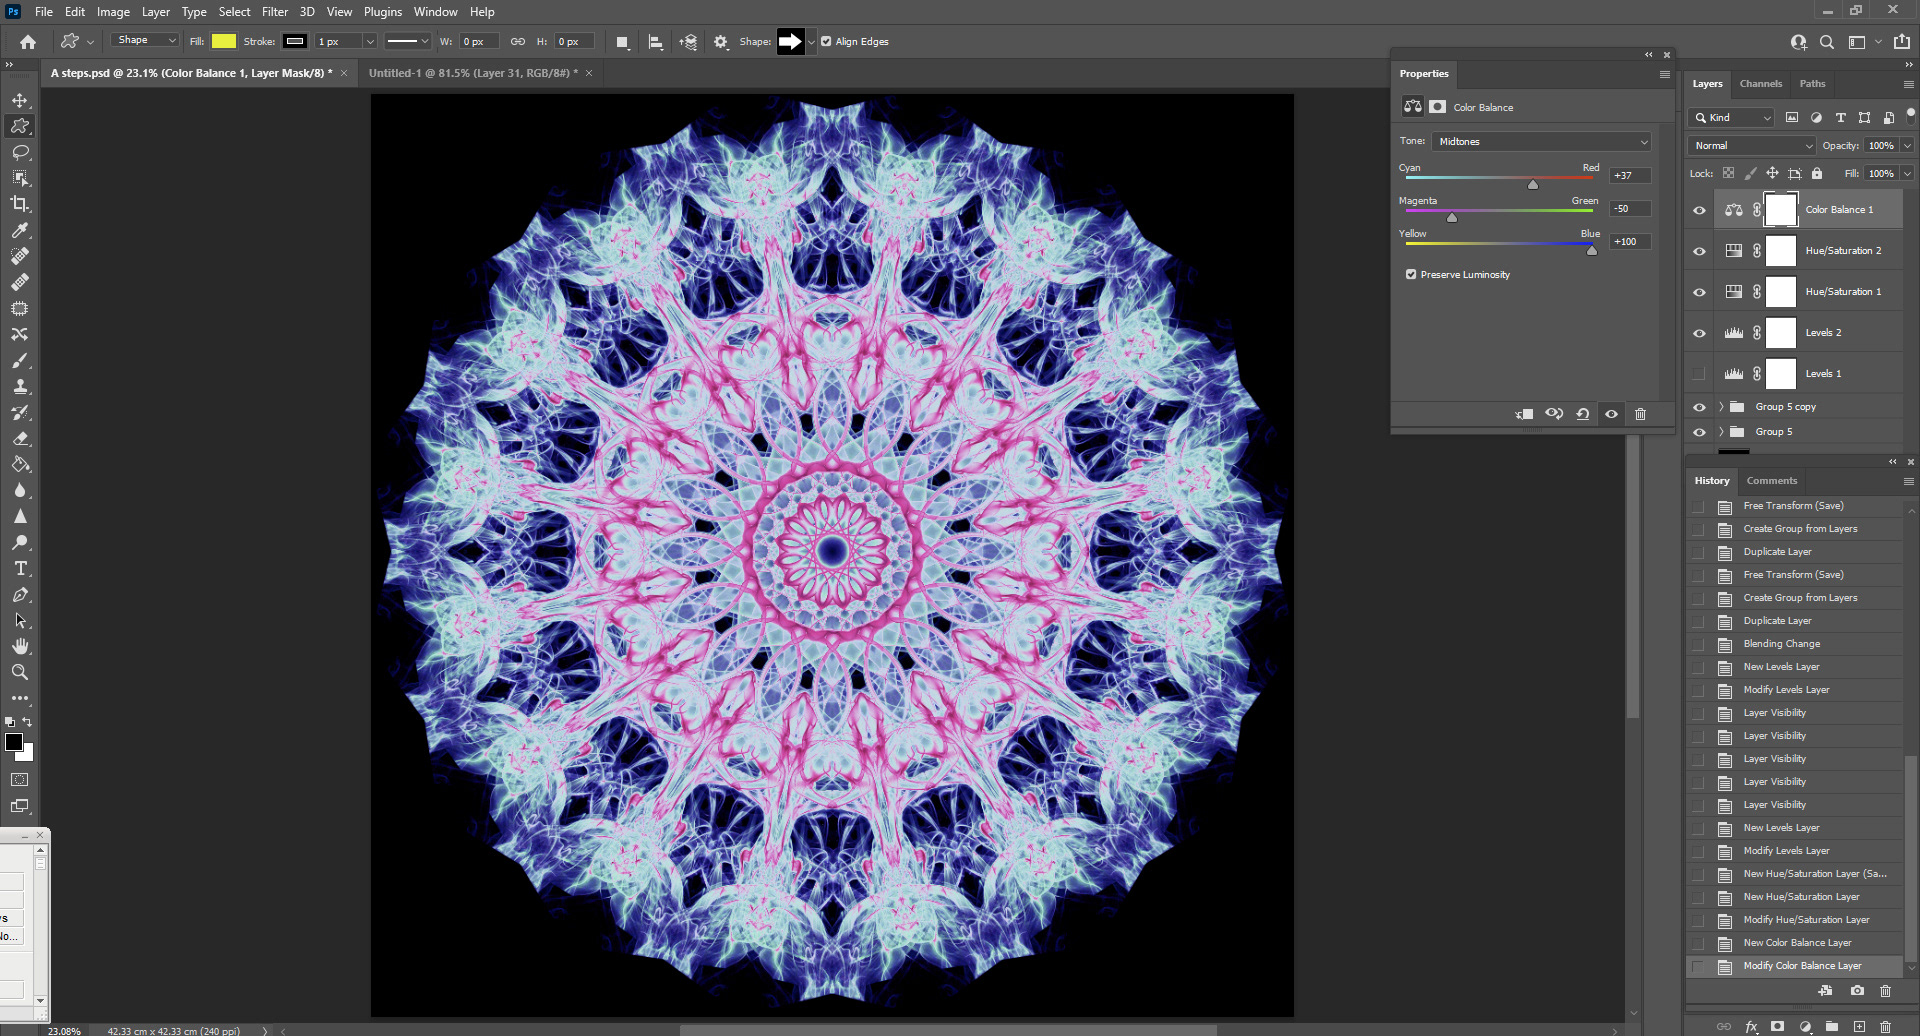
Using the Colour Balance adjustment layer, I changed the image further.
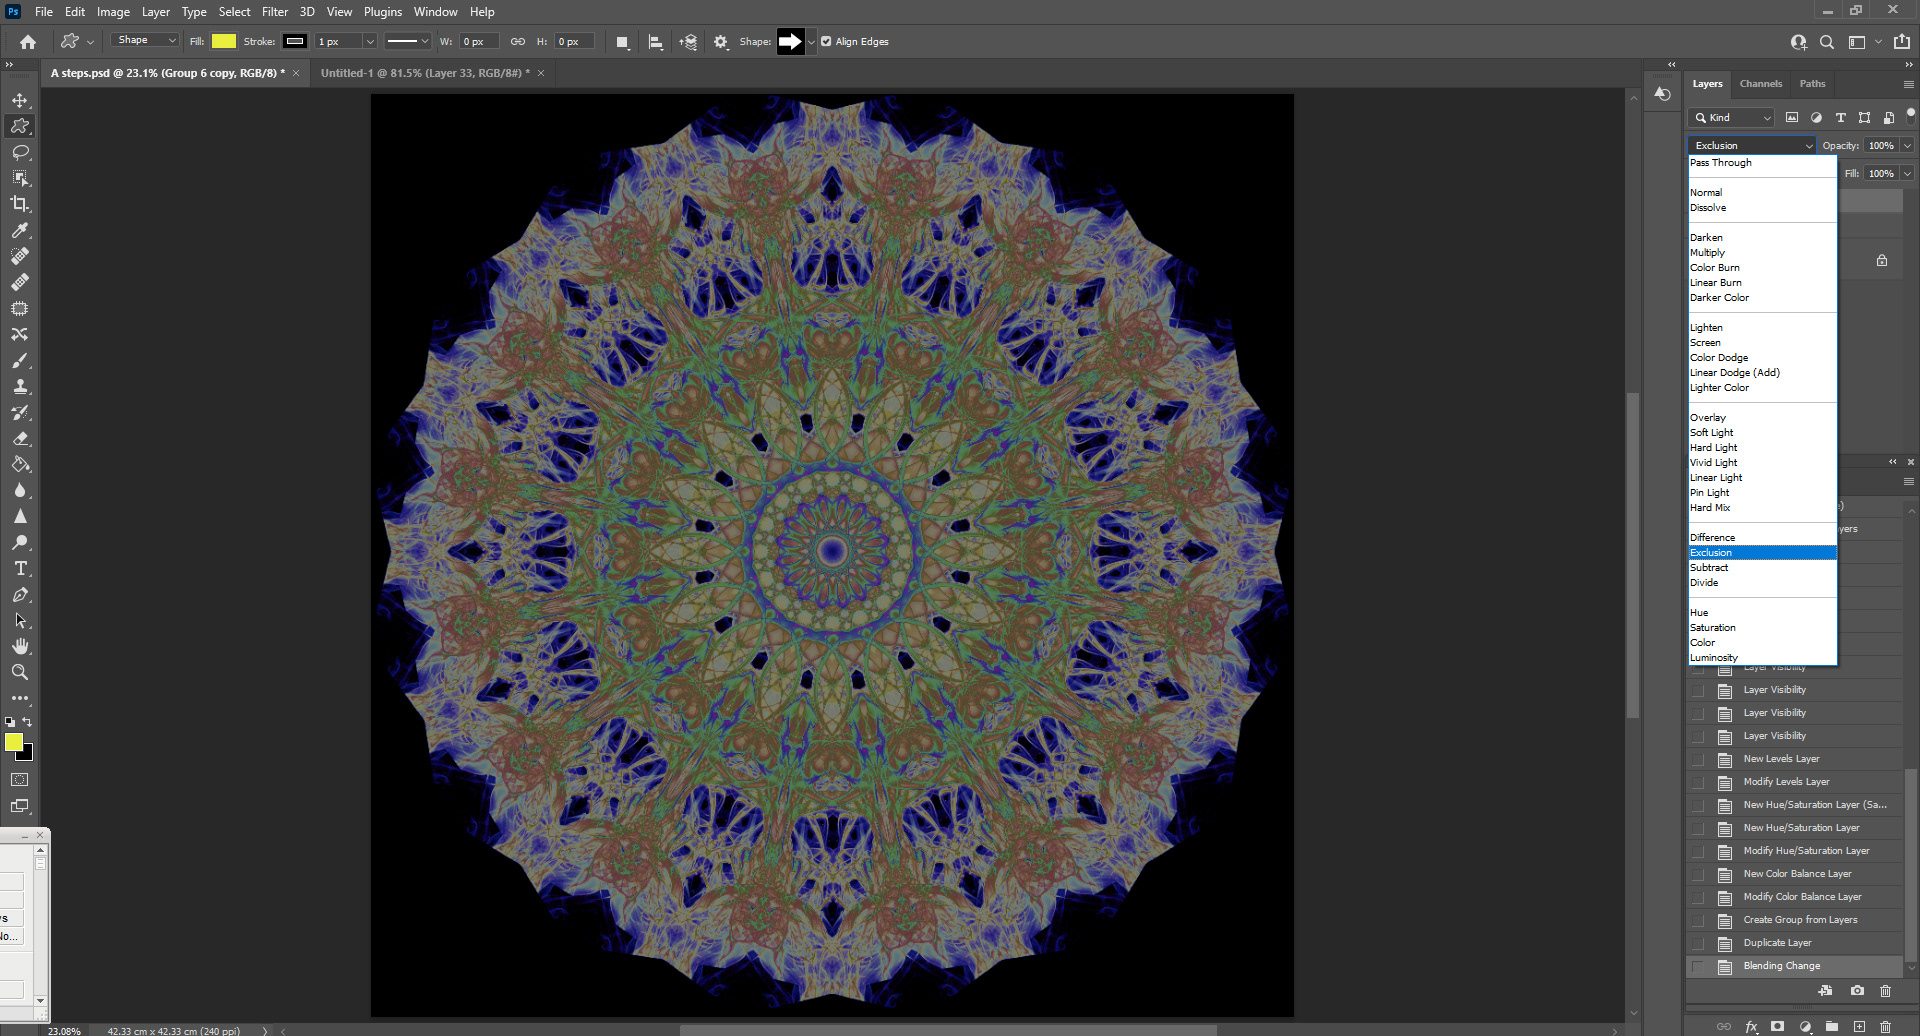
I repeated the previous steps of selecting all the layers (apart from the background), making a new group which I then duplicated, and changed the blending mode to Exclusion again.
Again using Levels, I brightened the image further.
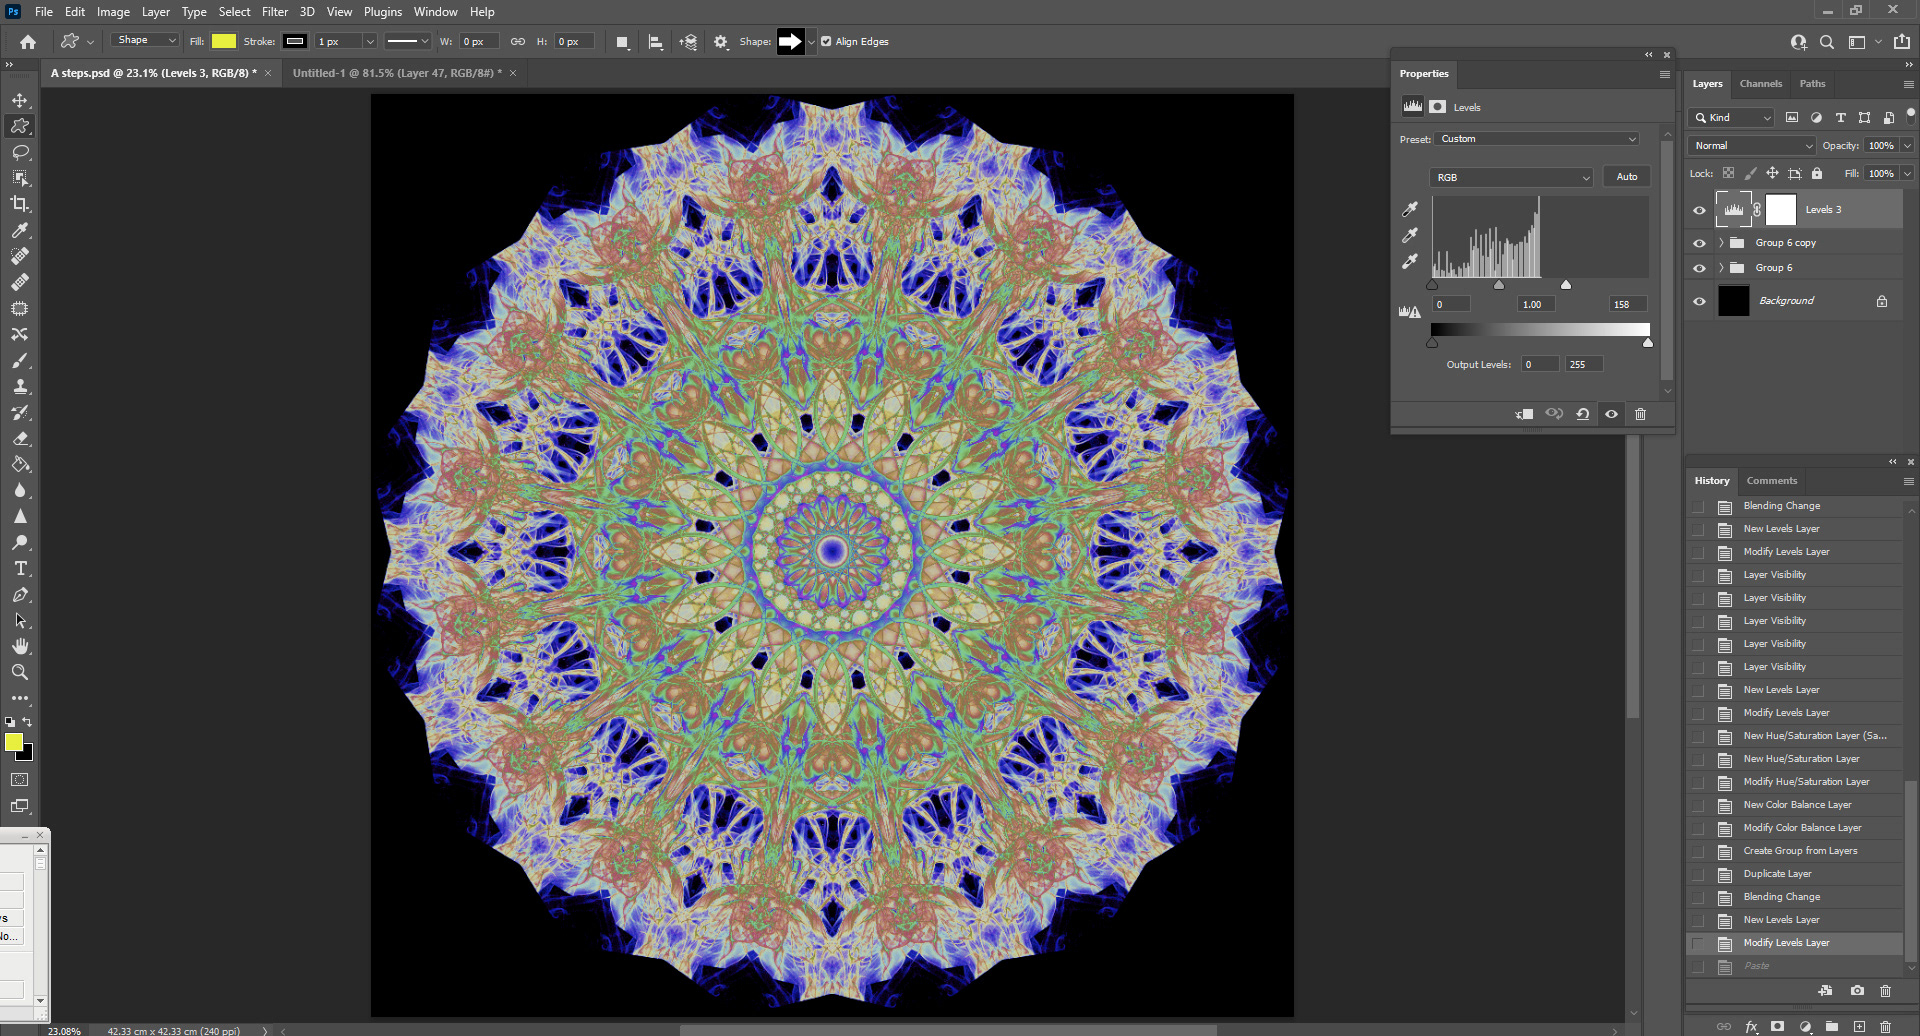
Finally, I added some contrast and depth using the Levels adjustment layer, resulting in this, all from a single whiff of smoke.