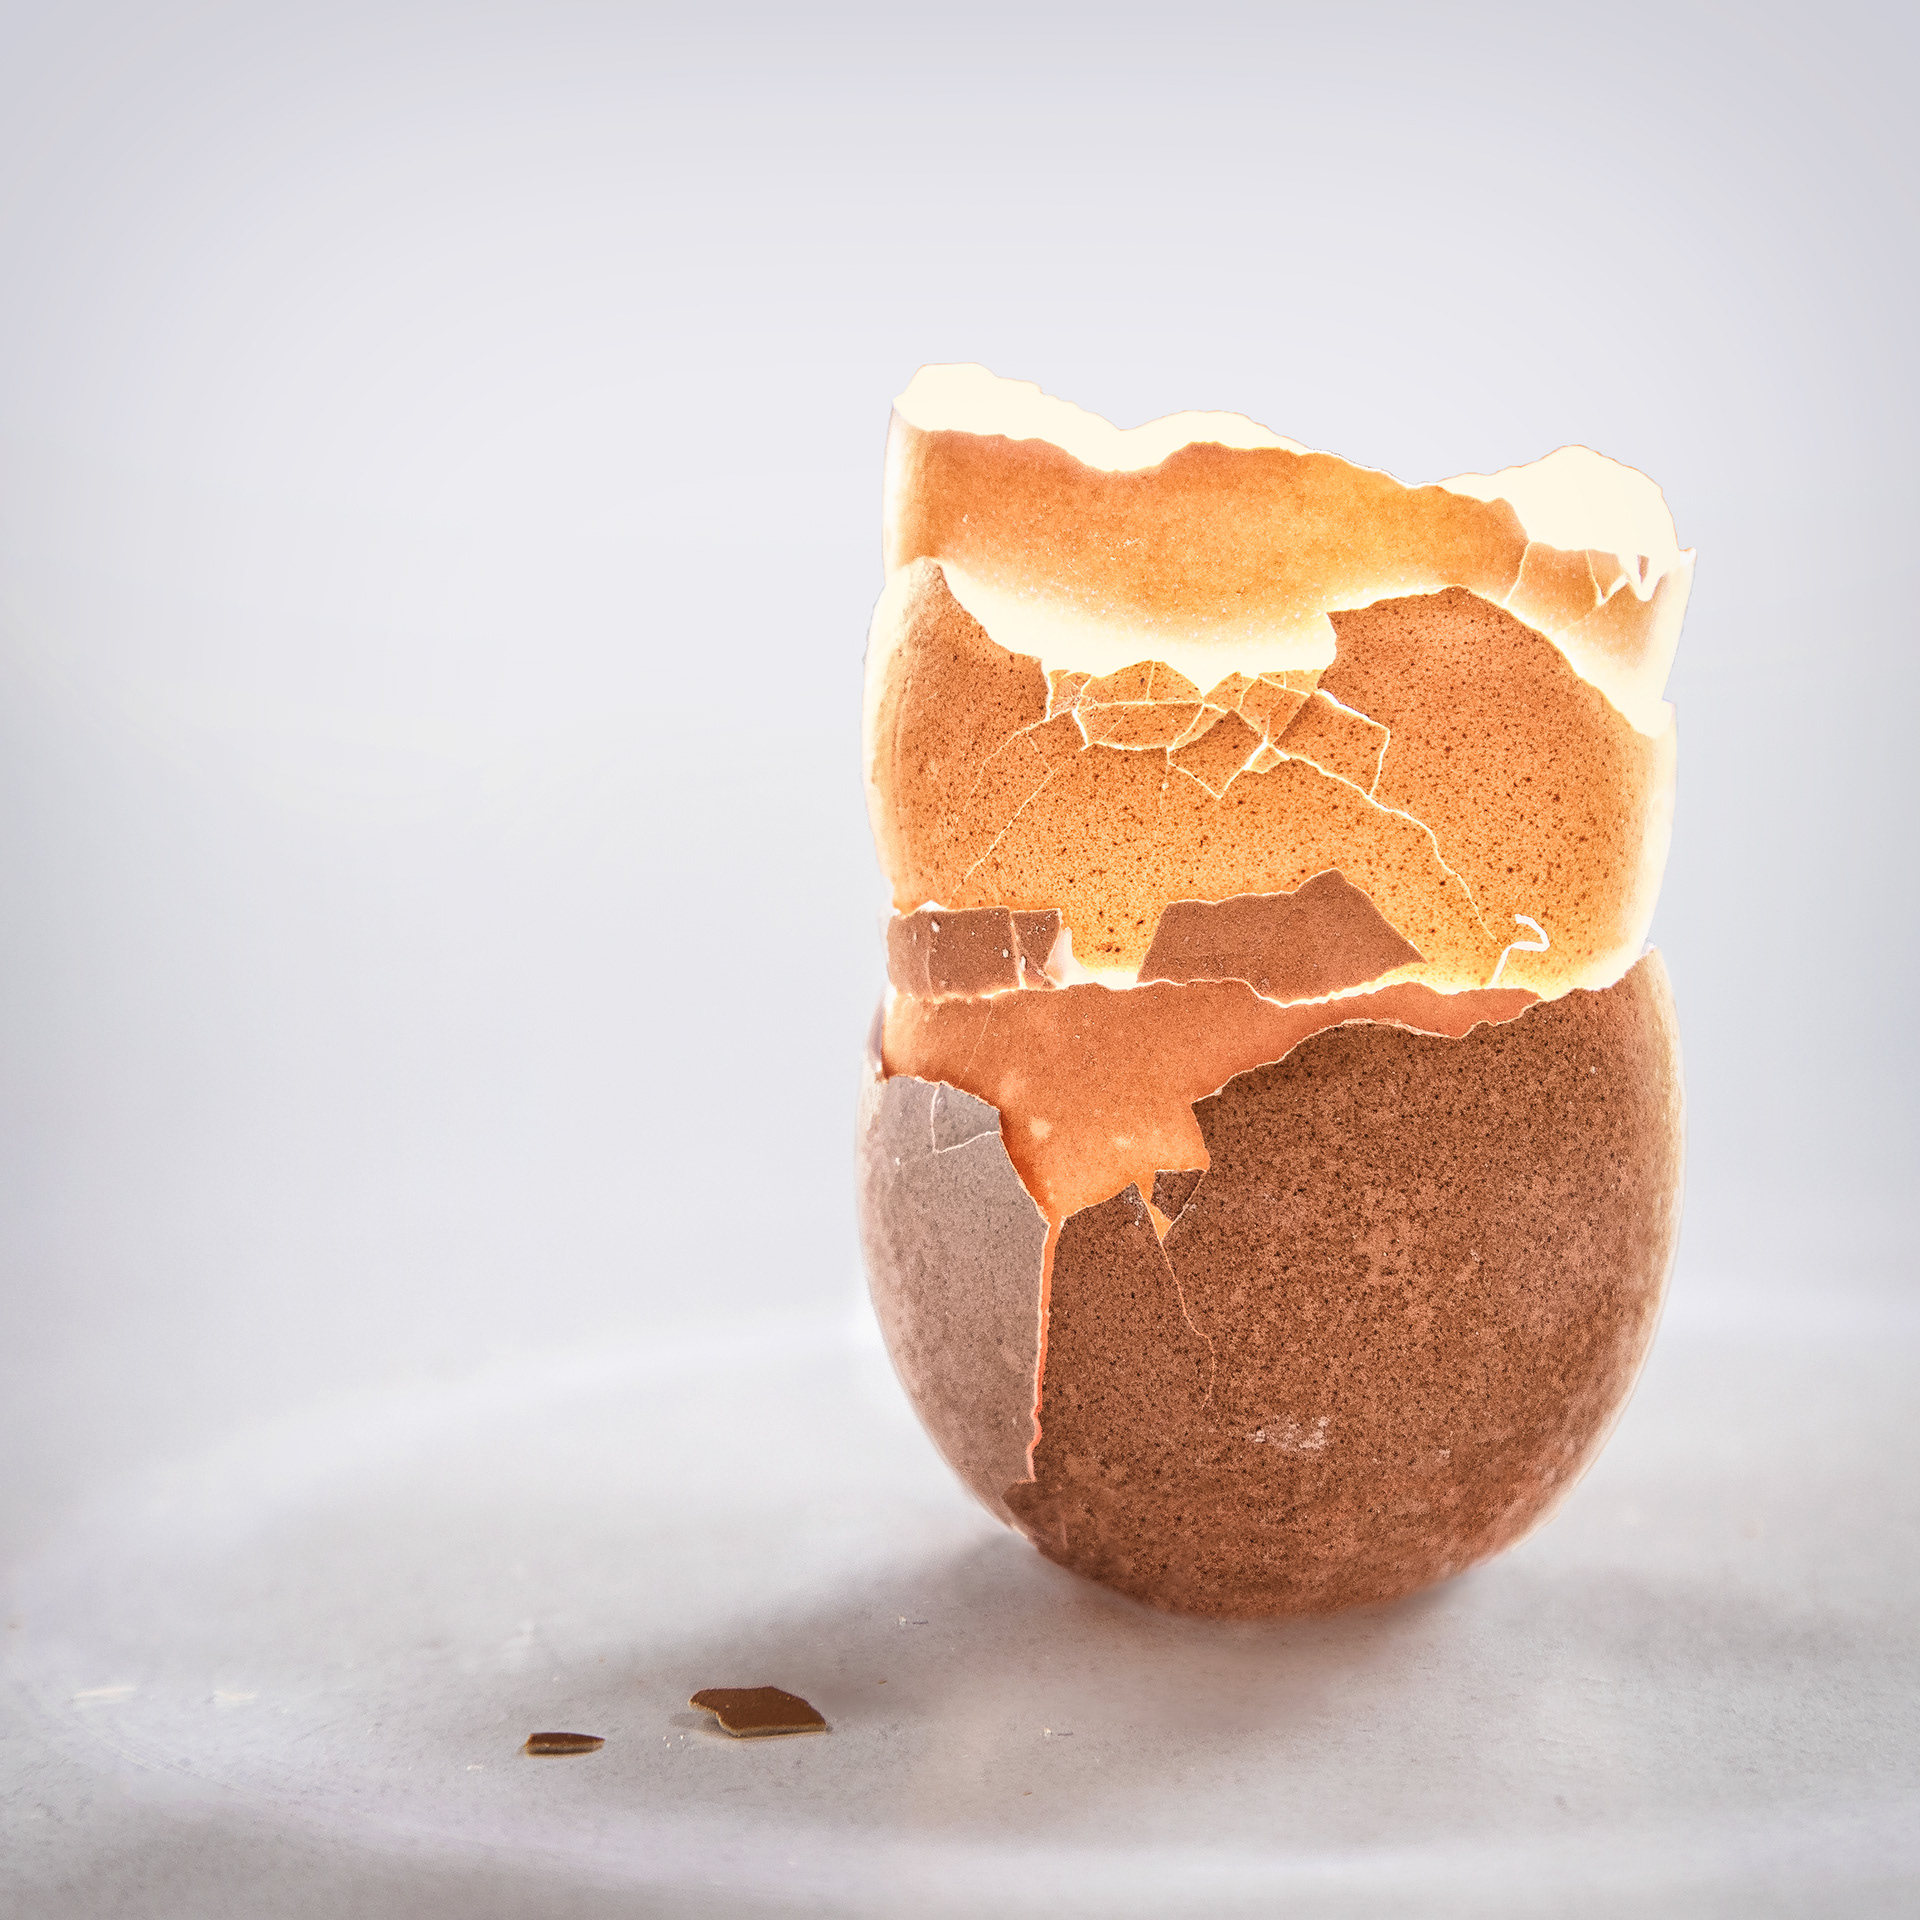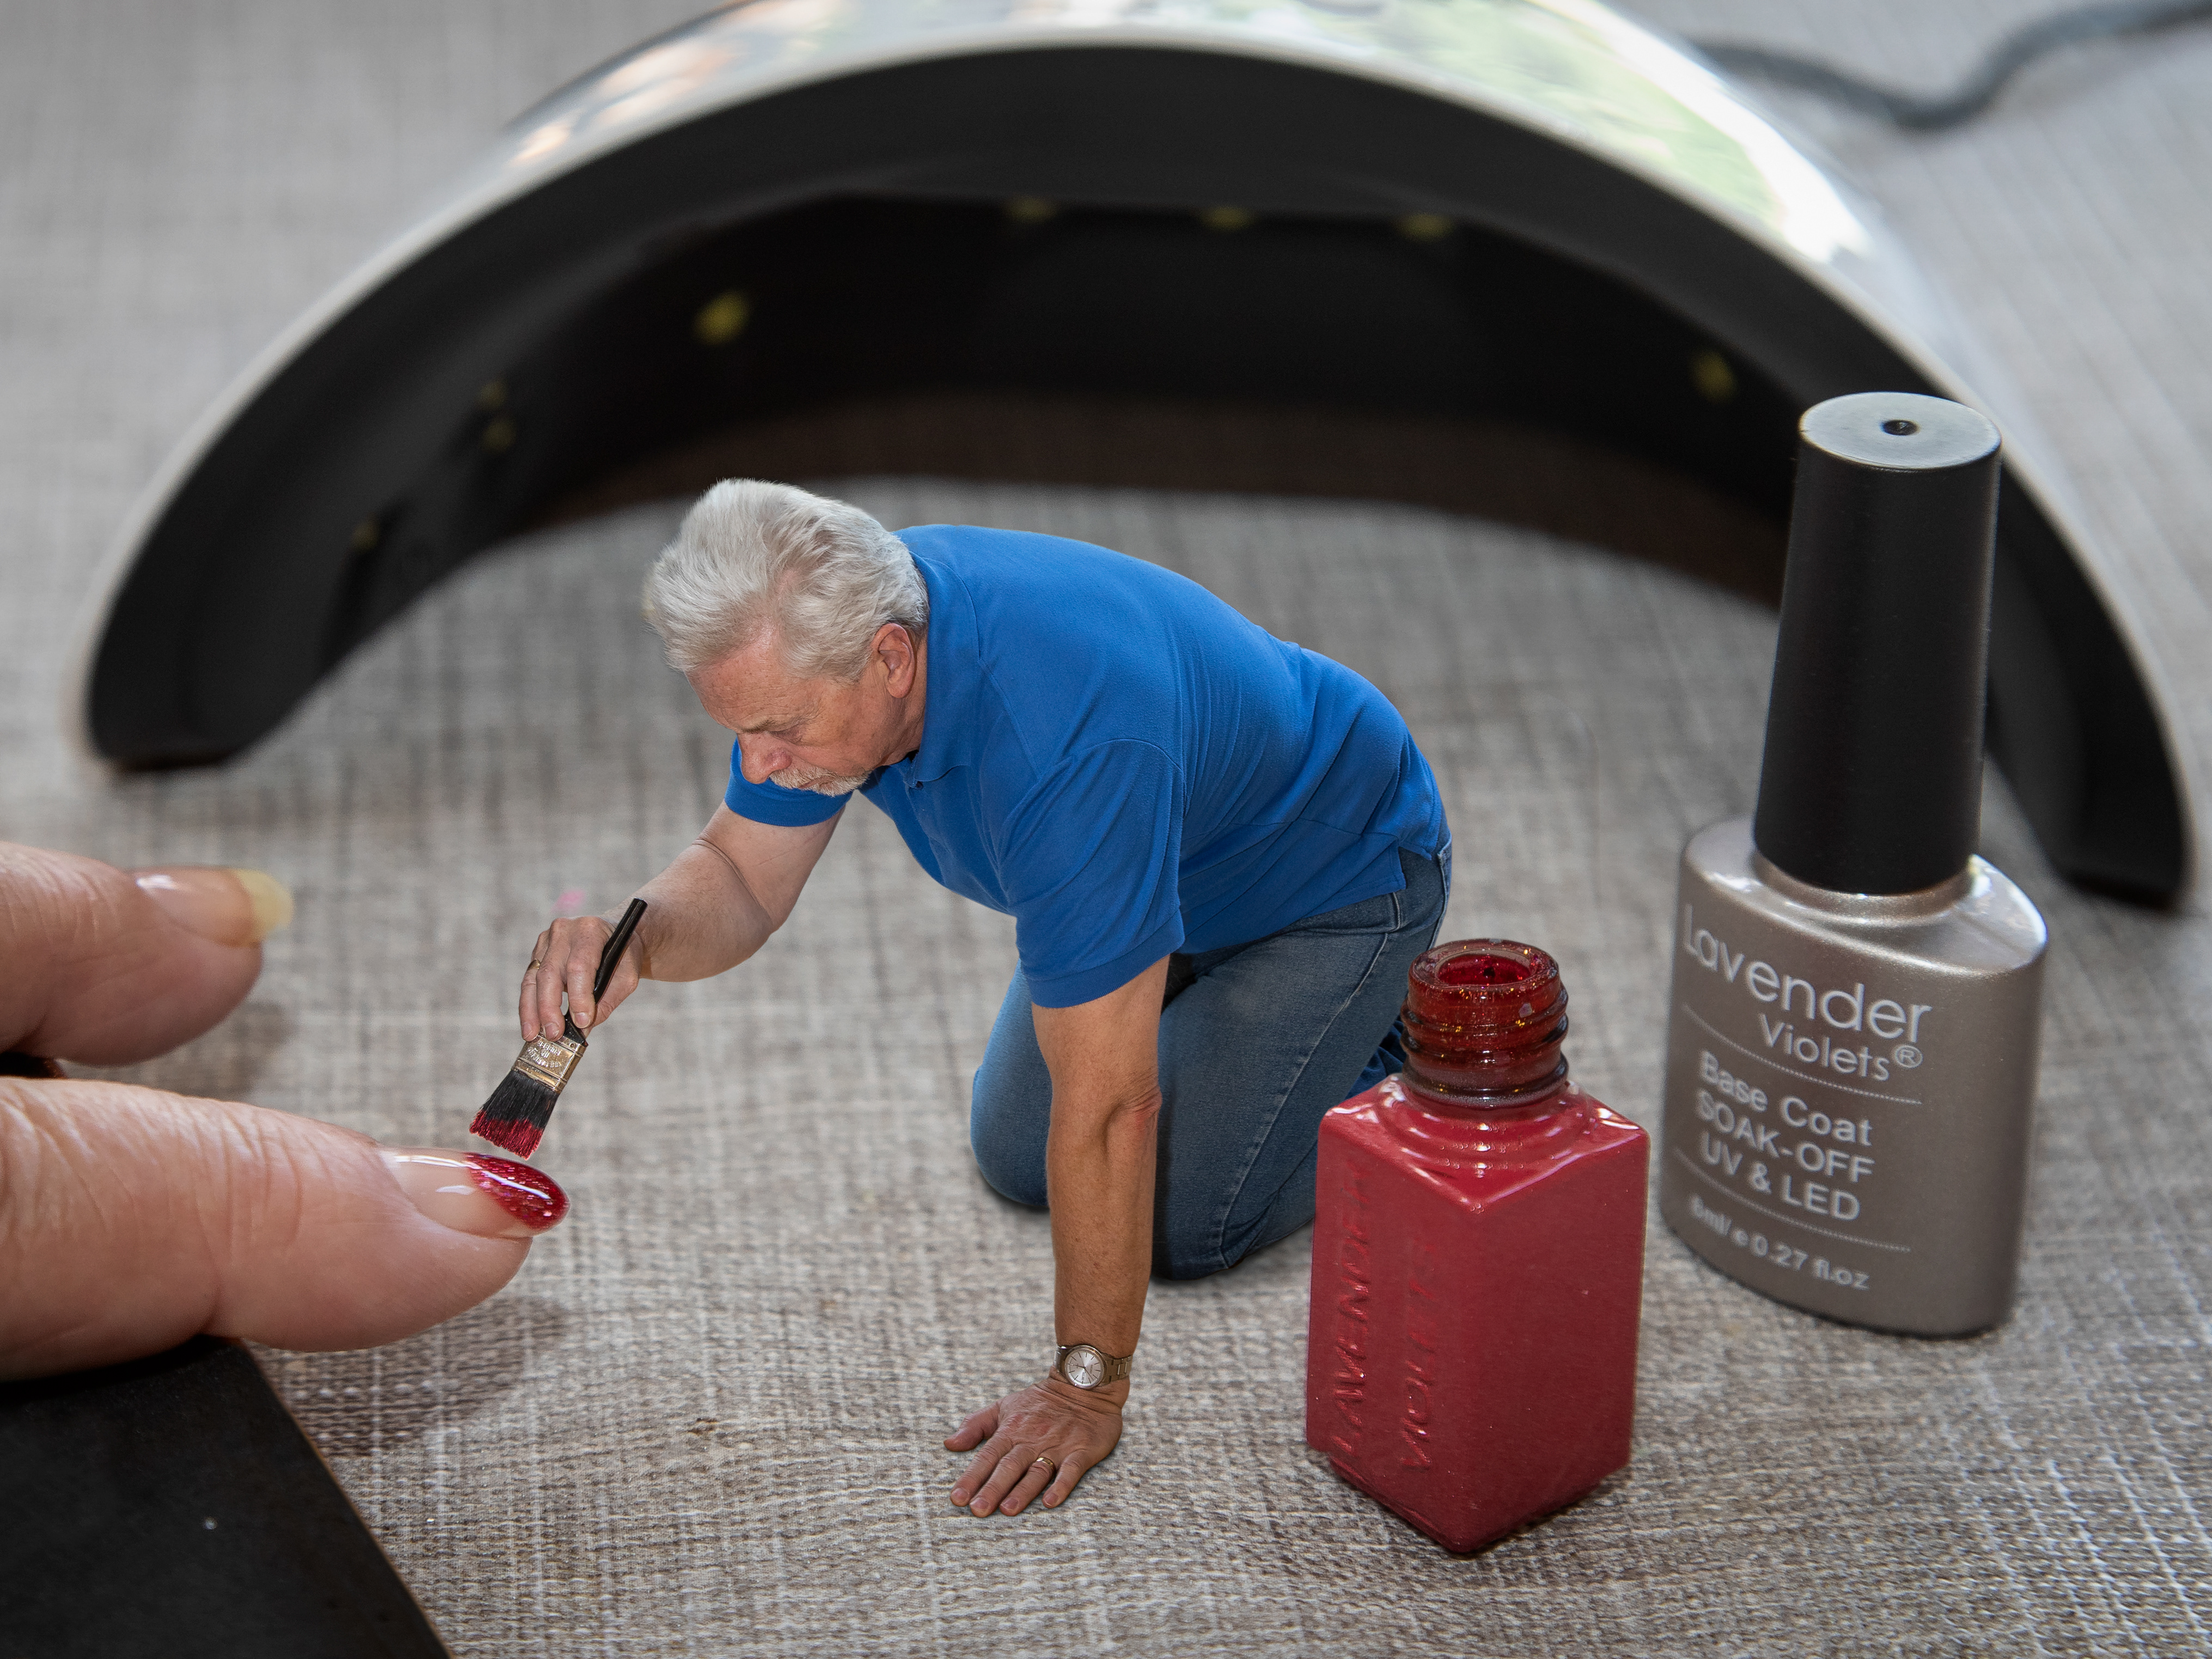
For the last couple of weeks or more, I have been collecting egg shells to use in this project.
I had an idea of what I wanted the finished image to look like, but not really how I was going to achieve it.
I had an idea of what I wanted the finished image to look like, but not really how I was going to achieve it.
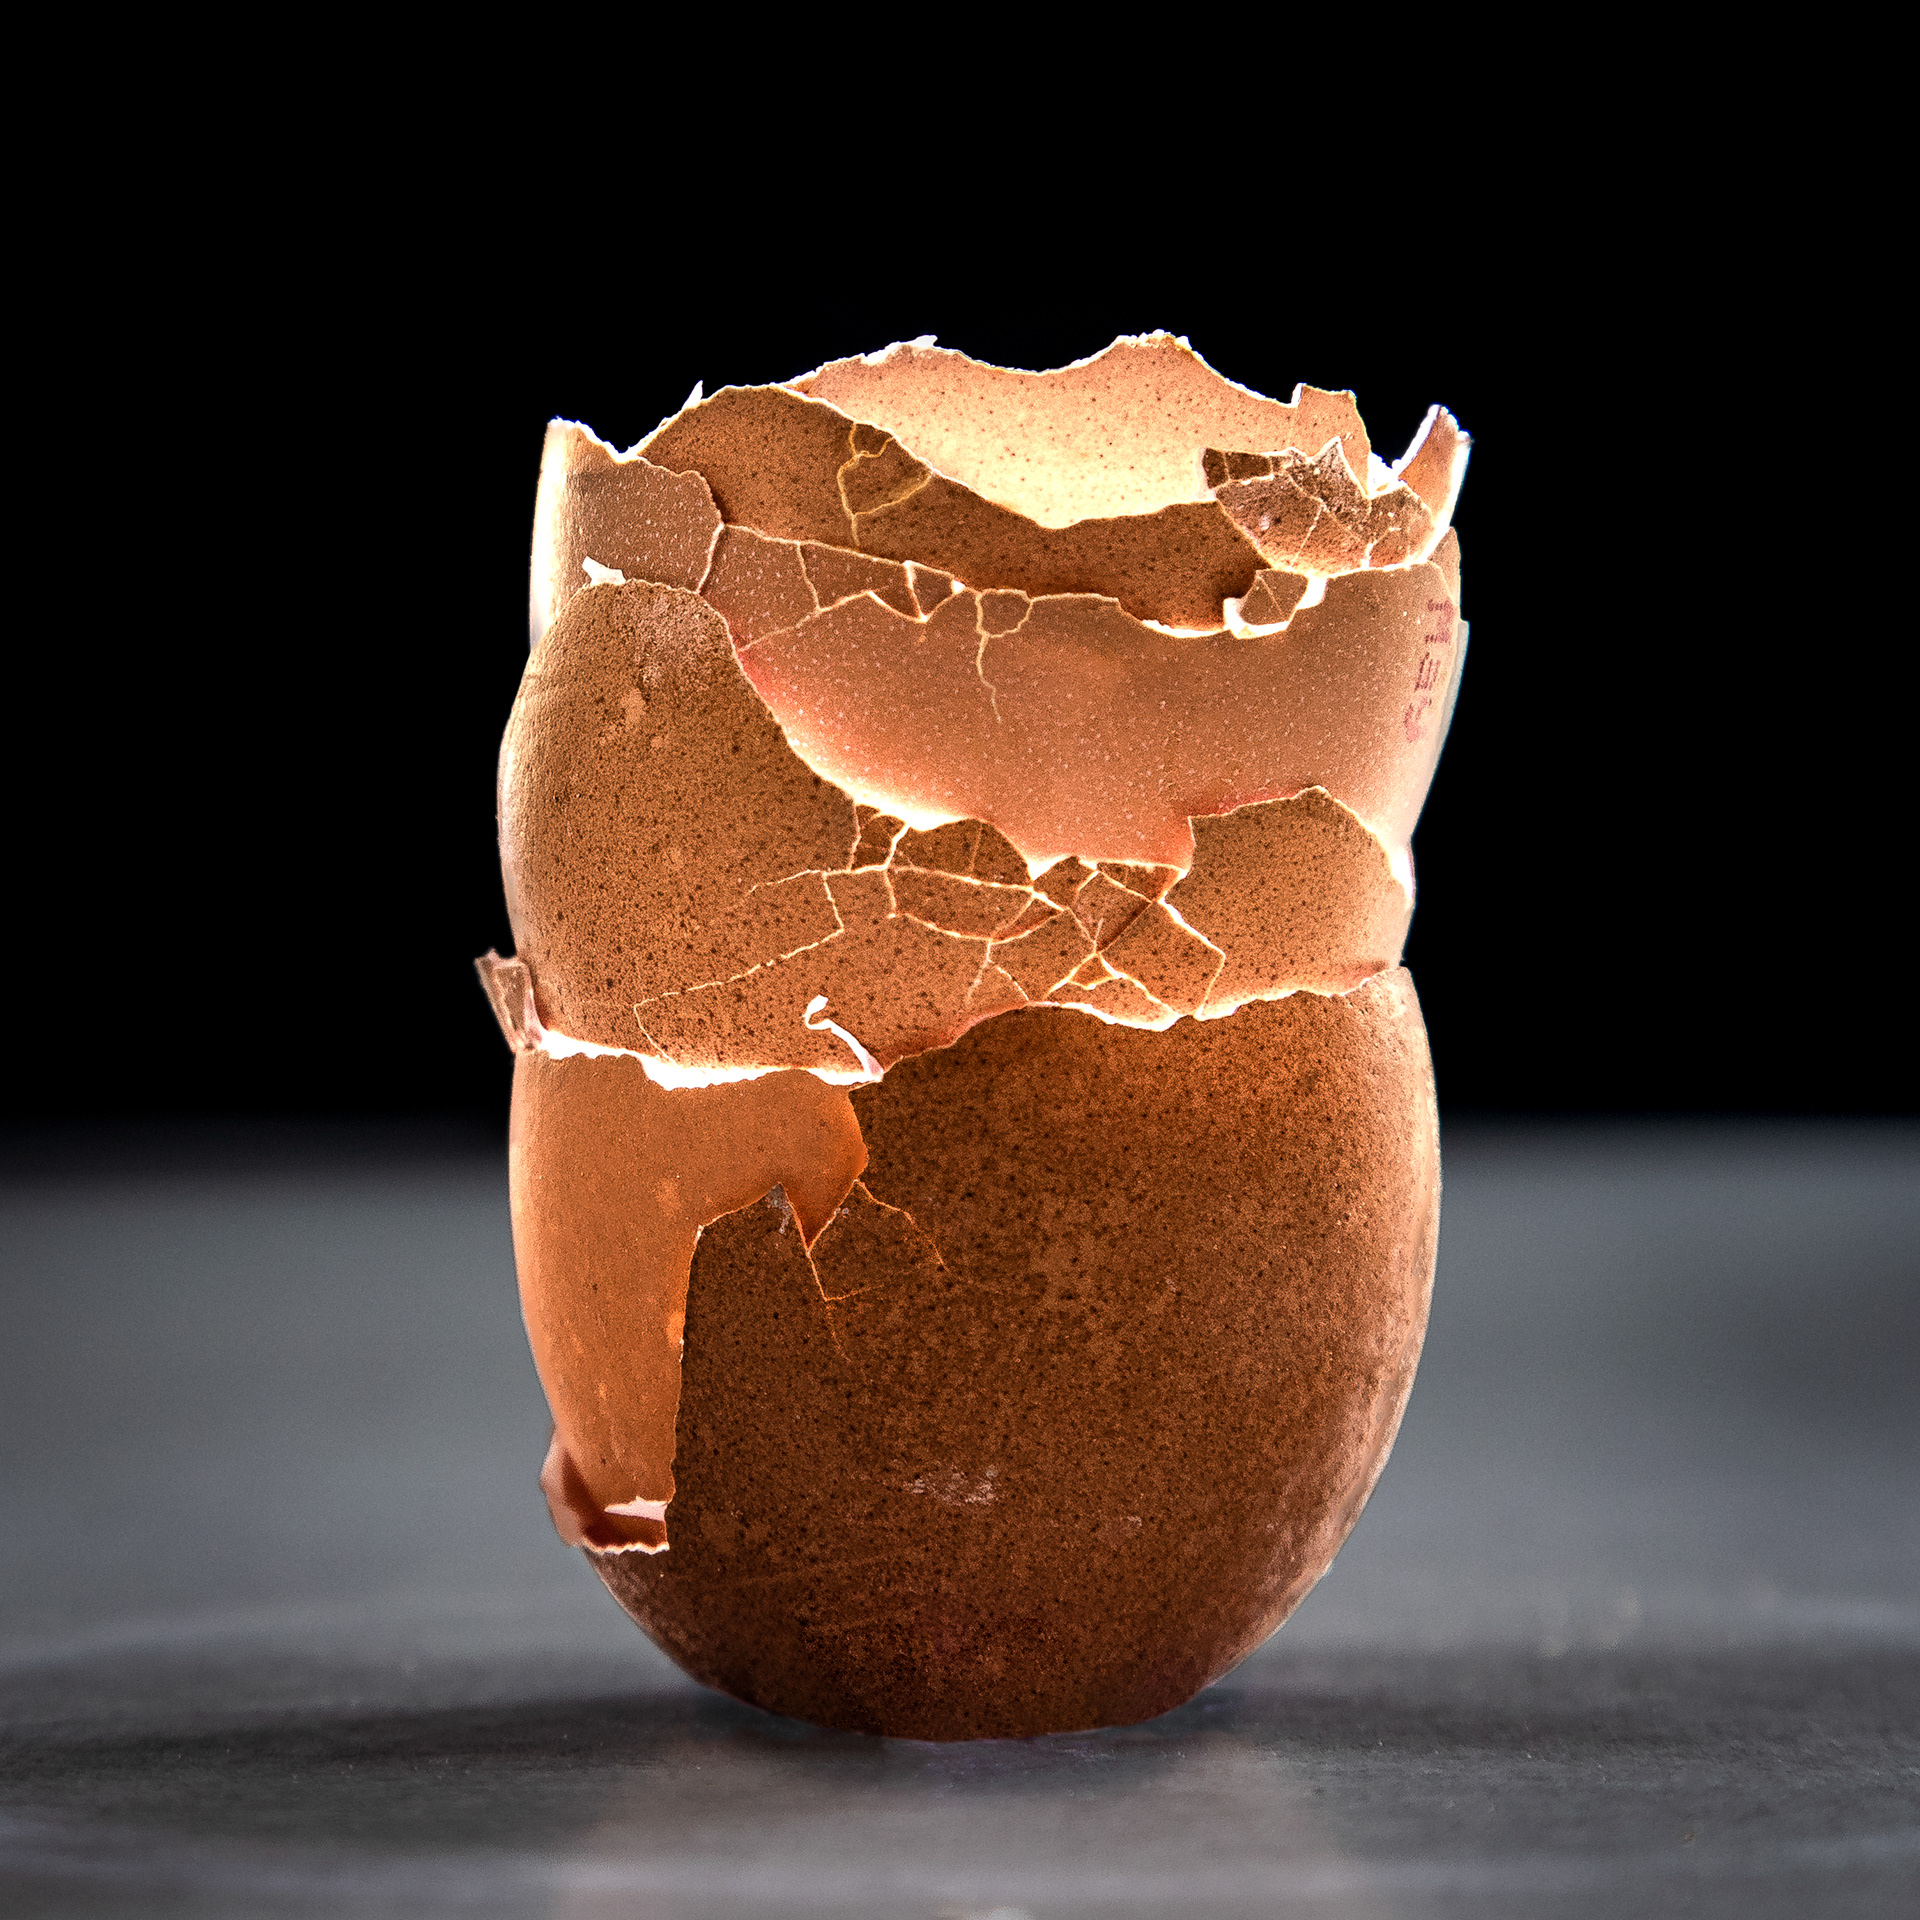
I stacked the egg shells inside each other on a piece of white card and had the LSH shine a torch (flash-light) into them from above.
The top shell looked great, but there was little to no light filtering through to the ones below. I needed to make holes in the bottom of the shells.
Just as well I saved so many of them! The first few times I tried to punch a hole in the bottom of the egg, the shell just broke, until the LSH suggested I stick some Sellotape to the outside of the shell! This worked, and I carefully used the egg-piercer to create lots of little holes until I had an opening large enough to get a small pair of scissors in. I was then able to fairly easily cut out a gap big enough for light to shine through.
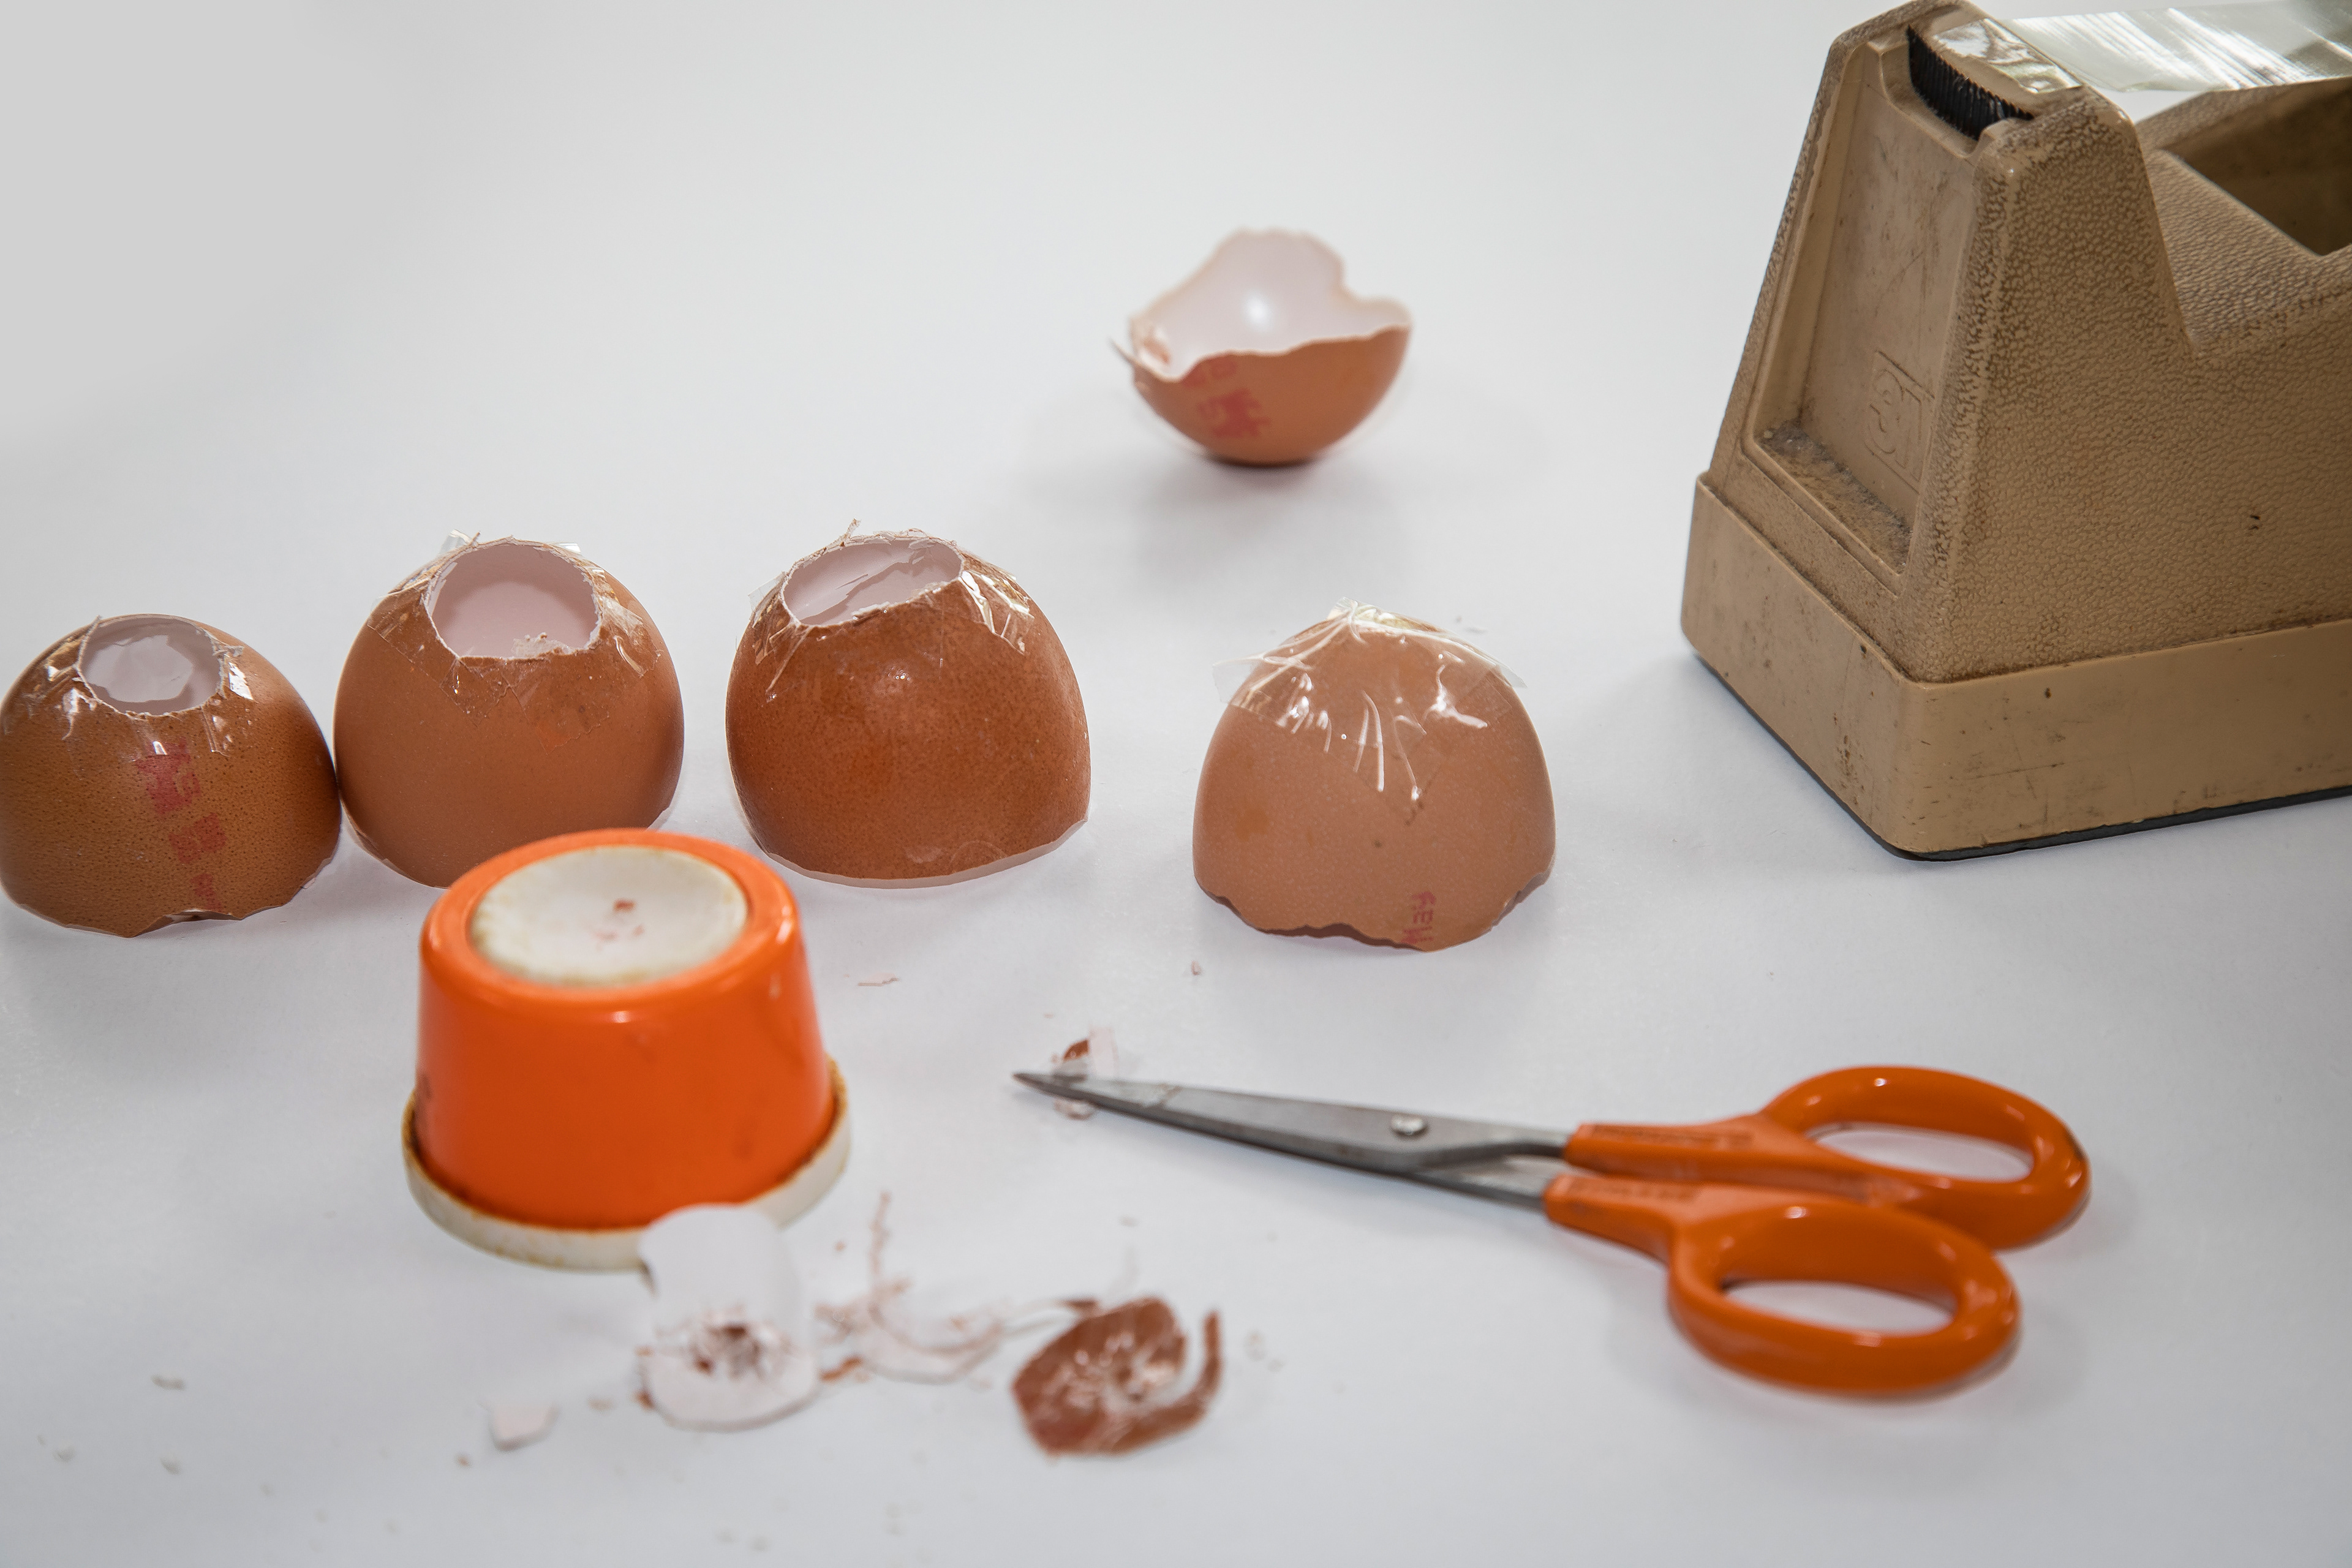
Arranging them took quite some trial and error. I'd carefully used a sharp knife when I cracked the eggs for this project (rather than my usual habit of banging them against the top of a glass or a coffee cup), but now I found the ones with ragged edges looked better than the clean cut ones. Doh!
Getting the light just right was another problem, and with hindsight I might have been better off making myself some sort of a snoot for the torch. There was a LOT of post processing work in Photoshop to get the colour, contrast, saturation and texture the way I wanted it, but I finally think I cracked it!
Here's another version.