A couple of years ago my dad gave me some money for my birthday, and I decided to spend it on photographic equipment I wouldn't otherwise have purchased myself. One of those items was a Splash Art Kit water dropper. This kit comprises of a solenoid camera trigger, a stand with a reservoir for water or other liquid, a dropper and a control box. I tested it as soon as I received it, and then put it on one side until I had a bit more time.

Now that time has come. I've been trying for a while to set up my two Canon flash guns to both fire as slaves, and both with reduced power. I can set the flash guns up individually with reduced power, and I can set up both lights to fire as slaves, but I have not been able to figure out how to do both. I read the manuals, I watched YouTube videos, I searched forums and I asked more knowledgeable friends. I was still none the wiser. Eventually I read somewhere that they were not both compatible with the controller, and in addition, a few people advised me not to use two flash guns with different power, as ghosting may result.
So I splashed out (see what I did here?) on two Yongnuo flash guns and a Yongnuo controller. Setting the lights up as described above was a doddle and took me just a couple of minutes once I had figured out which dial and button does what.
Stepping outside my comfort Zone, I set the SplashArt kit up on my dining table and read the instructions that came with the kit. The controller has four dials to adjust the size of the first drop, the delay between drops, the size of the second drop, and the camera delay. They are all very sensitive and only require the slightest tweak to completely change the results.
Stepping outside my comfort Zone, I set the SplashArt kit up on my dining table and read the instructions that came with the kit. The controller has four dials to adjust the size of the first drop, the delay between drops, the size of the second drop, and the camera delay. They are all very sensitive and only require the slightest tweak to completely change the results.
It all seems very simple, so let's see what I can make out of it.
In the first incident, I used a white wooden board as a back drop, resting against a couple of storage boxes.

I placed a glass bowl which had been sprayed with a matt black paint on an oven tray to catch the splashes. I started off just using plain water for both the drops and the receiving liquid. I did, however, put some dishwasher rinse aid in the base container, which reduces the surface tension and is said to help create taller spikes.

Camera settings:
Manual Exposure – I want to be in control of the exposure, as once I have set the whole thing up, I shouldn't need to change the camera settings (unless I change anything in the physical set-up.
ISO 100 – I started off with ISO 100.
Shutter speed 1/200, which is my flash sync speed
Aperture f/13 to try and get as much as possible of the splash in focus.
Mirror lock-up - the mechanical delay of the mirror flipping up and then shutter firing is typically around 100 milliseconds or so, while locking the mirror up before each shot should reduce the delay down to around 40-50 milliseconds. It also removes almost all of the internal camera vibration and thus maximising the image sharpness.
Manual focus. I achieved this by having David hold a ruler straight down from the end of the nozzle. Using the Live View and zooming right in, I needed to increase the ISO to be able to see what I was doing, then remembering to adjust it back afterwards.
I initially set it up using my macro lens, but found I was having to be very close to the action in order to fill the frame, so I changed this to my 100-400mm lens, which has a closest focussing distance of 98cm. This should also help aid the depth of field by being that little bit further away from the subject.
The flash guns were also set to manual and 1/64 power. Using water, you cannot light the splashed themselves, you have to aim the light at the background. I added a small soft box to each of the speedlights.
I found my new (ish) geared tripod head to be invaluable for this project, it's been worth its weight in gold so far.
I couldn't believe it when I had some nice results on my very first attempt.

Having checked the images on the PC, it appeared that I needed to increase the aperture, as the depth of field was a little too shallow for my liking.
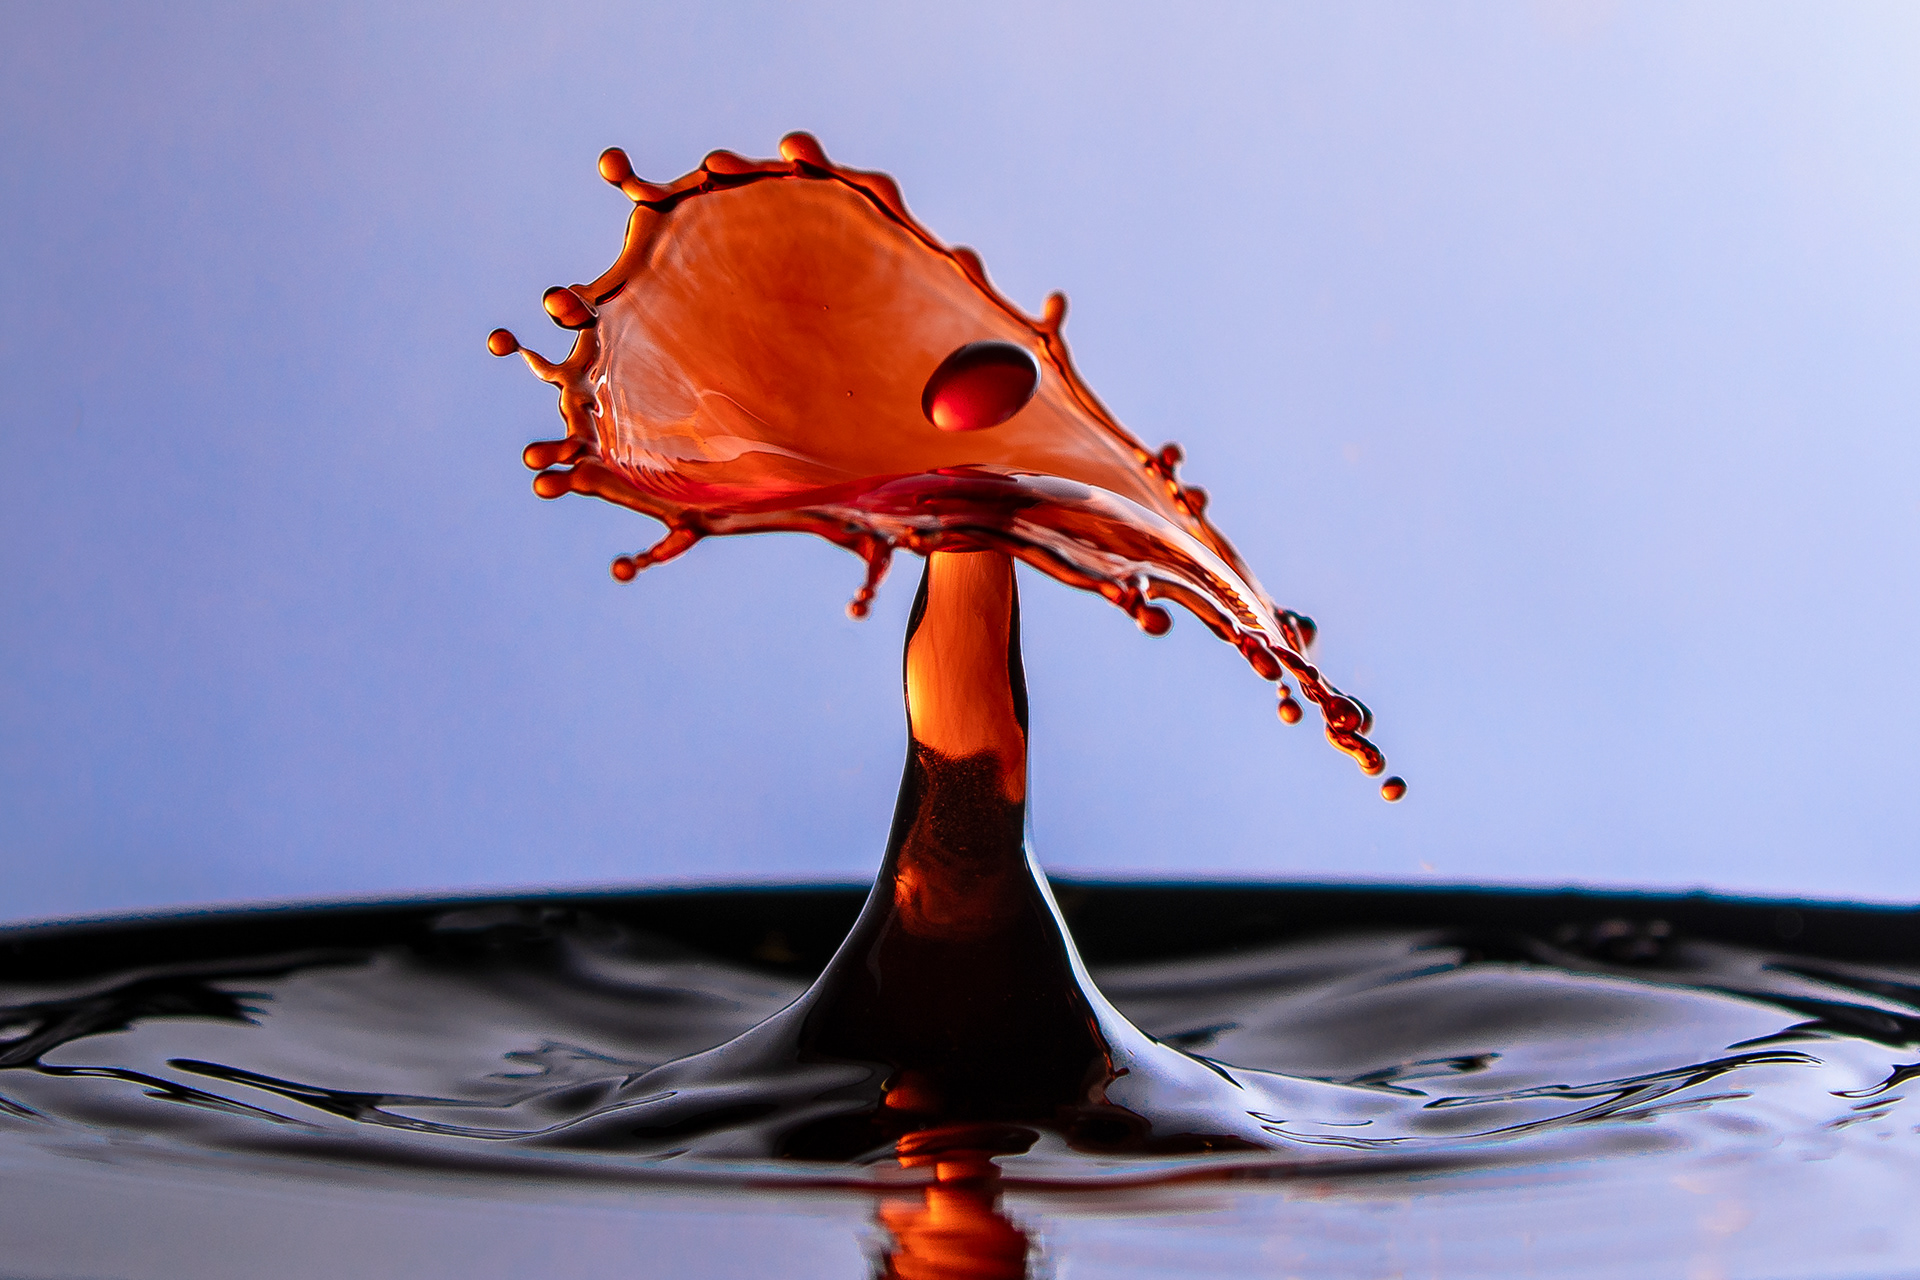
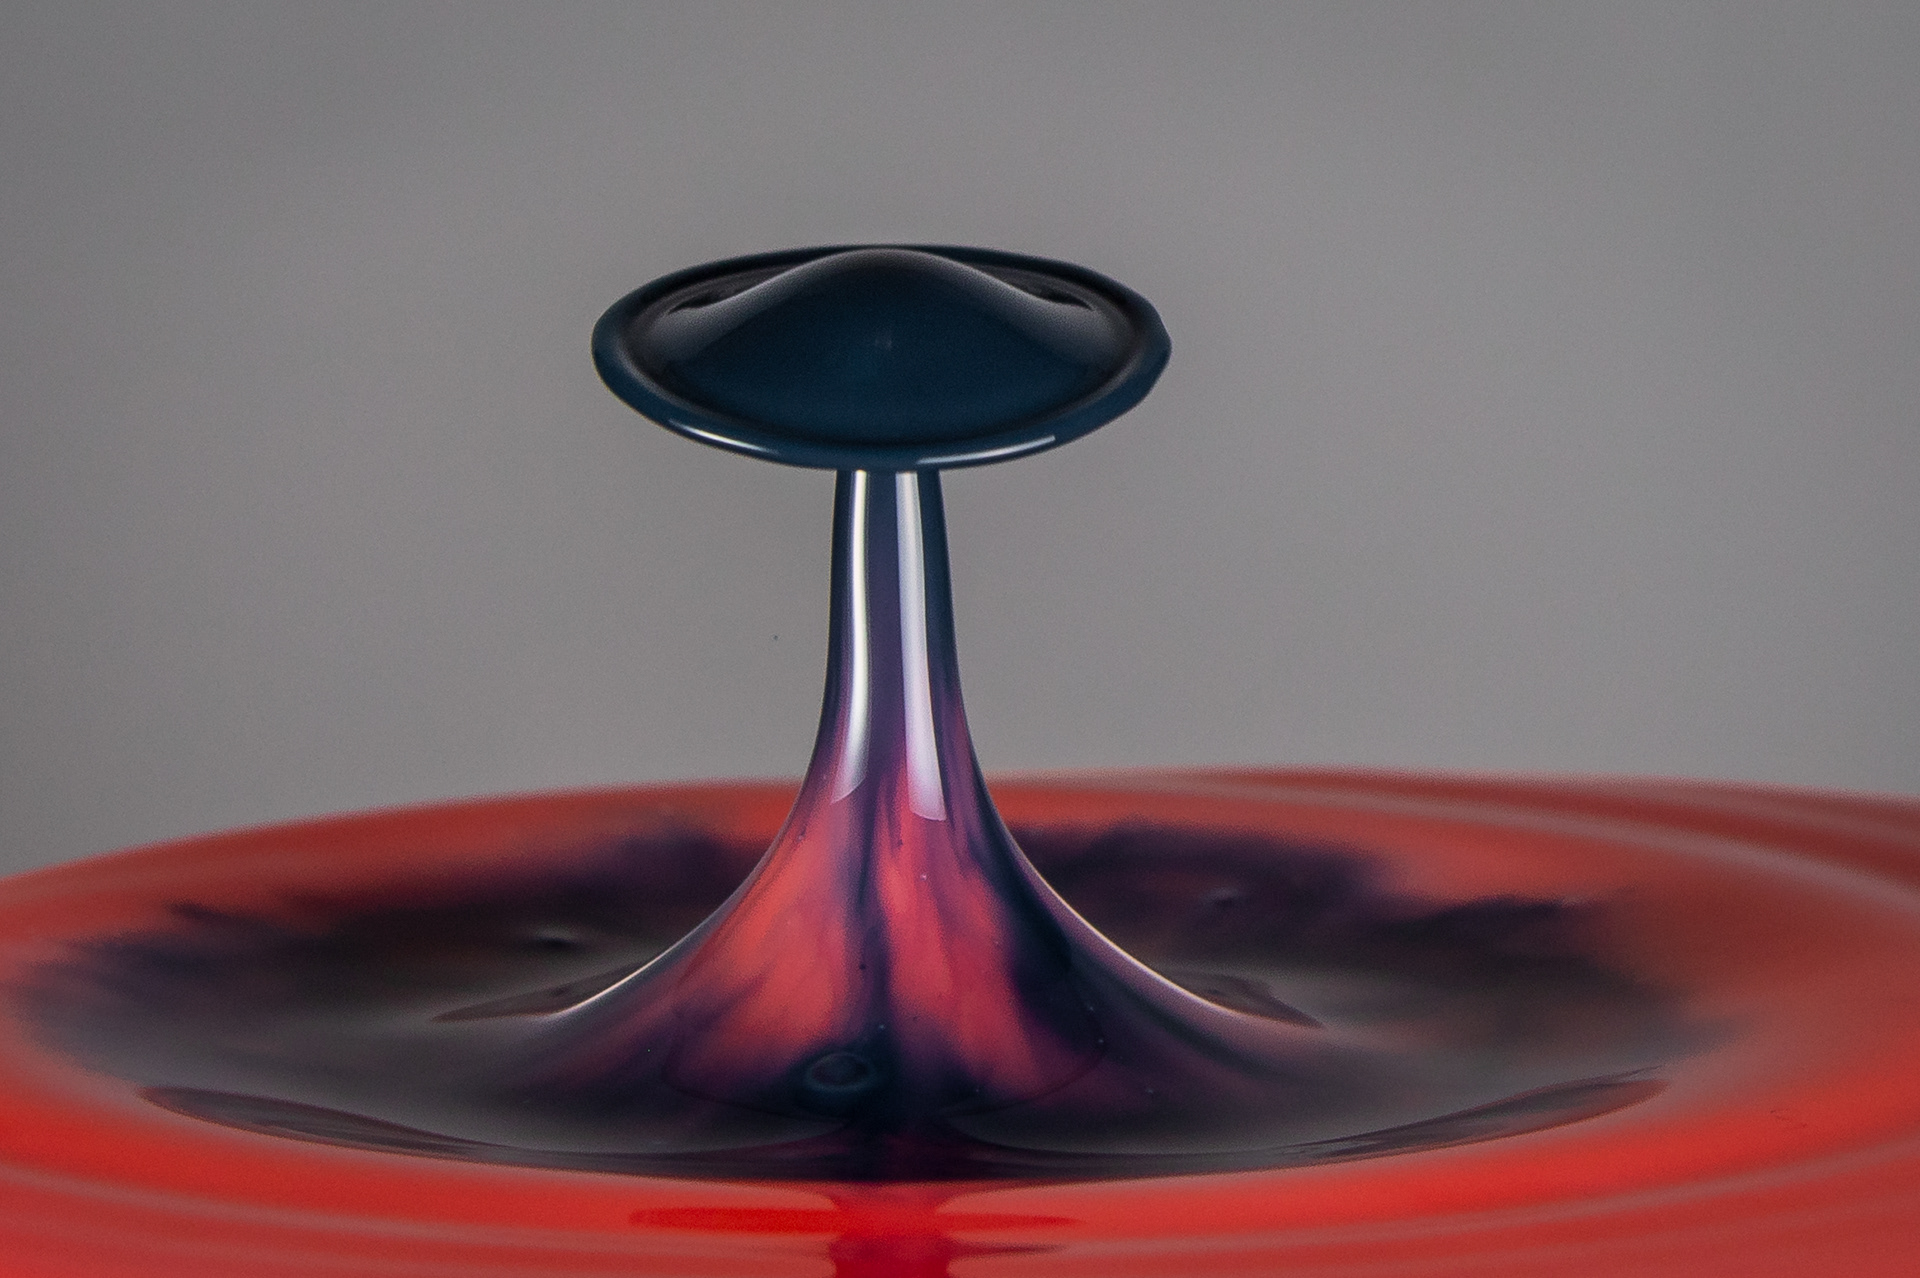
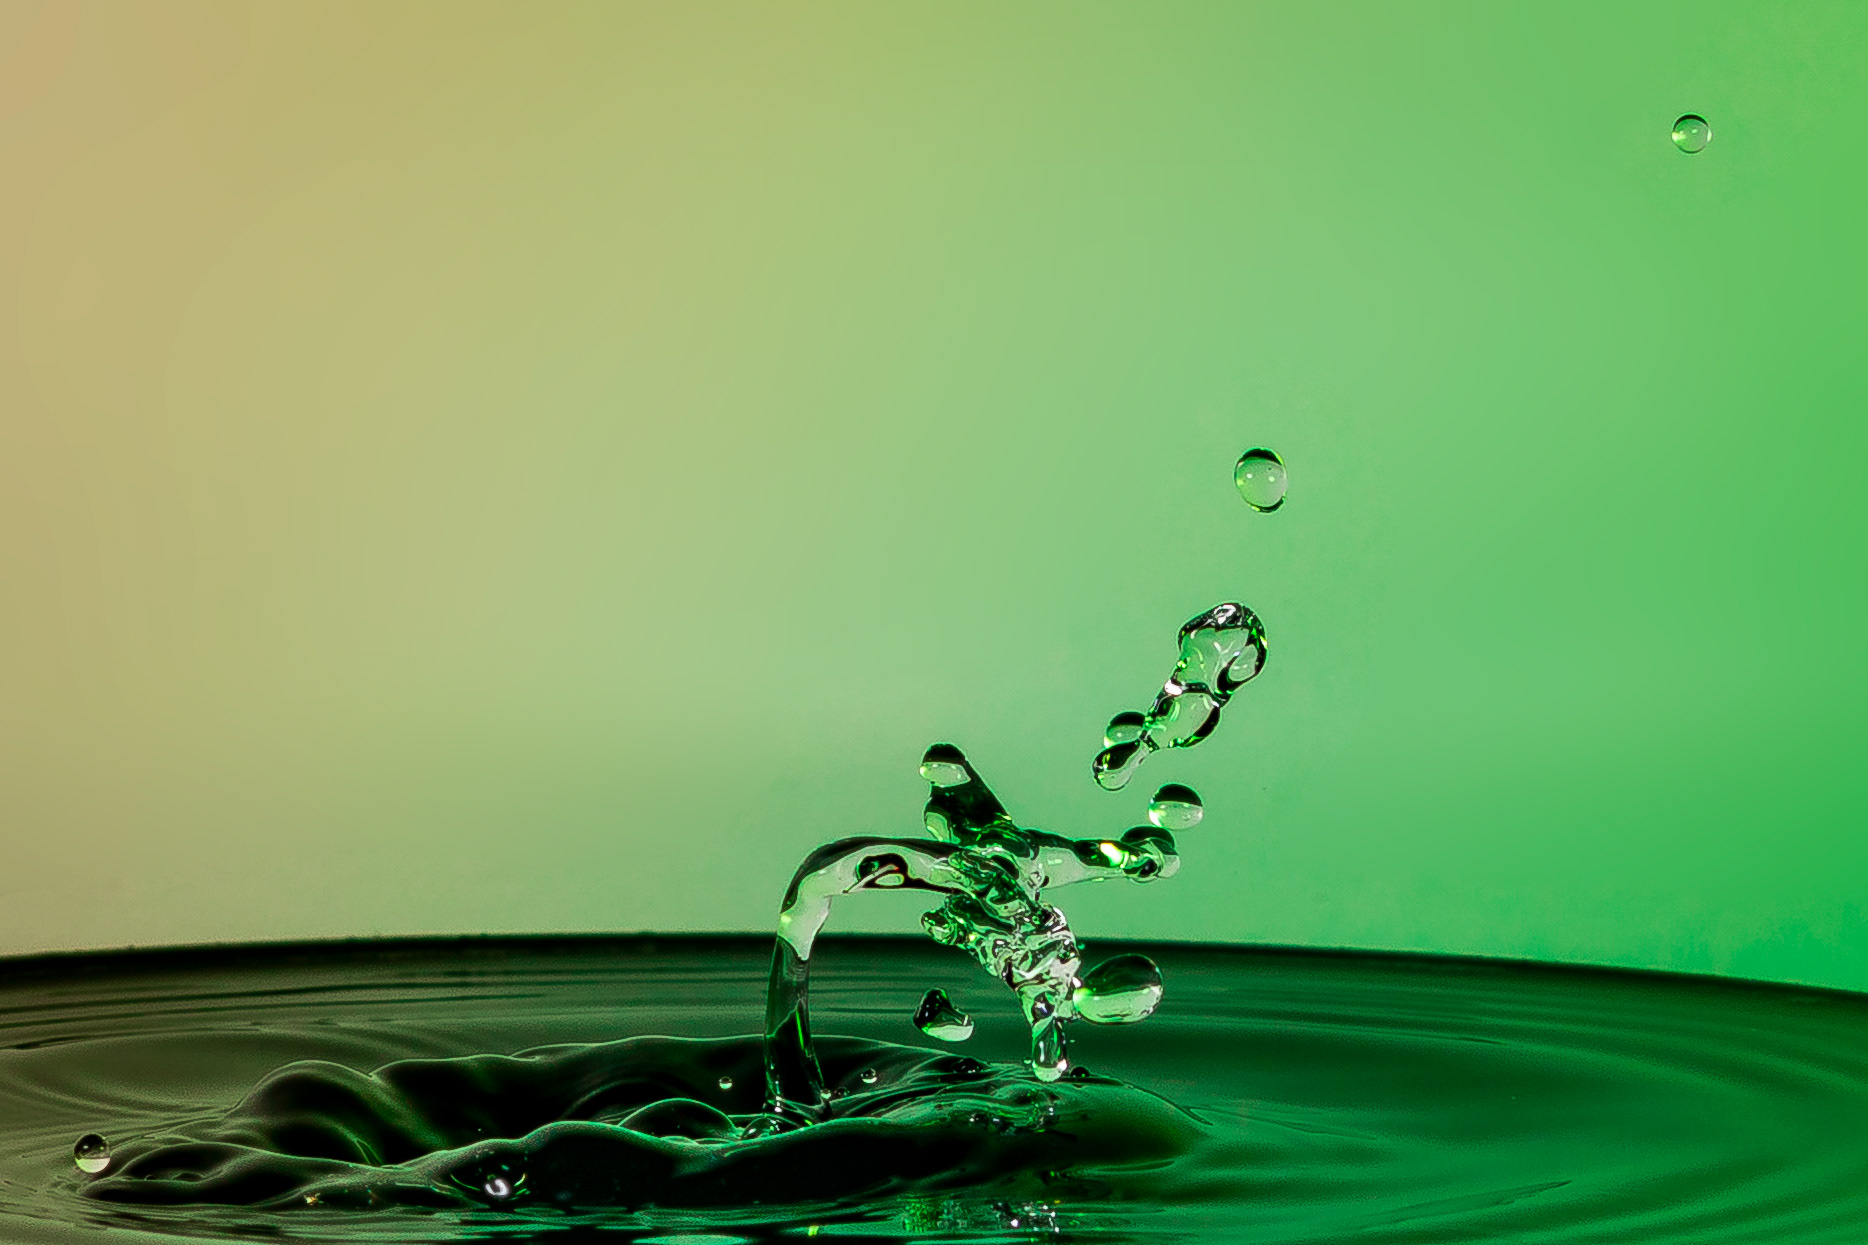
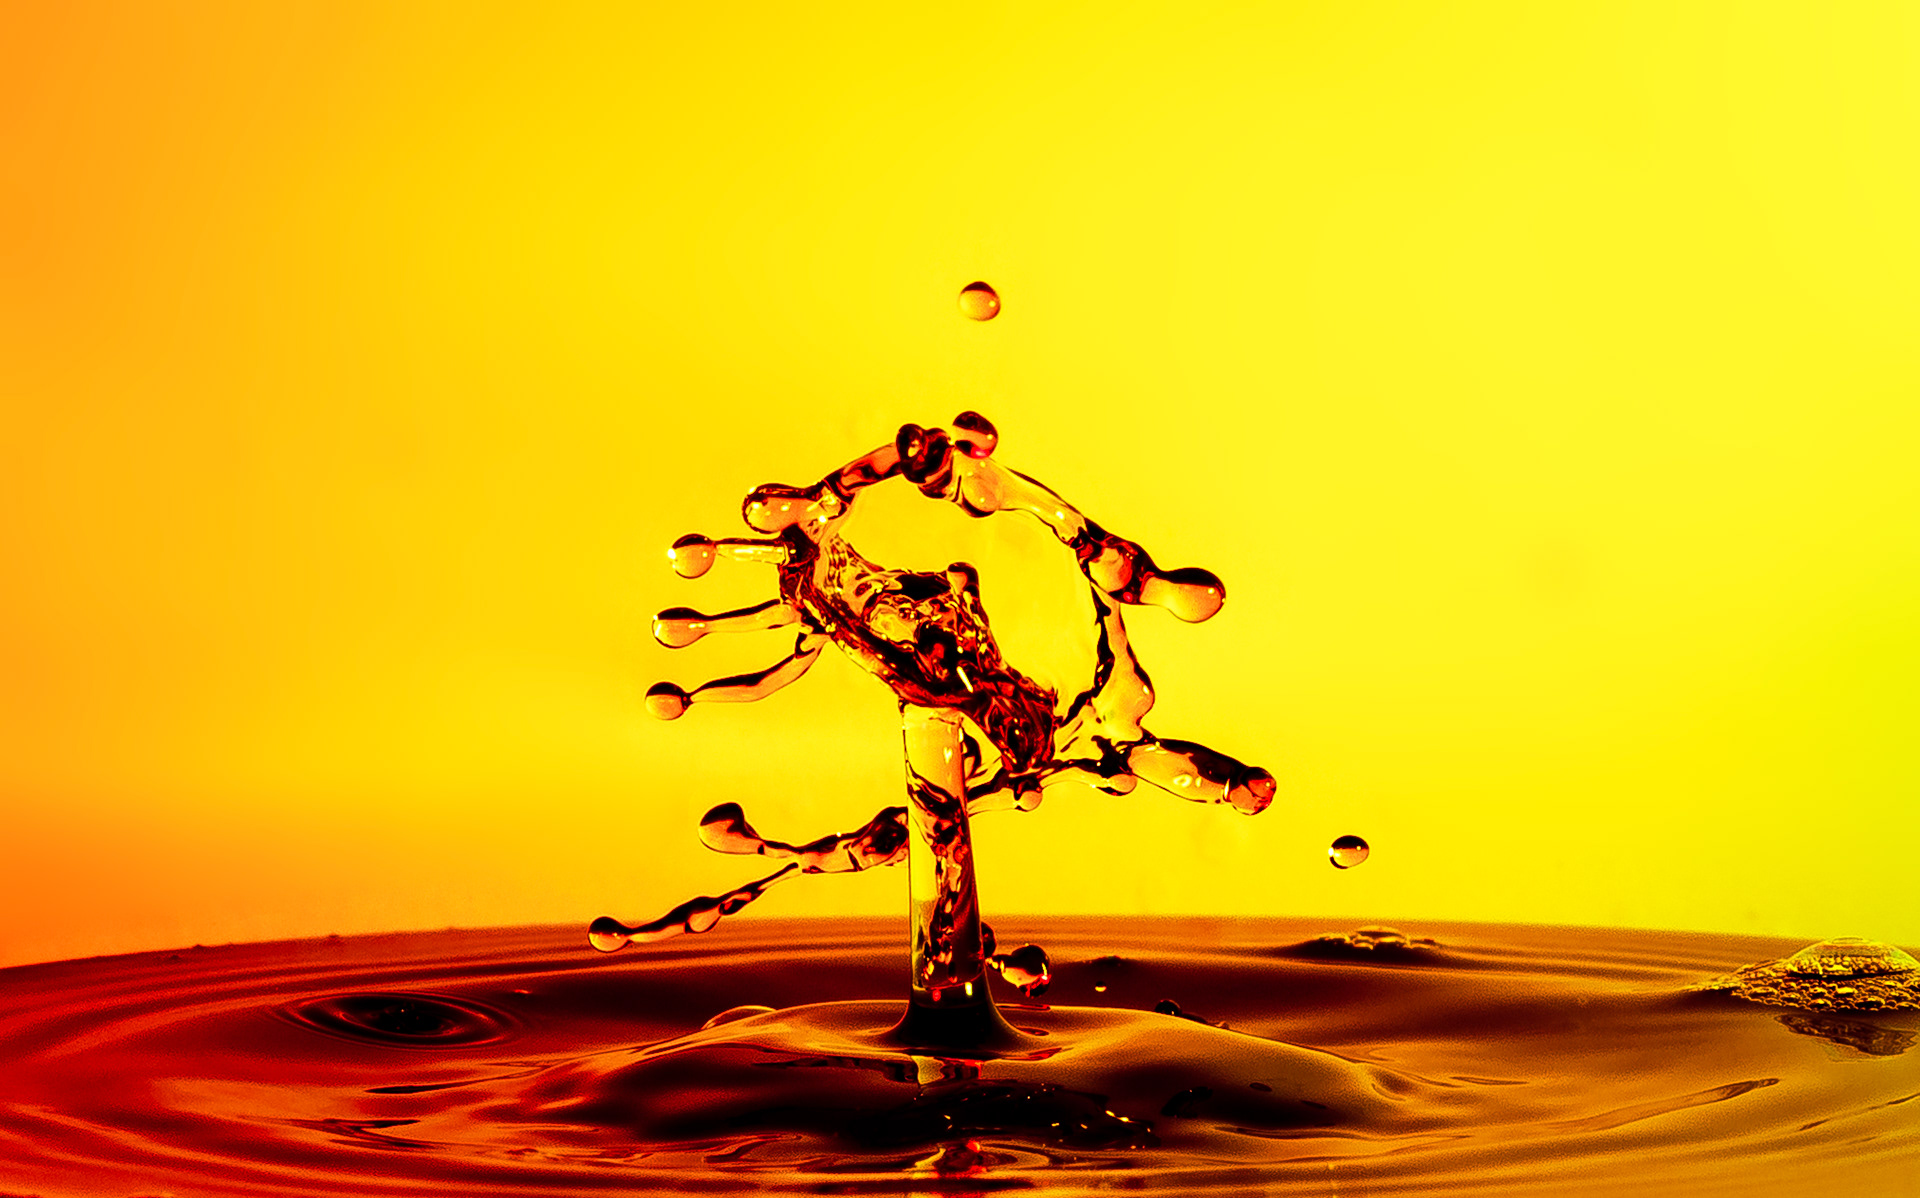
I went back for another go, brightening things up a bit with flash gels, coloured backgrounds and food colouring in the water.
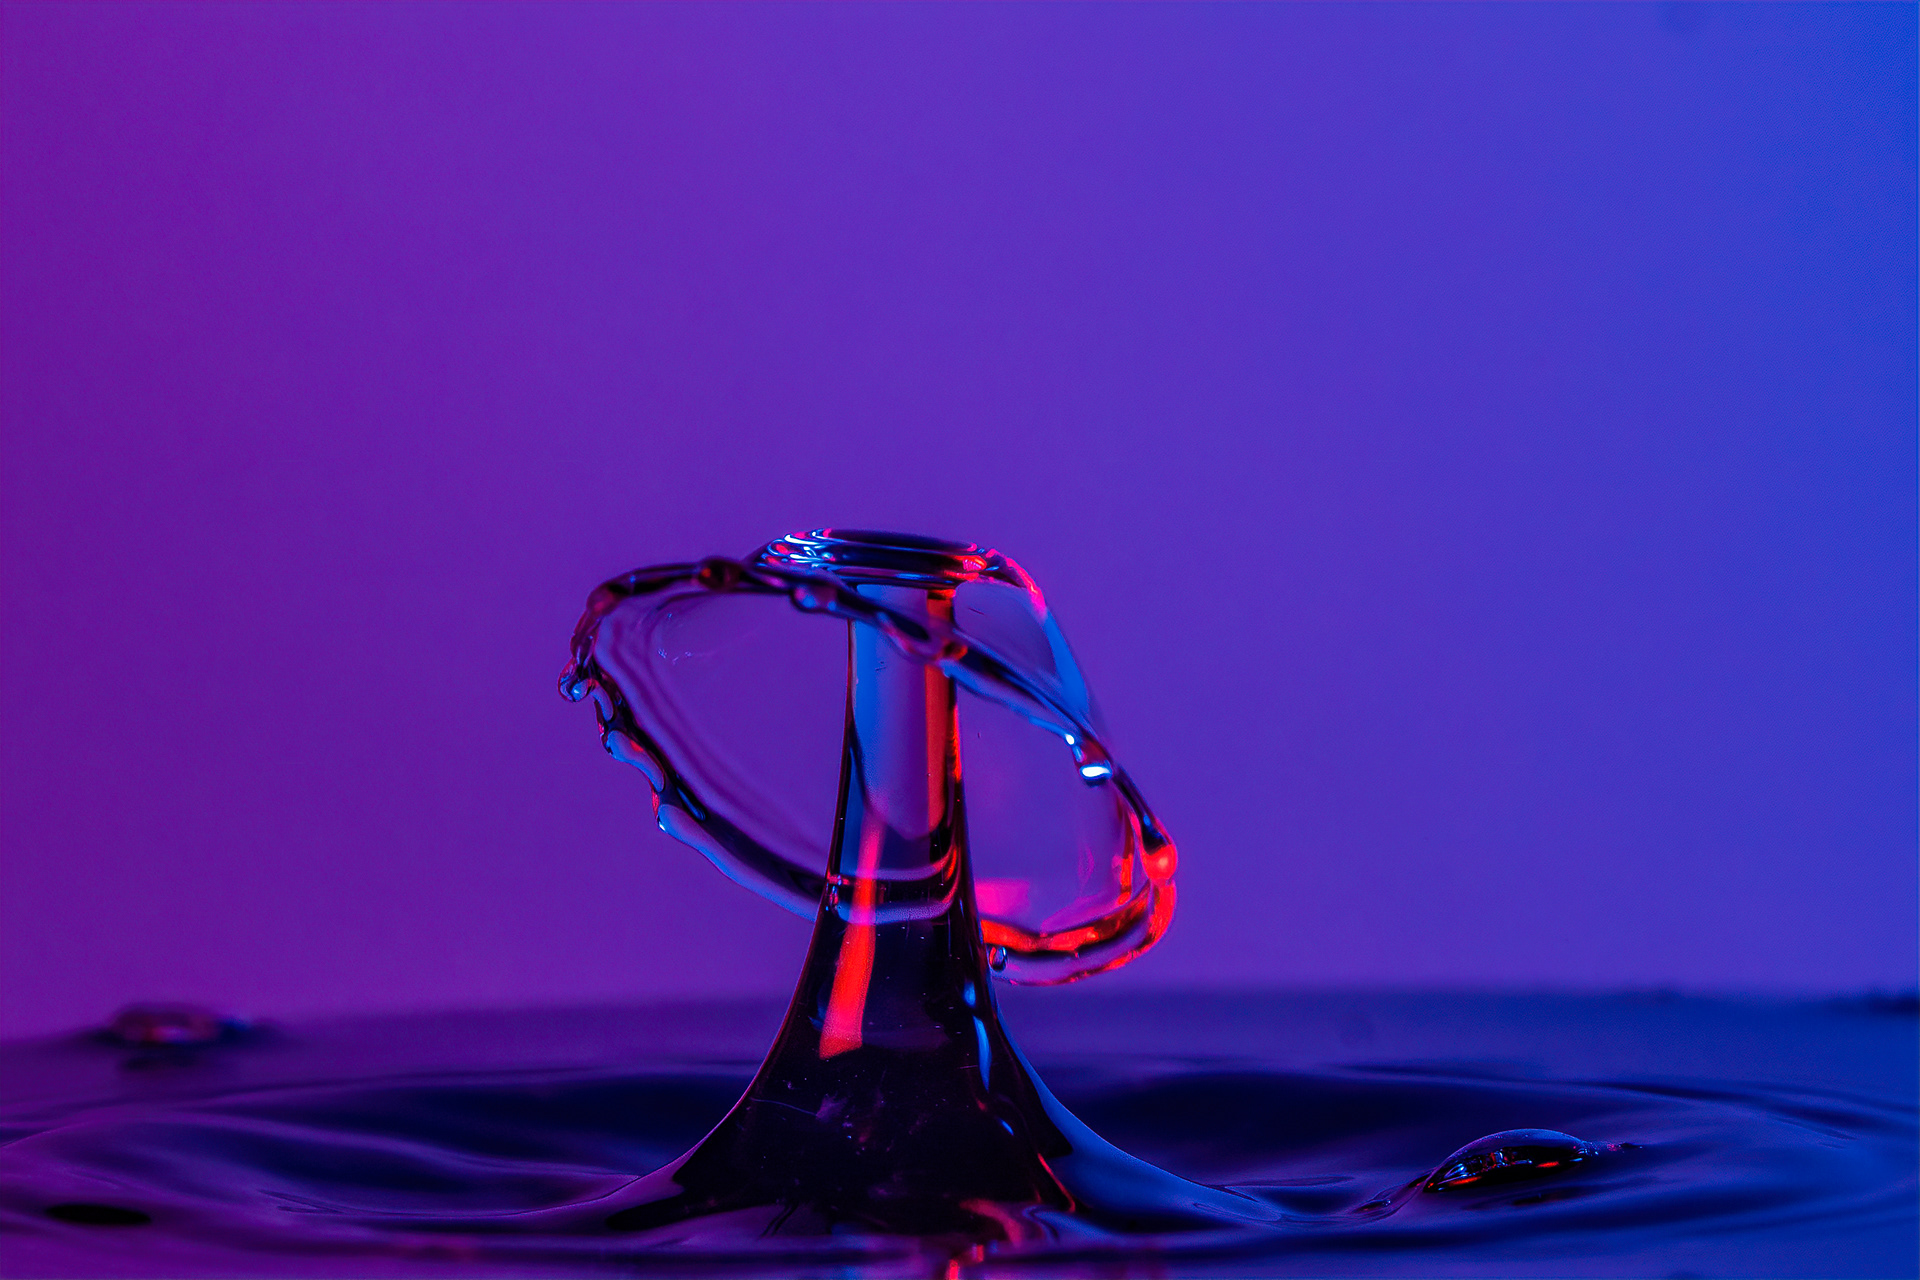
In the image above I used a red gel on the left hand flash, firing it at an angle through a white piece of paper which I had my assistant (also known as the Long Suffering Husband) hold up vertically behind the set up (instead of the white board). The other speedlight had a green gel on it, and was fired diagonally towards the paper.
Moving the flash gun with the red gel to the front and adding the soft box back on, I tried a couple more images.

For this one I added some red food colouring to the water in the dripper, and removed the coloured gels on the speedlights.
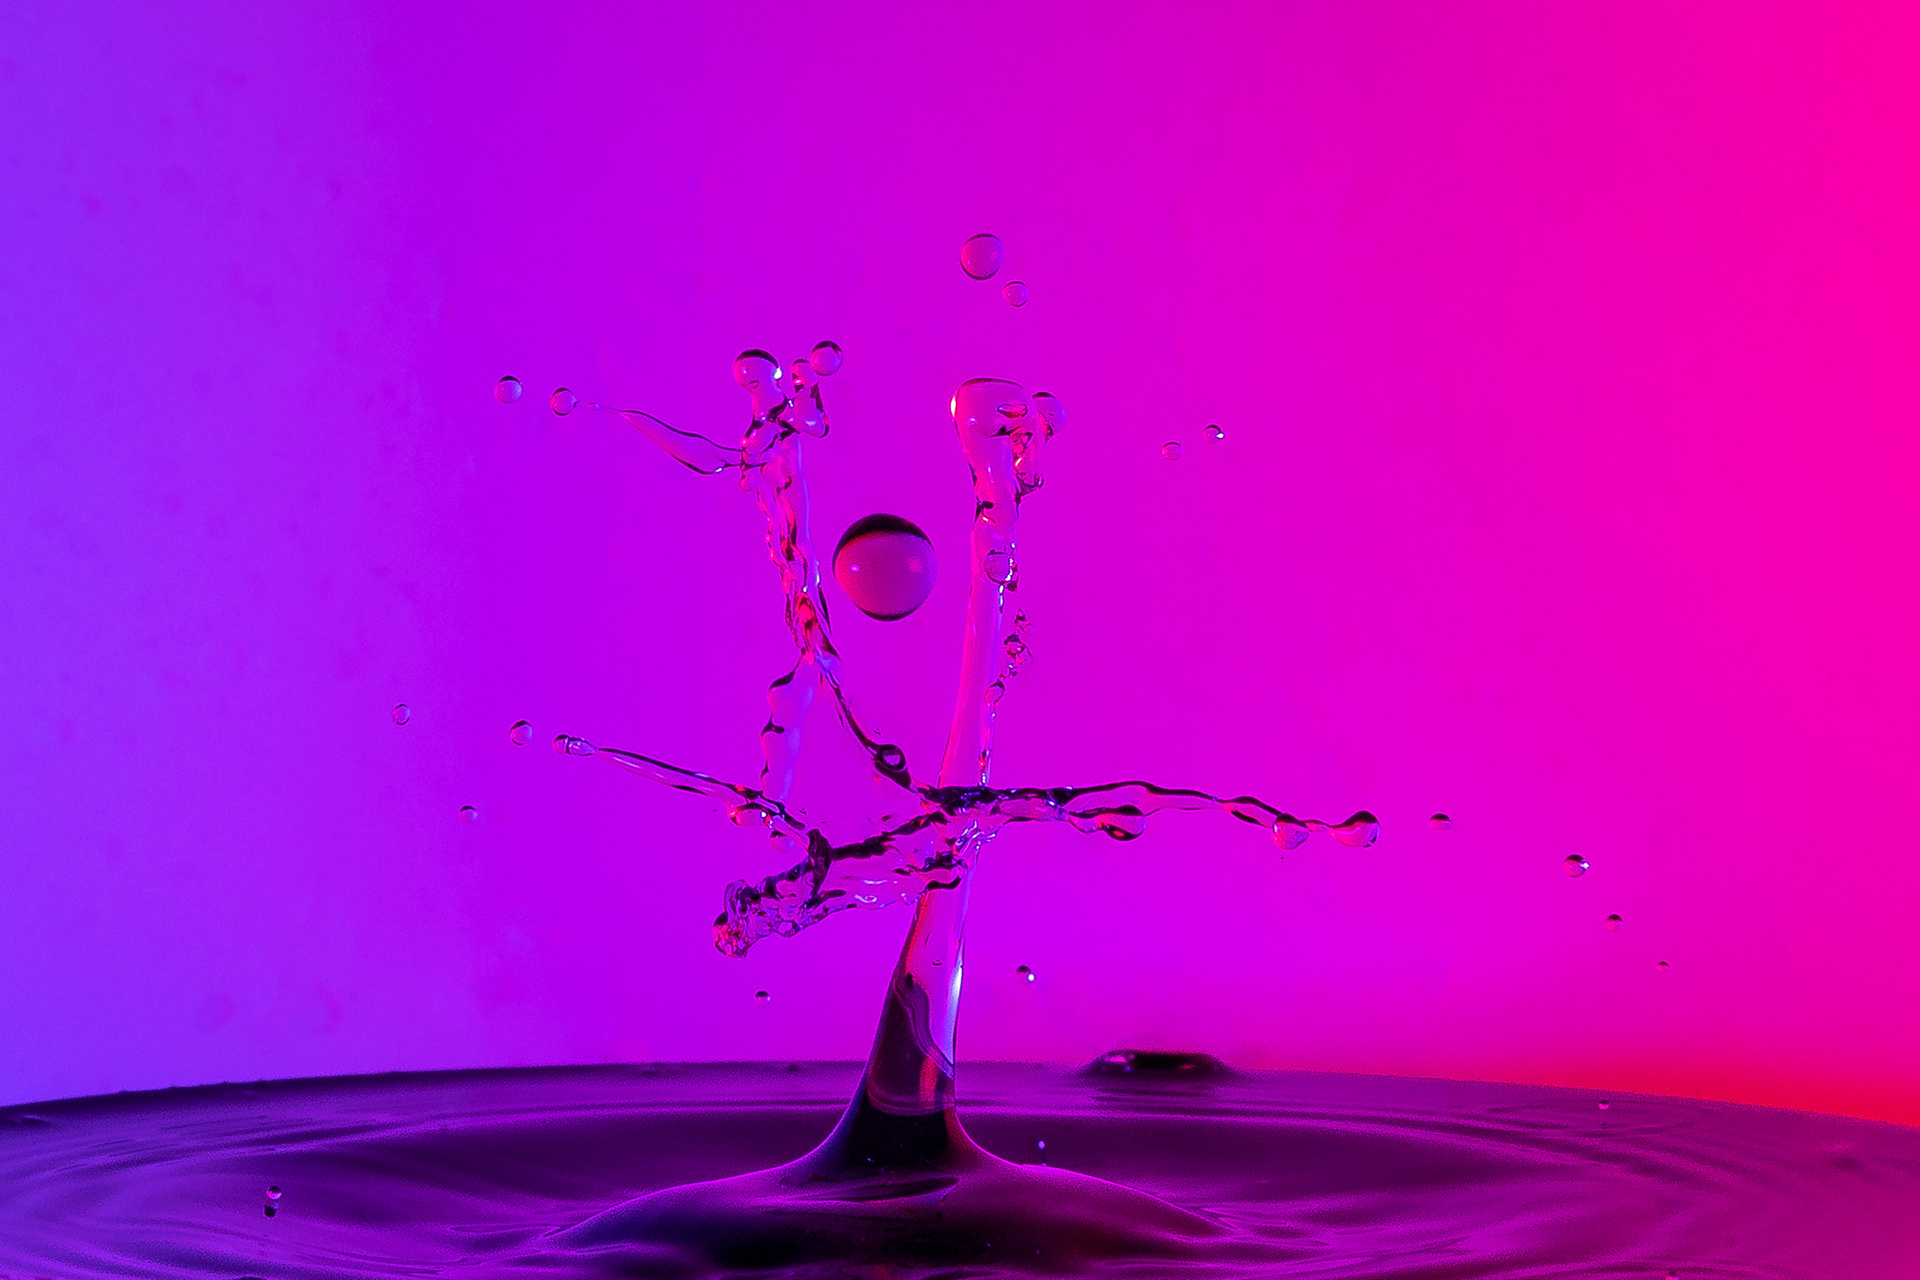
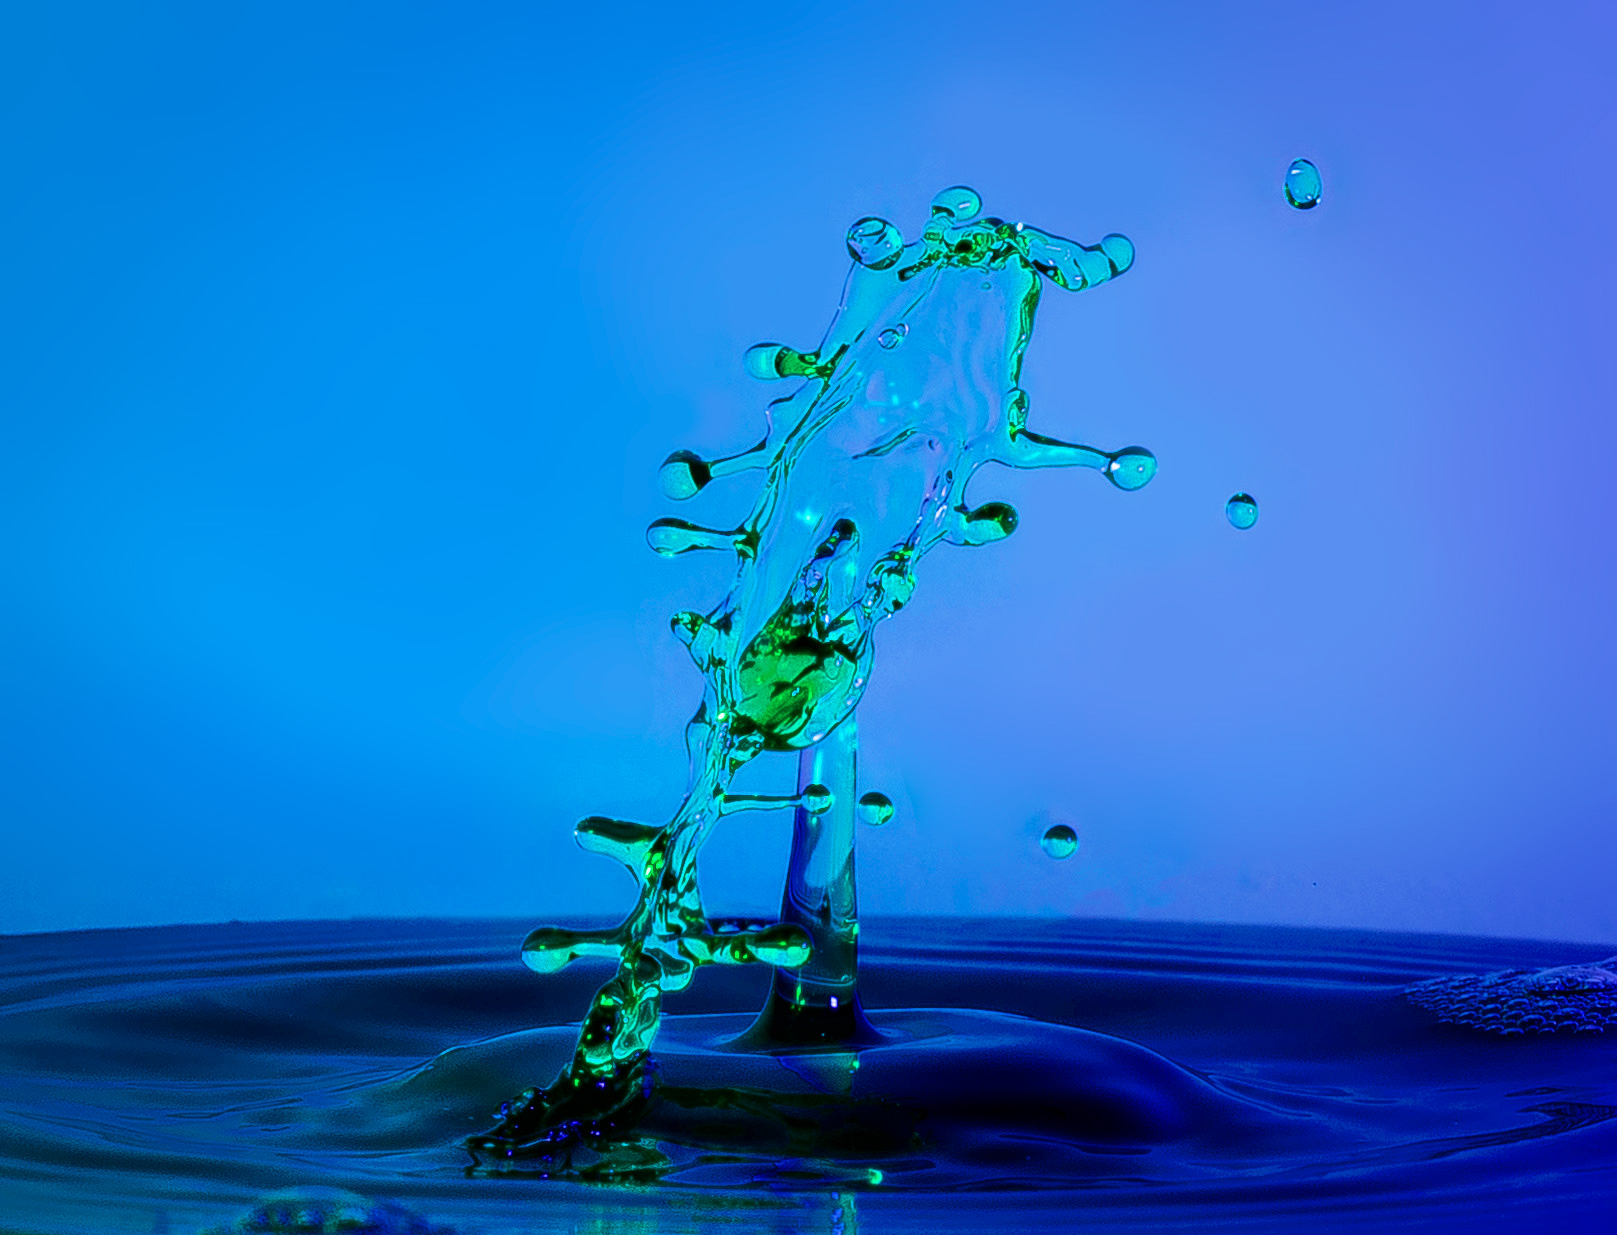
I then experimented with different coloured backgrounds - blue....

I also moved the camera up a notch to try and get the reflections in the image.

... and green.
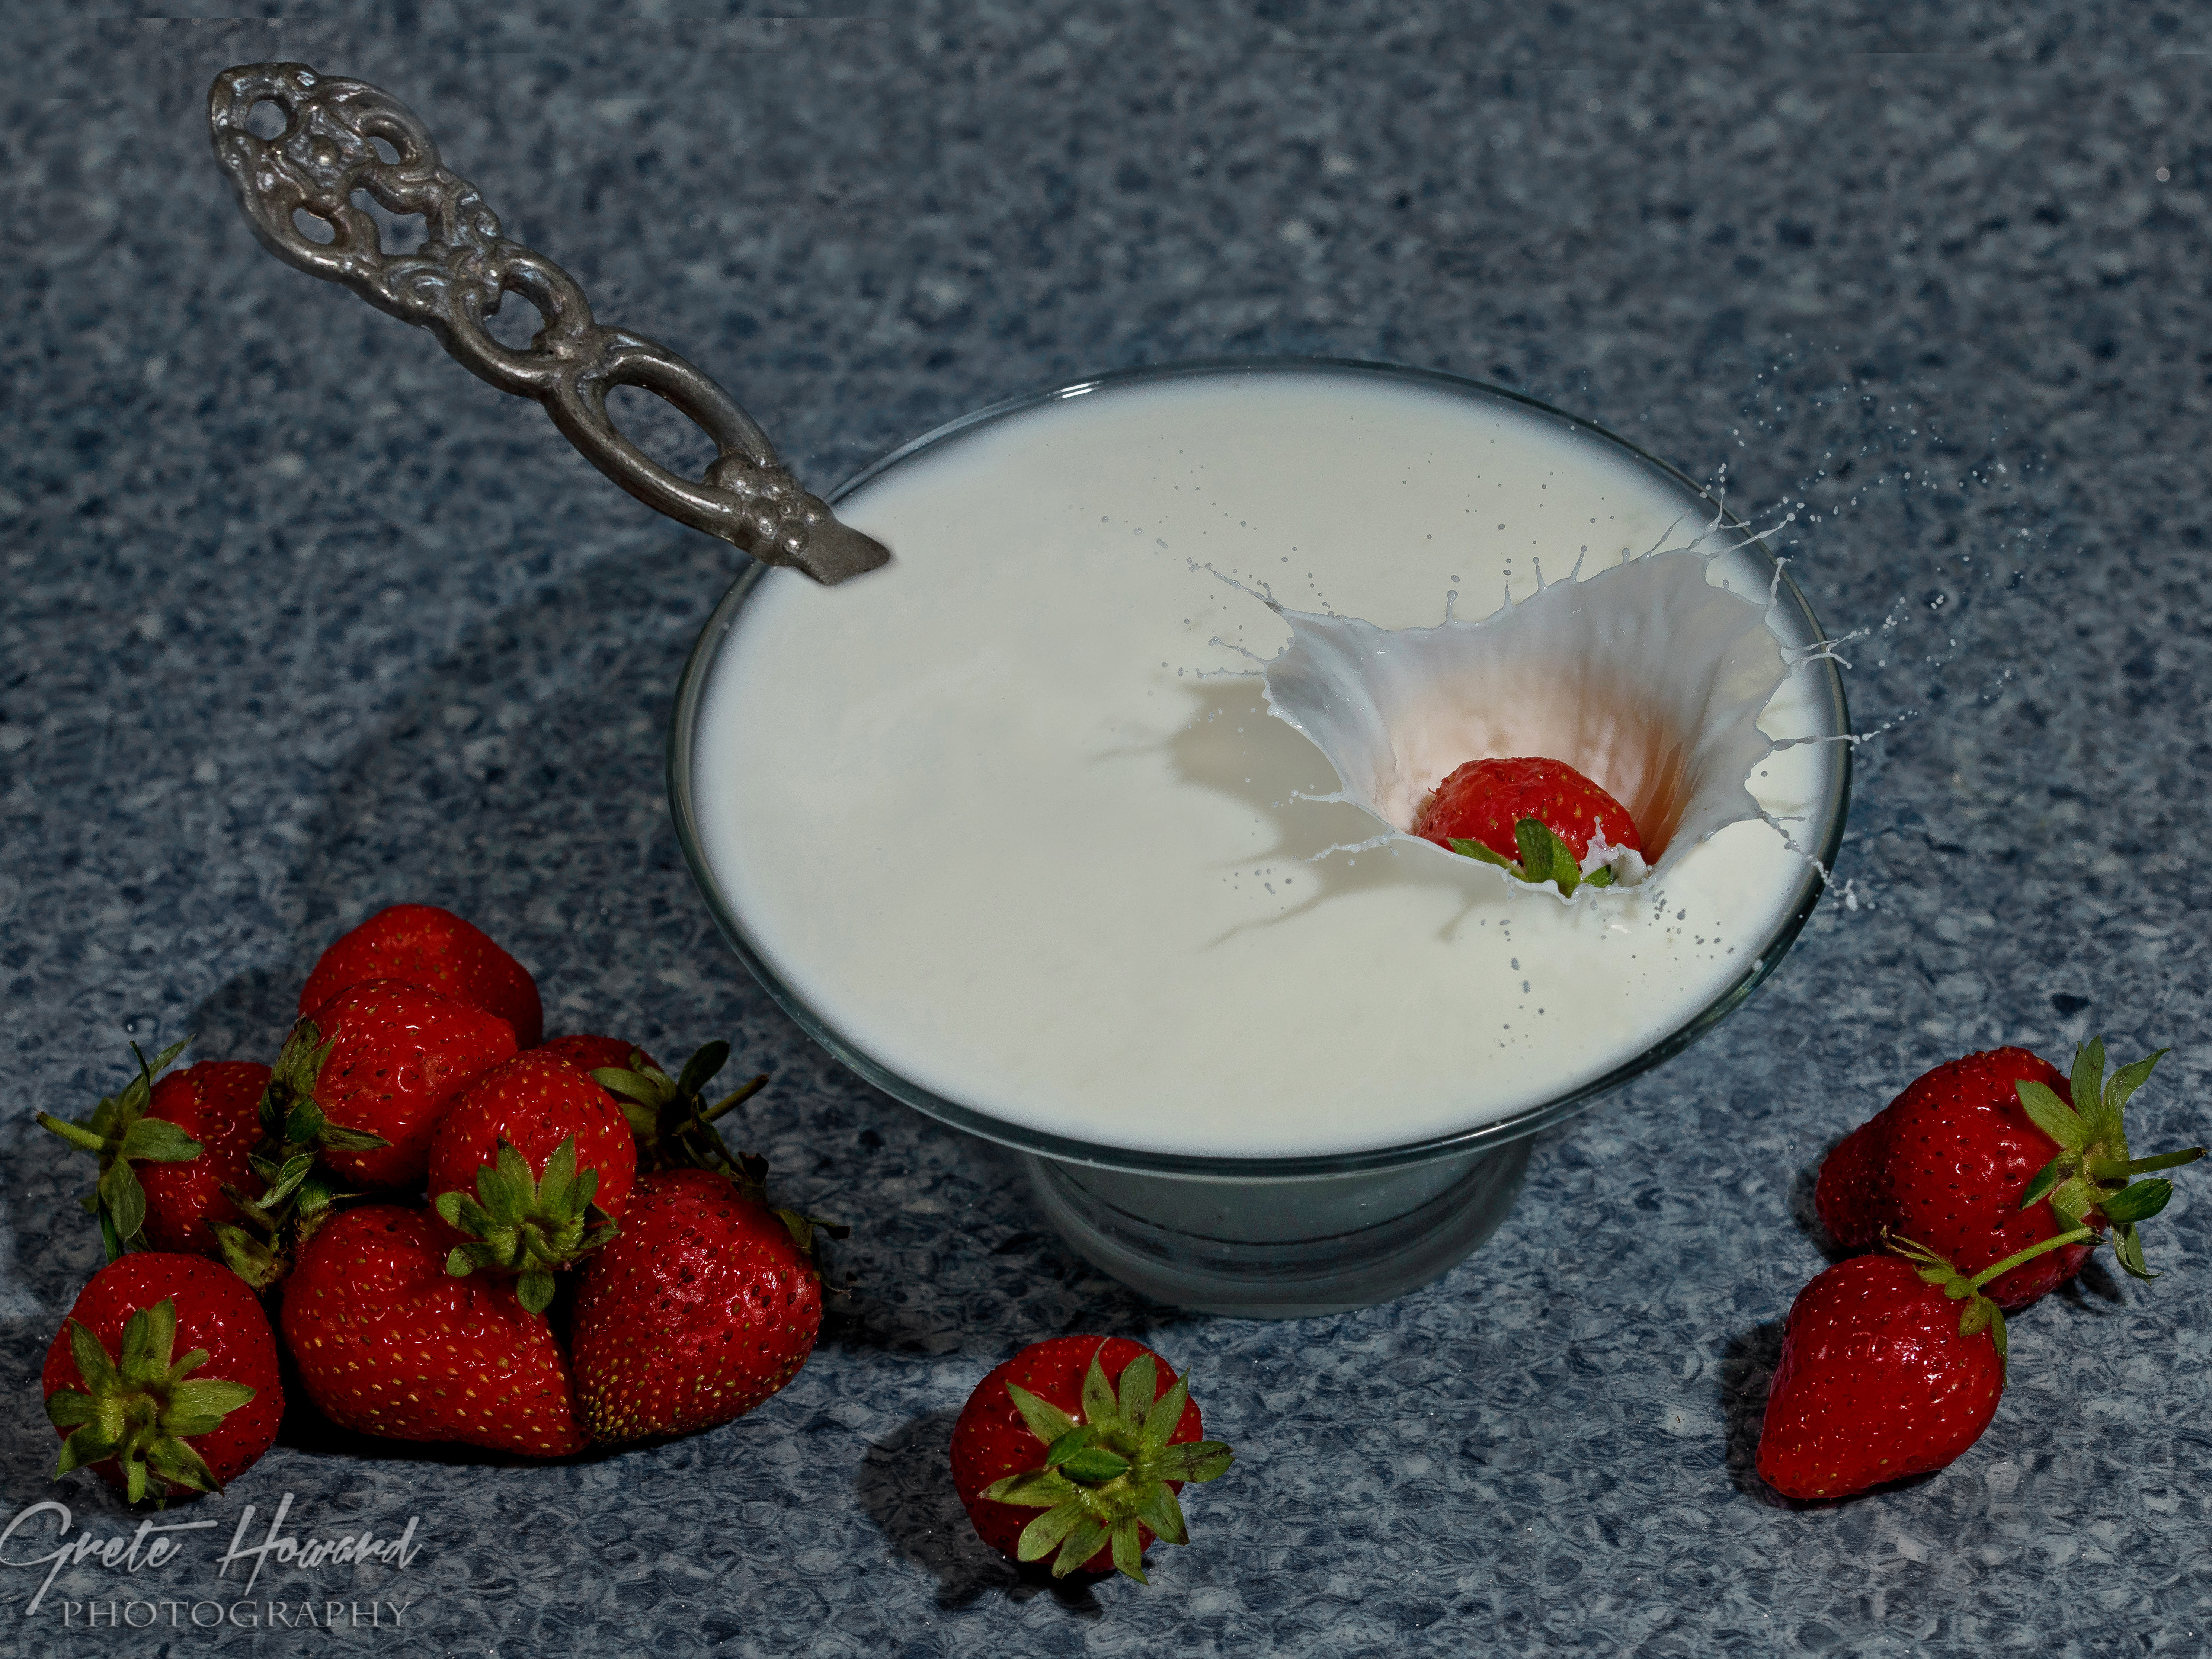
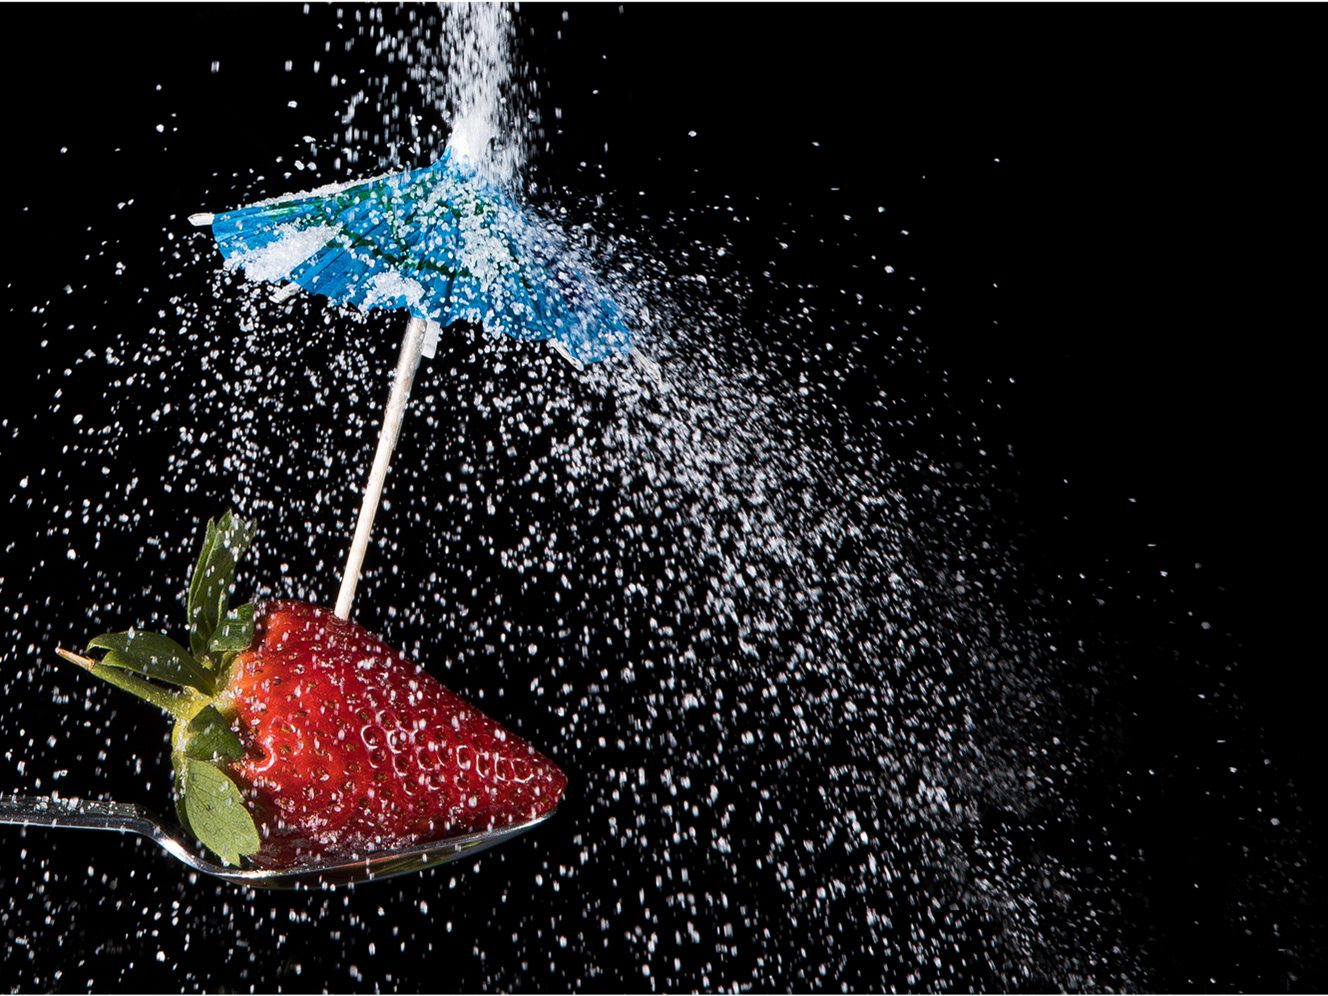
For my third attempt, I used milk instead of water. I found with this medium that the bubbles were softer and less defined, and very different to the water based effects. I also used a cocktail glass for the base liquid in this, which meant bringing the nozzle up higher.
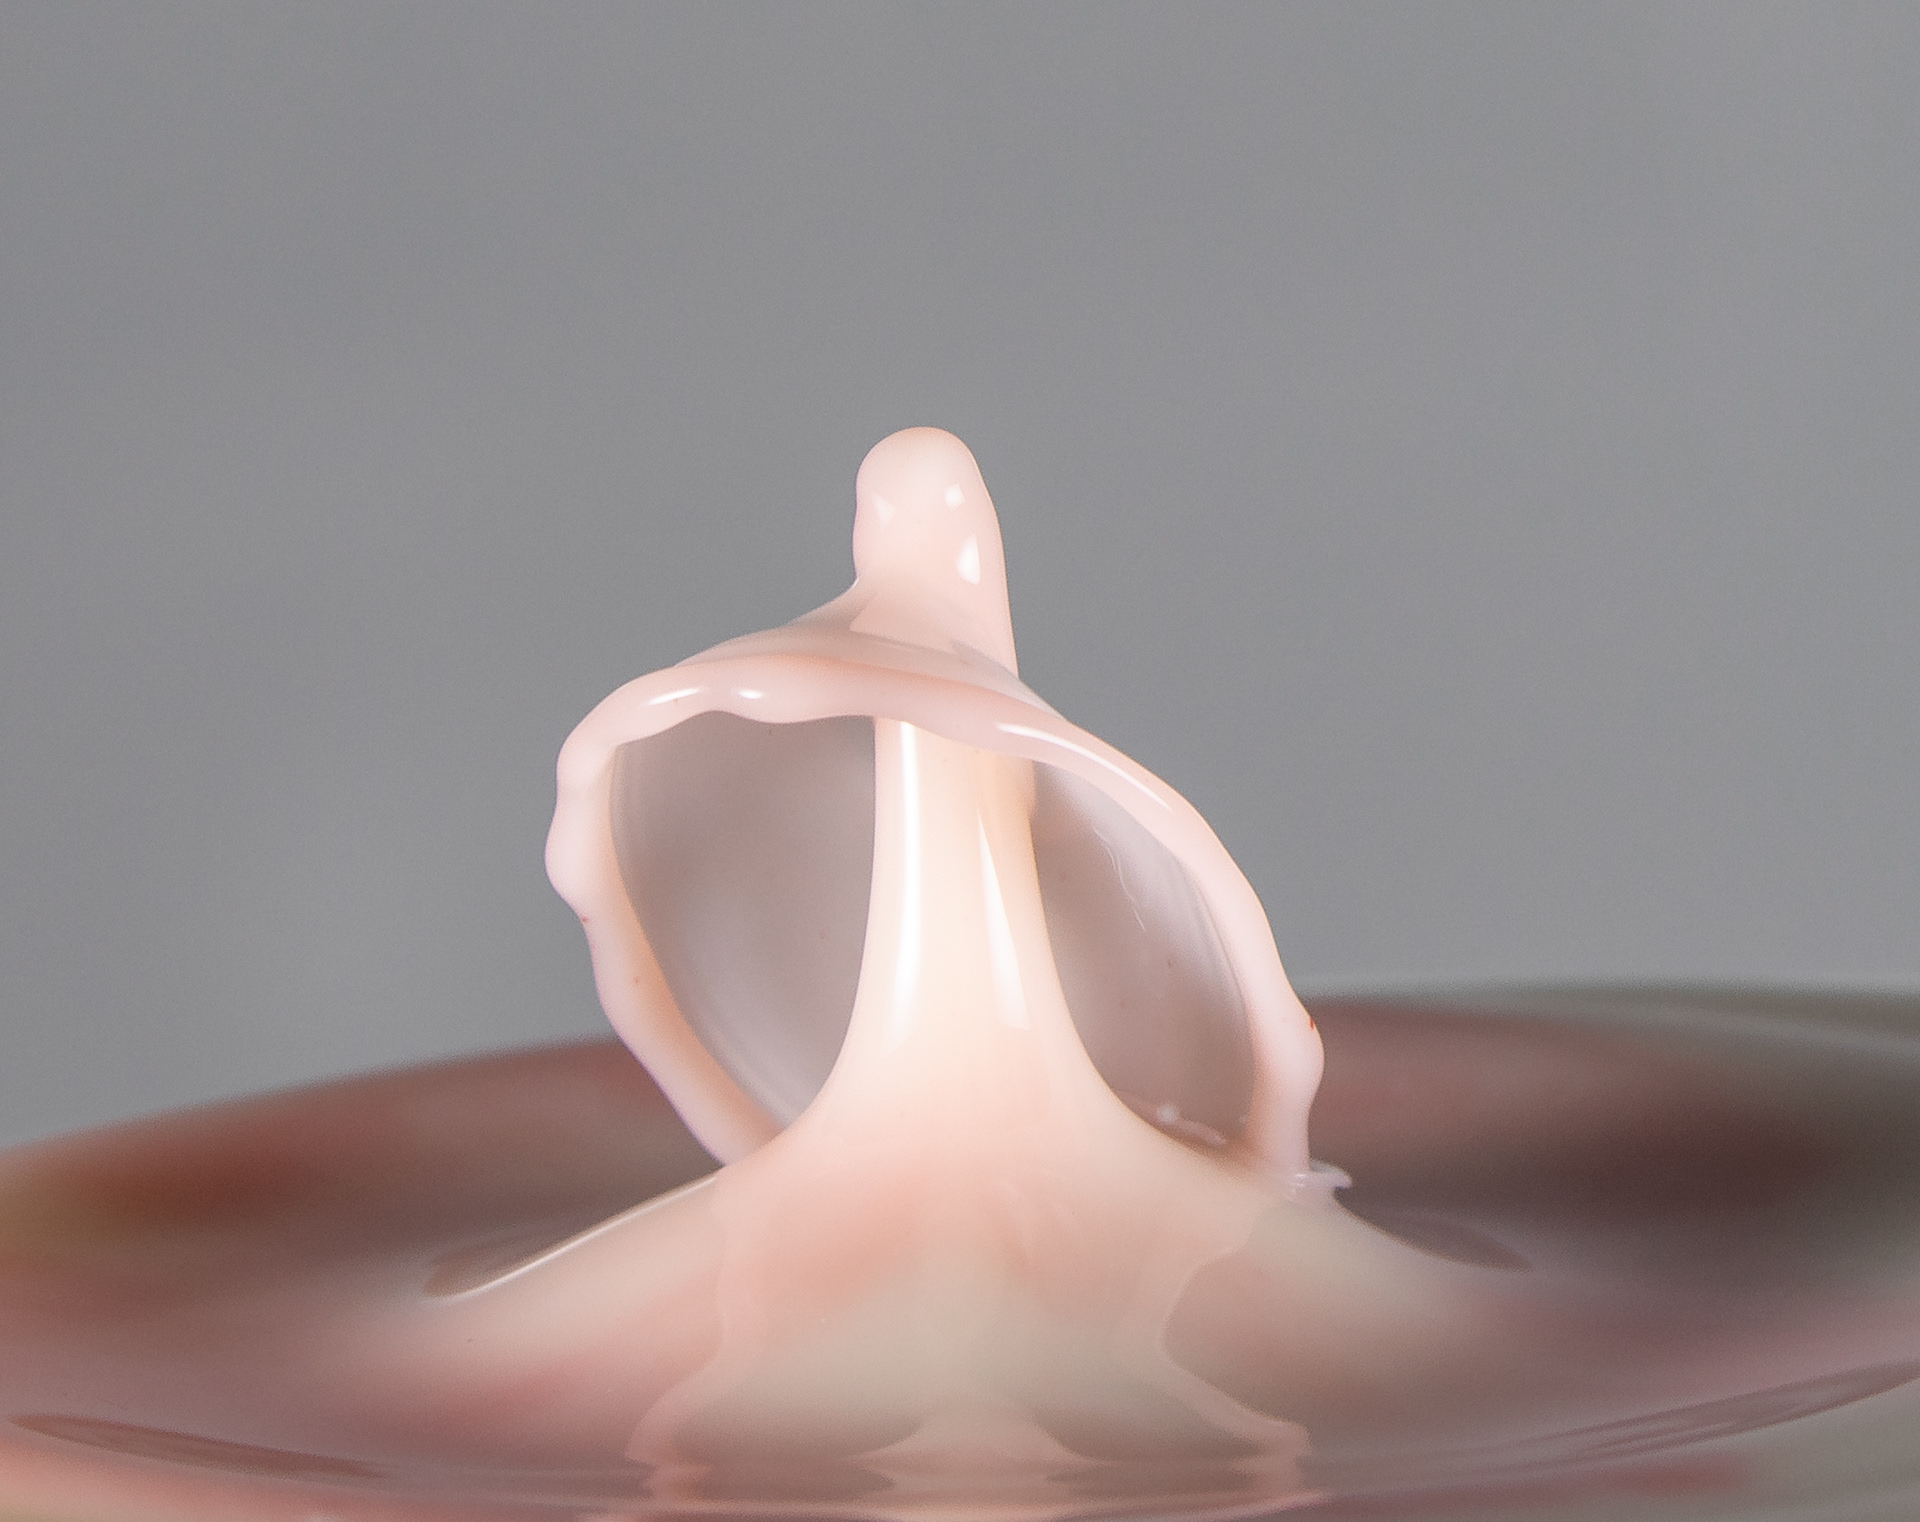
There was still some colour left in the nozzle, so the milk didn't start out totally white. I later added some red colour to the base mixture.
Then some blue to the drips.
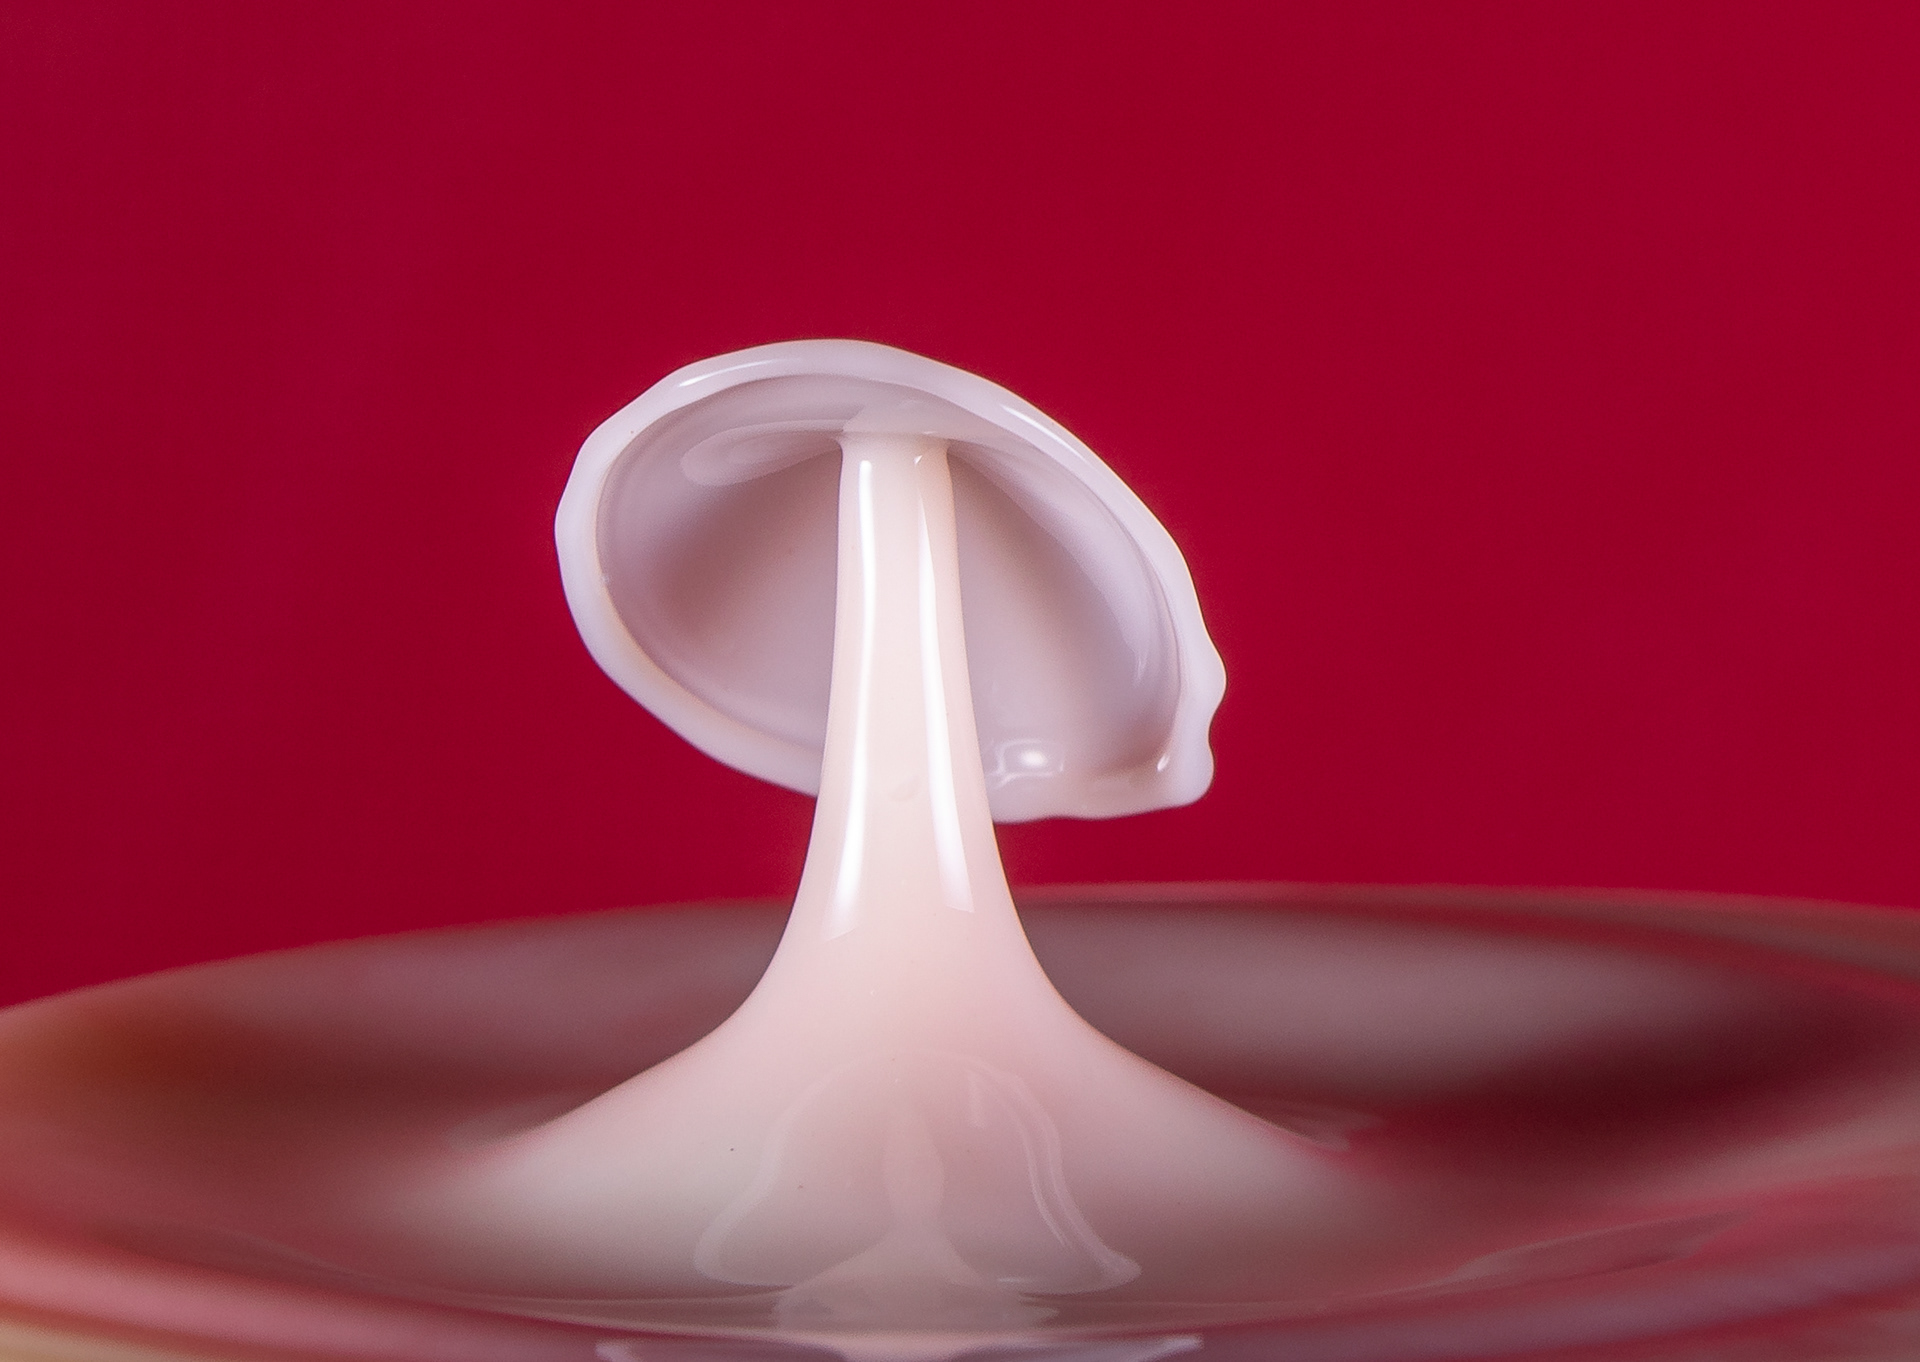
Changing the background colour made a huge difference.
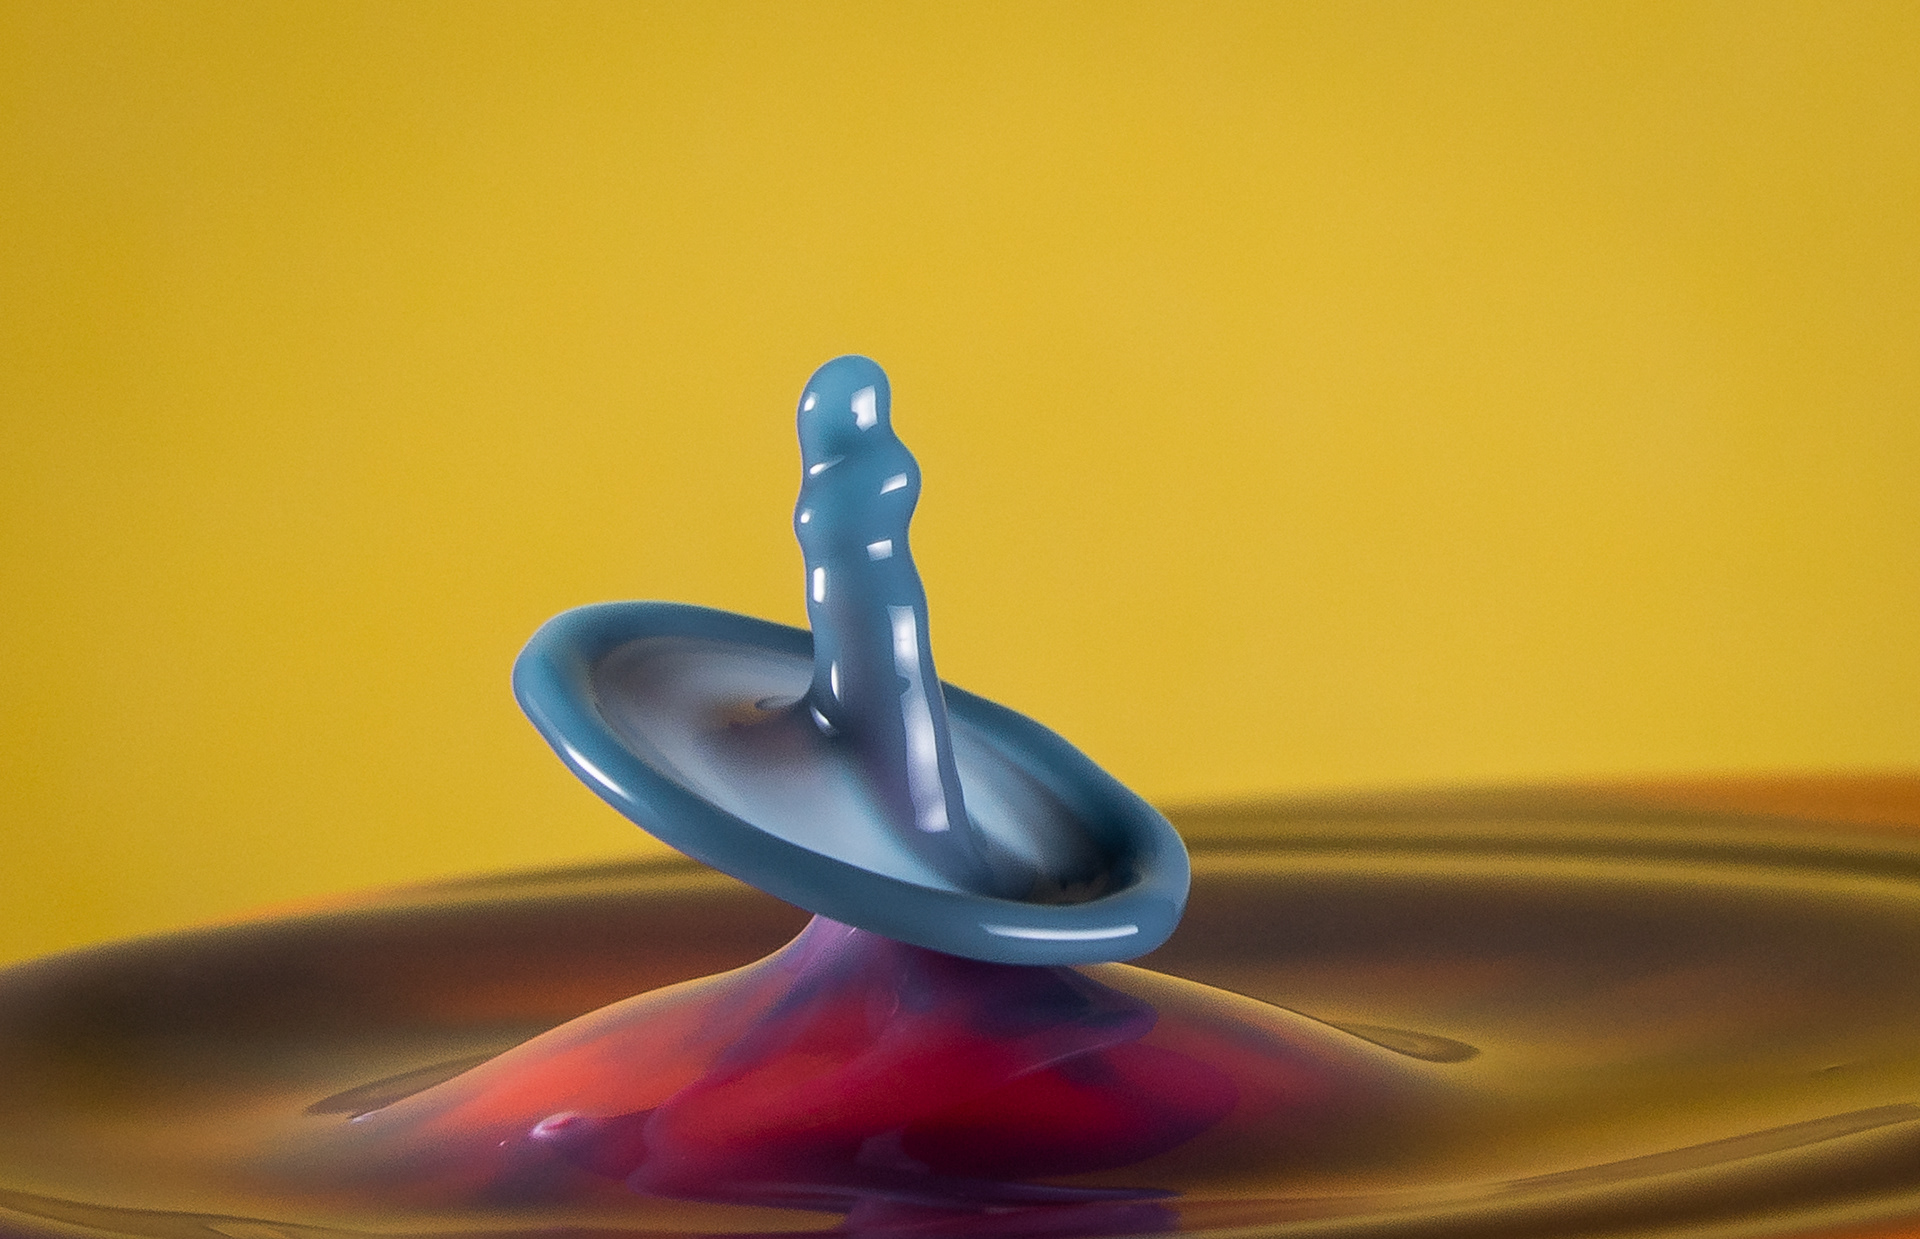
My first thought when I saw this one was “condom”. Please don't judge me.
Another day, another attempt.
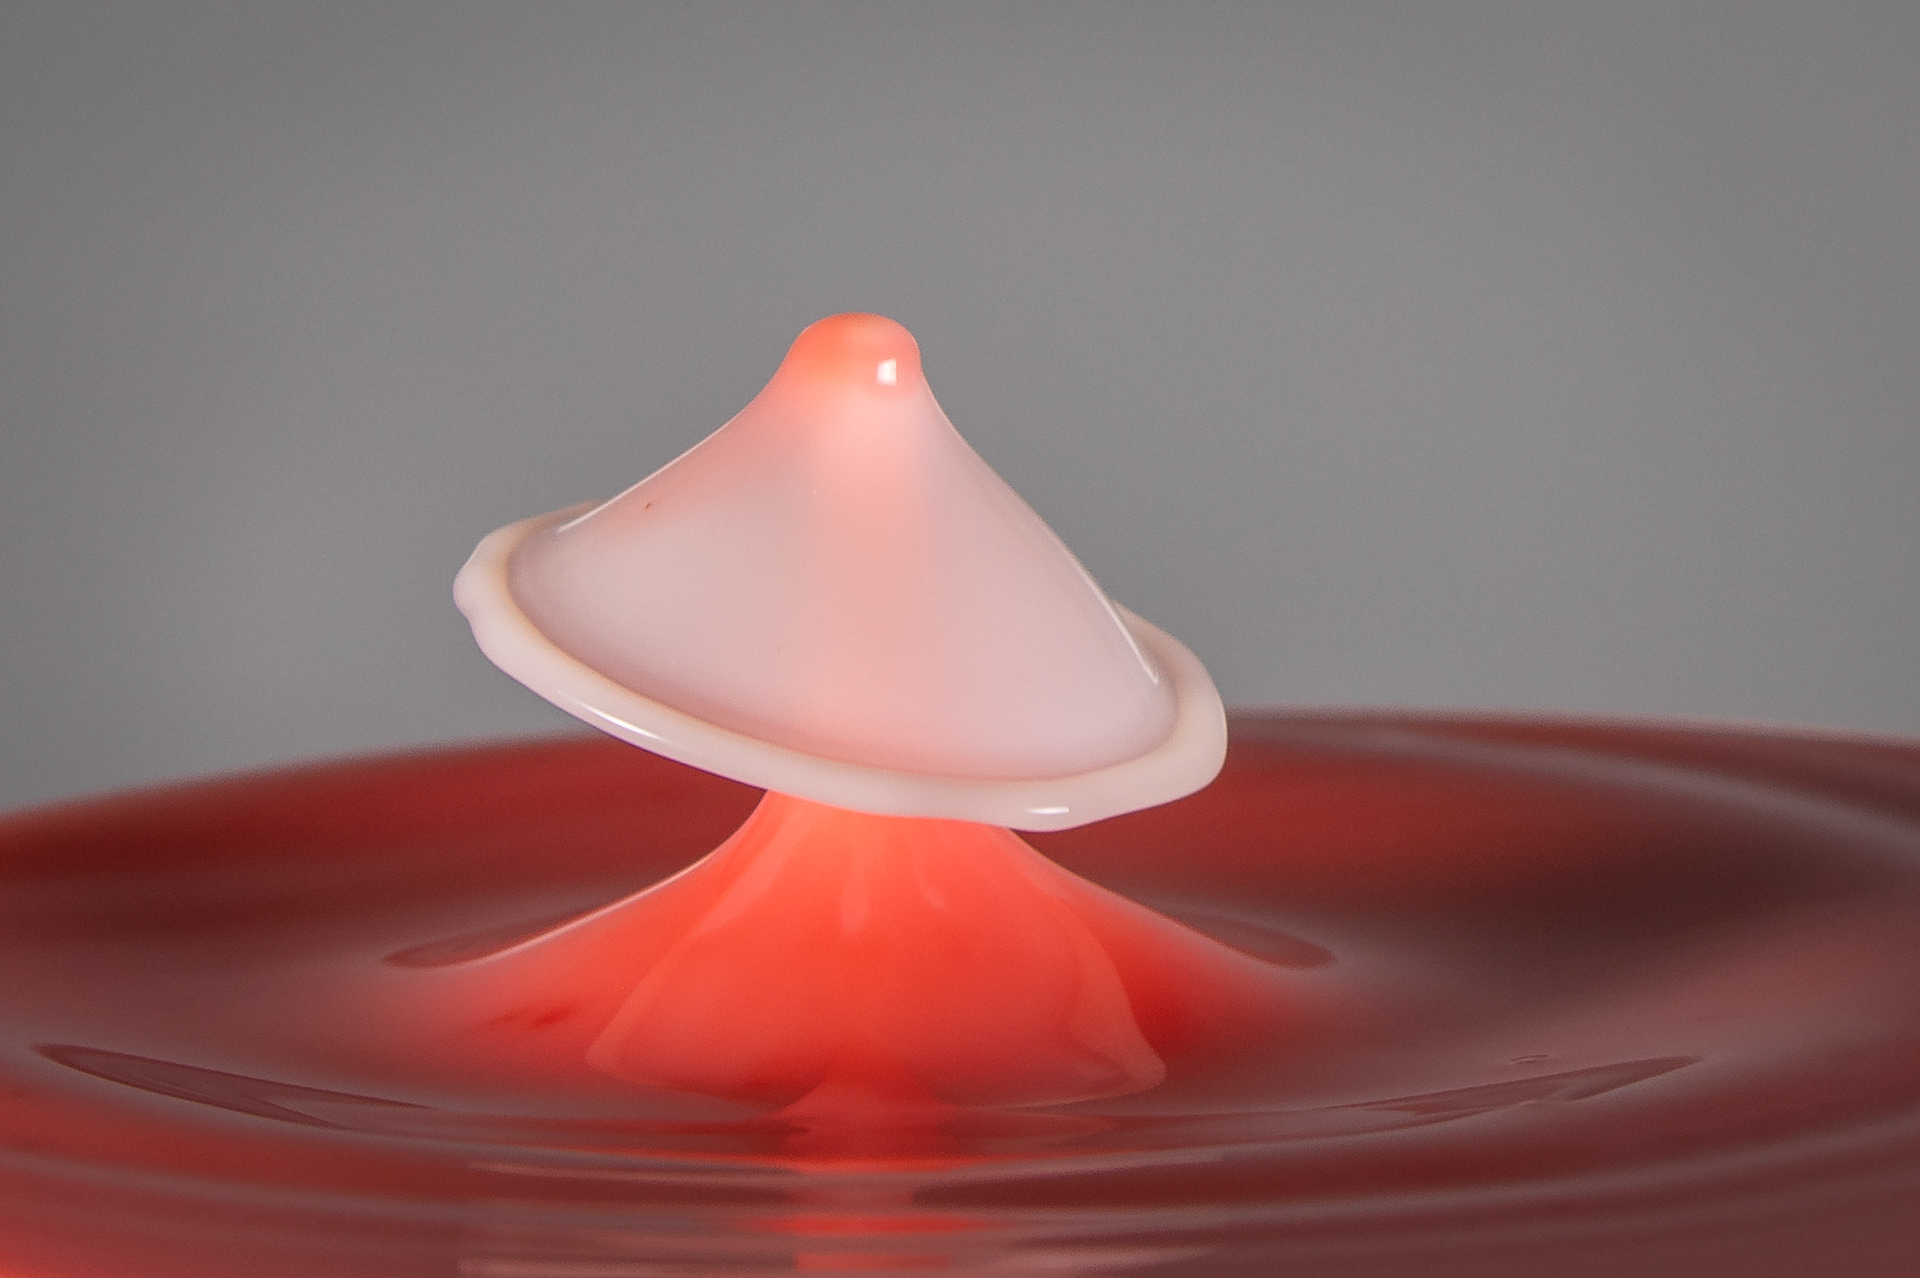
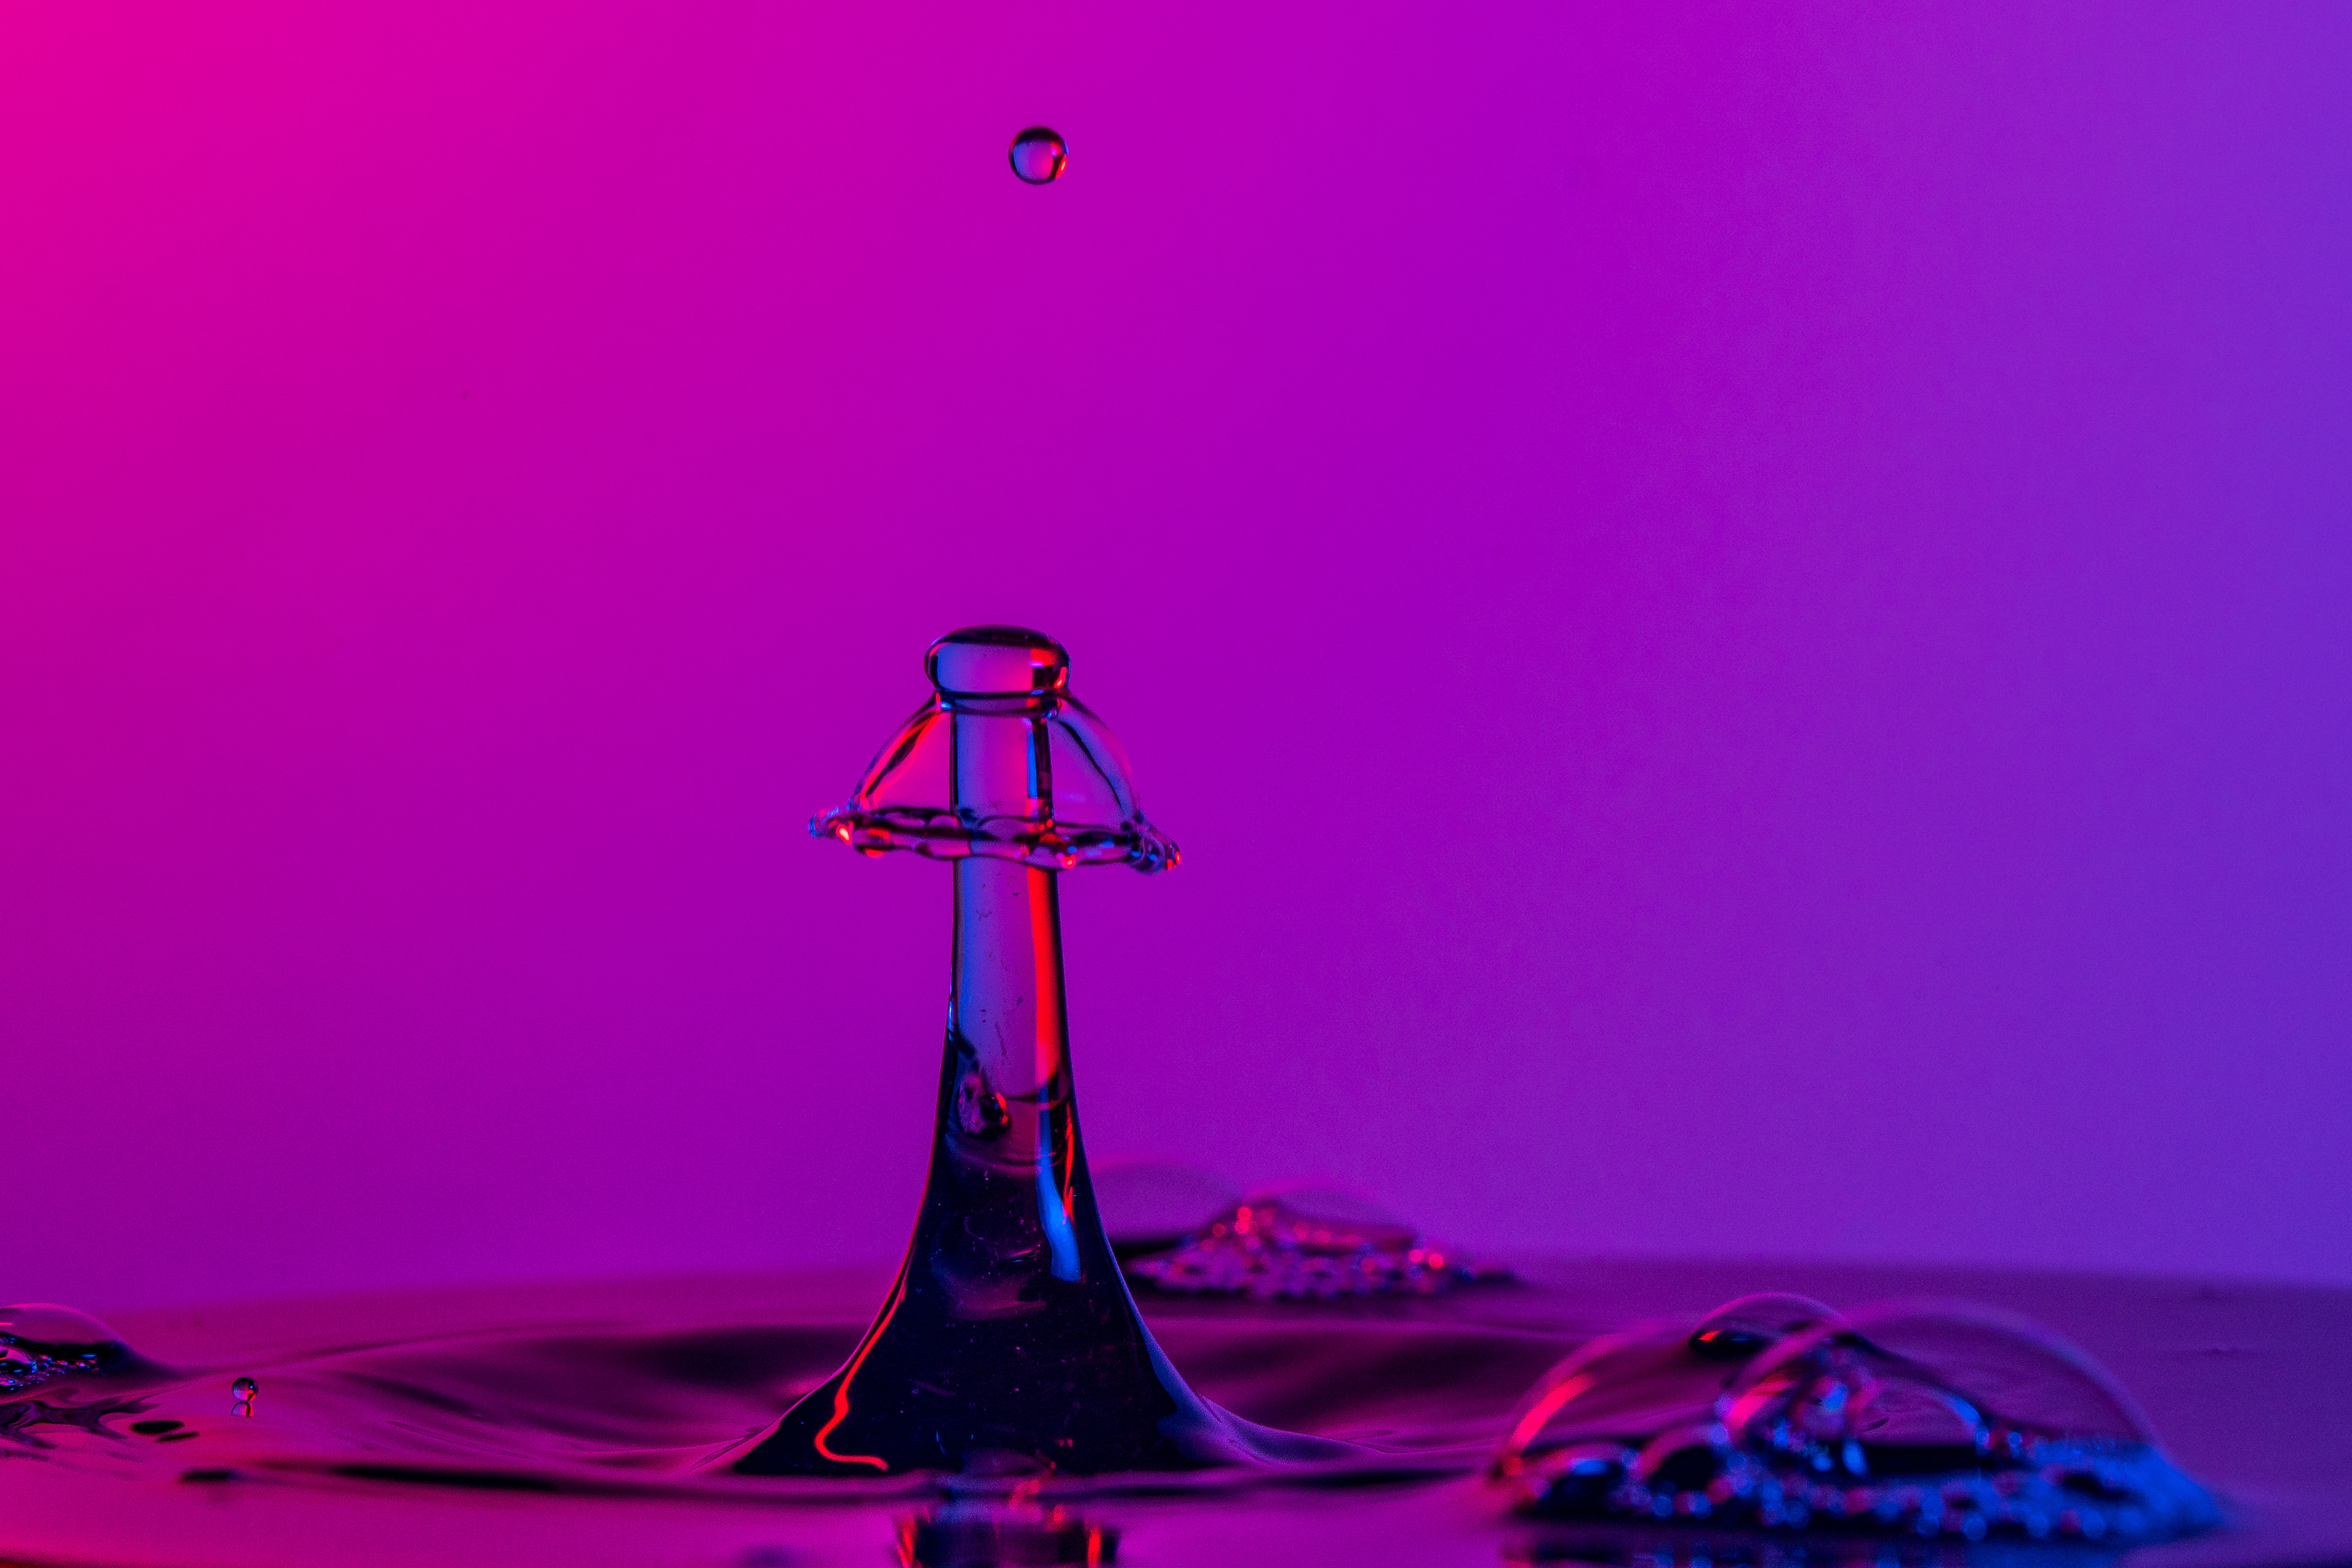
This time I added some xanthan gum to the drips liquid, to make the water a little thicker. I really struggled to get some nice peaks this time (all I could get was low crowns). I tried adjusting the camera delay, size of the first drop, the delay between the two drops and the size of the second drop, but nothing would get me those mushroom-like pillars - until I remembered that I'd increased the height of the nozzle. Doh.
I constantly changed the gels on the speedlights, the angle and position of them, and the background. No food colour was added to the water for this shoot.
I did find that I was spending a great deal of time getting rid of bubbles in the bowl, after maybe every second or third drop.
Today's learning point: I think next time I shall try and focus a tiny fraction nearer, as the whole drop is not in focus. You get 2/3 behind the subject in focus, but only 1/3 in front.
Stay tuned for my next attempt.
Attempt number five
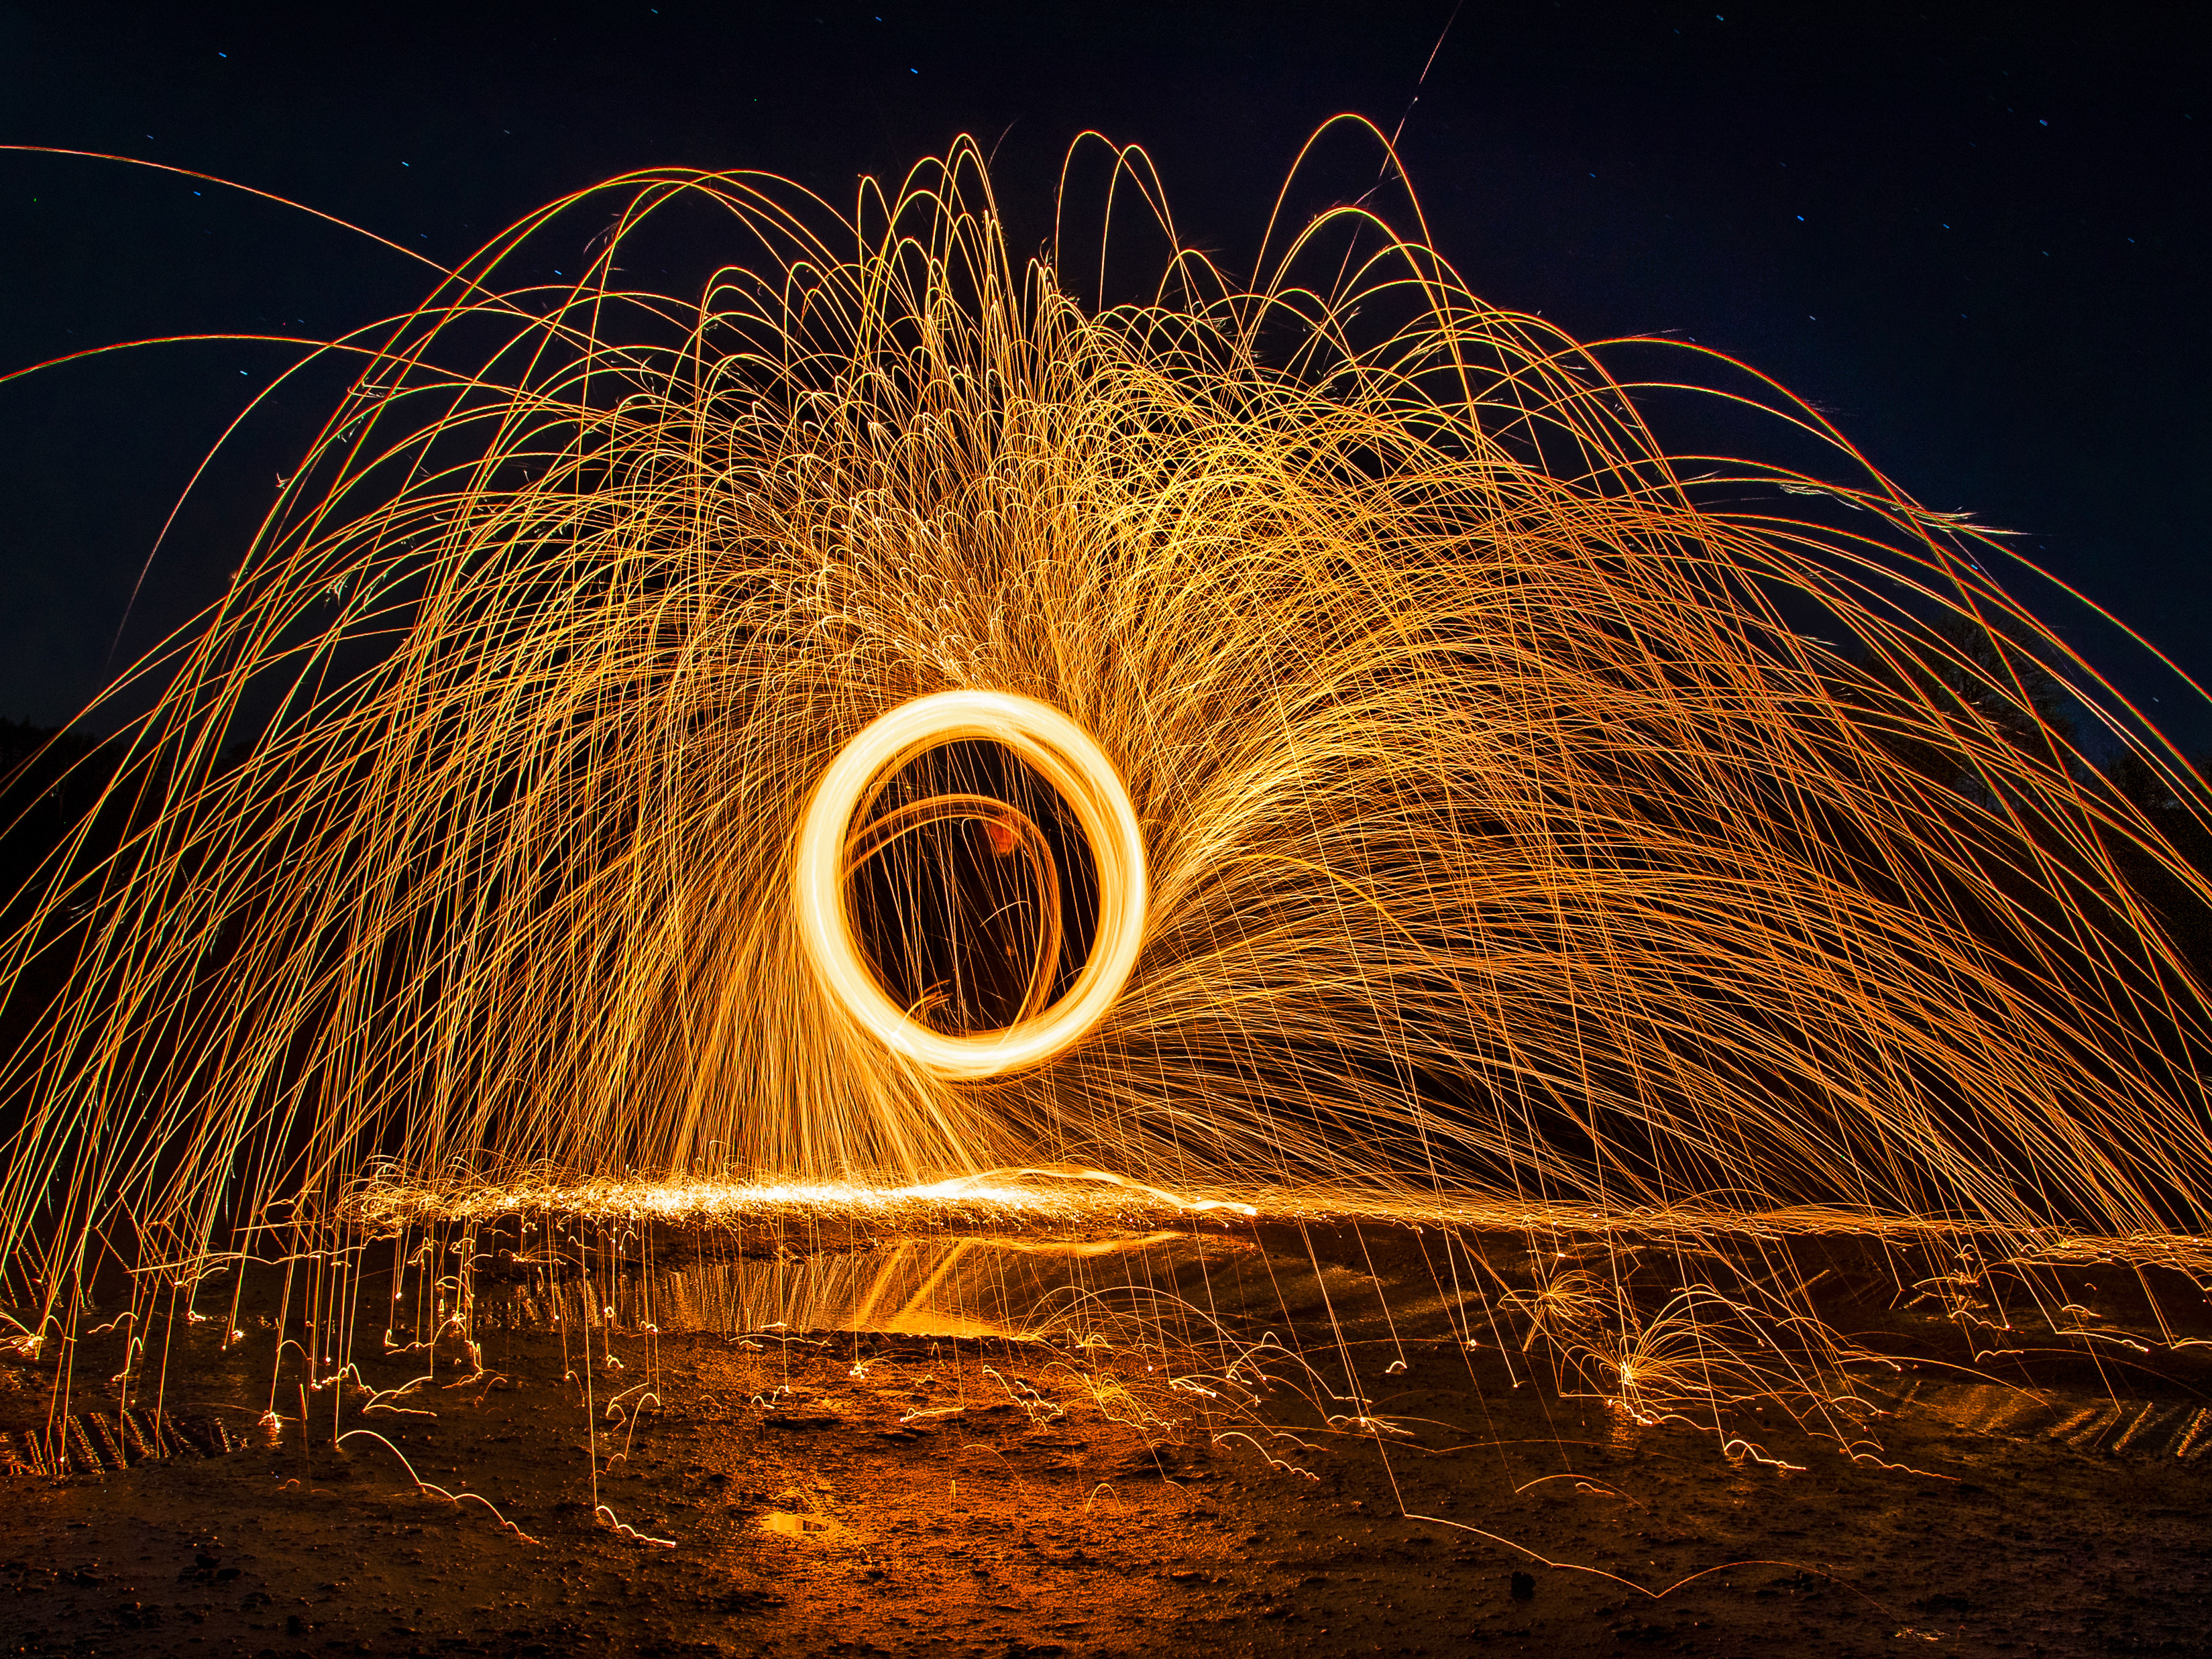
I was going to go out and play with wire wool this evening, but it rained, so I set up my water drop kit instead.
Remembering how my focus was too shallow last time, I checked my Depth of Field calculator, and found the following:
At 400mm, my lens was giving me 0.24cm of focus, whereas at 100mm, that increased to 7.5cm. A huge difference, and I decided to leave the lens on 100mm crop the image more instead. As, by rule of thumb, you generally get only 1/3 of the focal plane in front of the hyperfocal point, whereas 2/3 is behind it, I pulled the focus ever so slightly nearer me. I also felt that it is more important to get the closer droplets in focus than the ones further away.
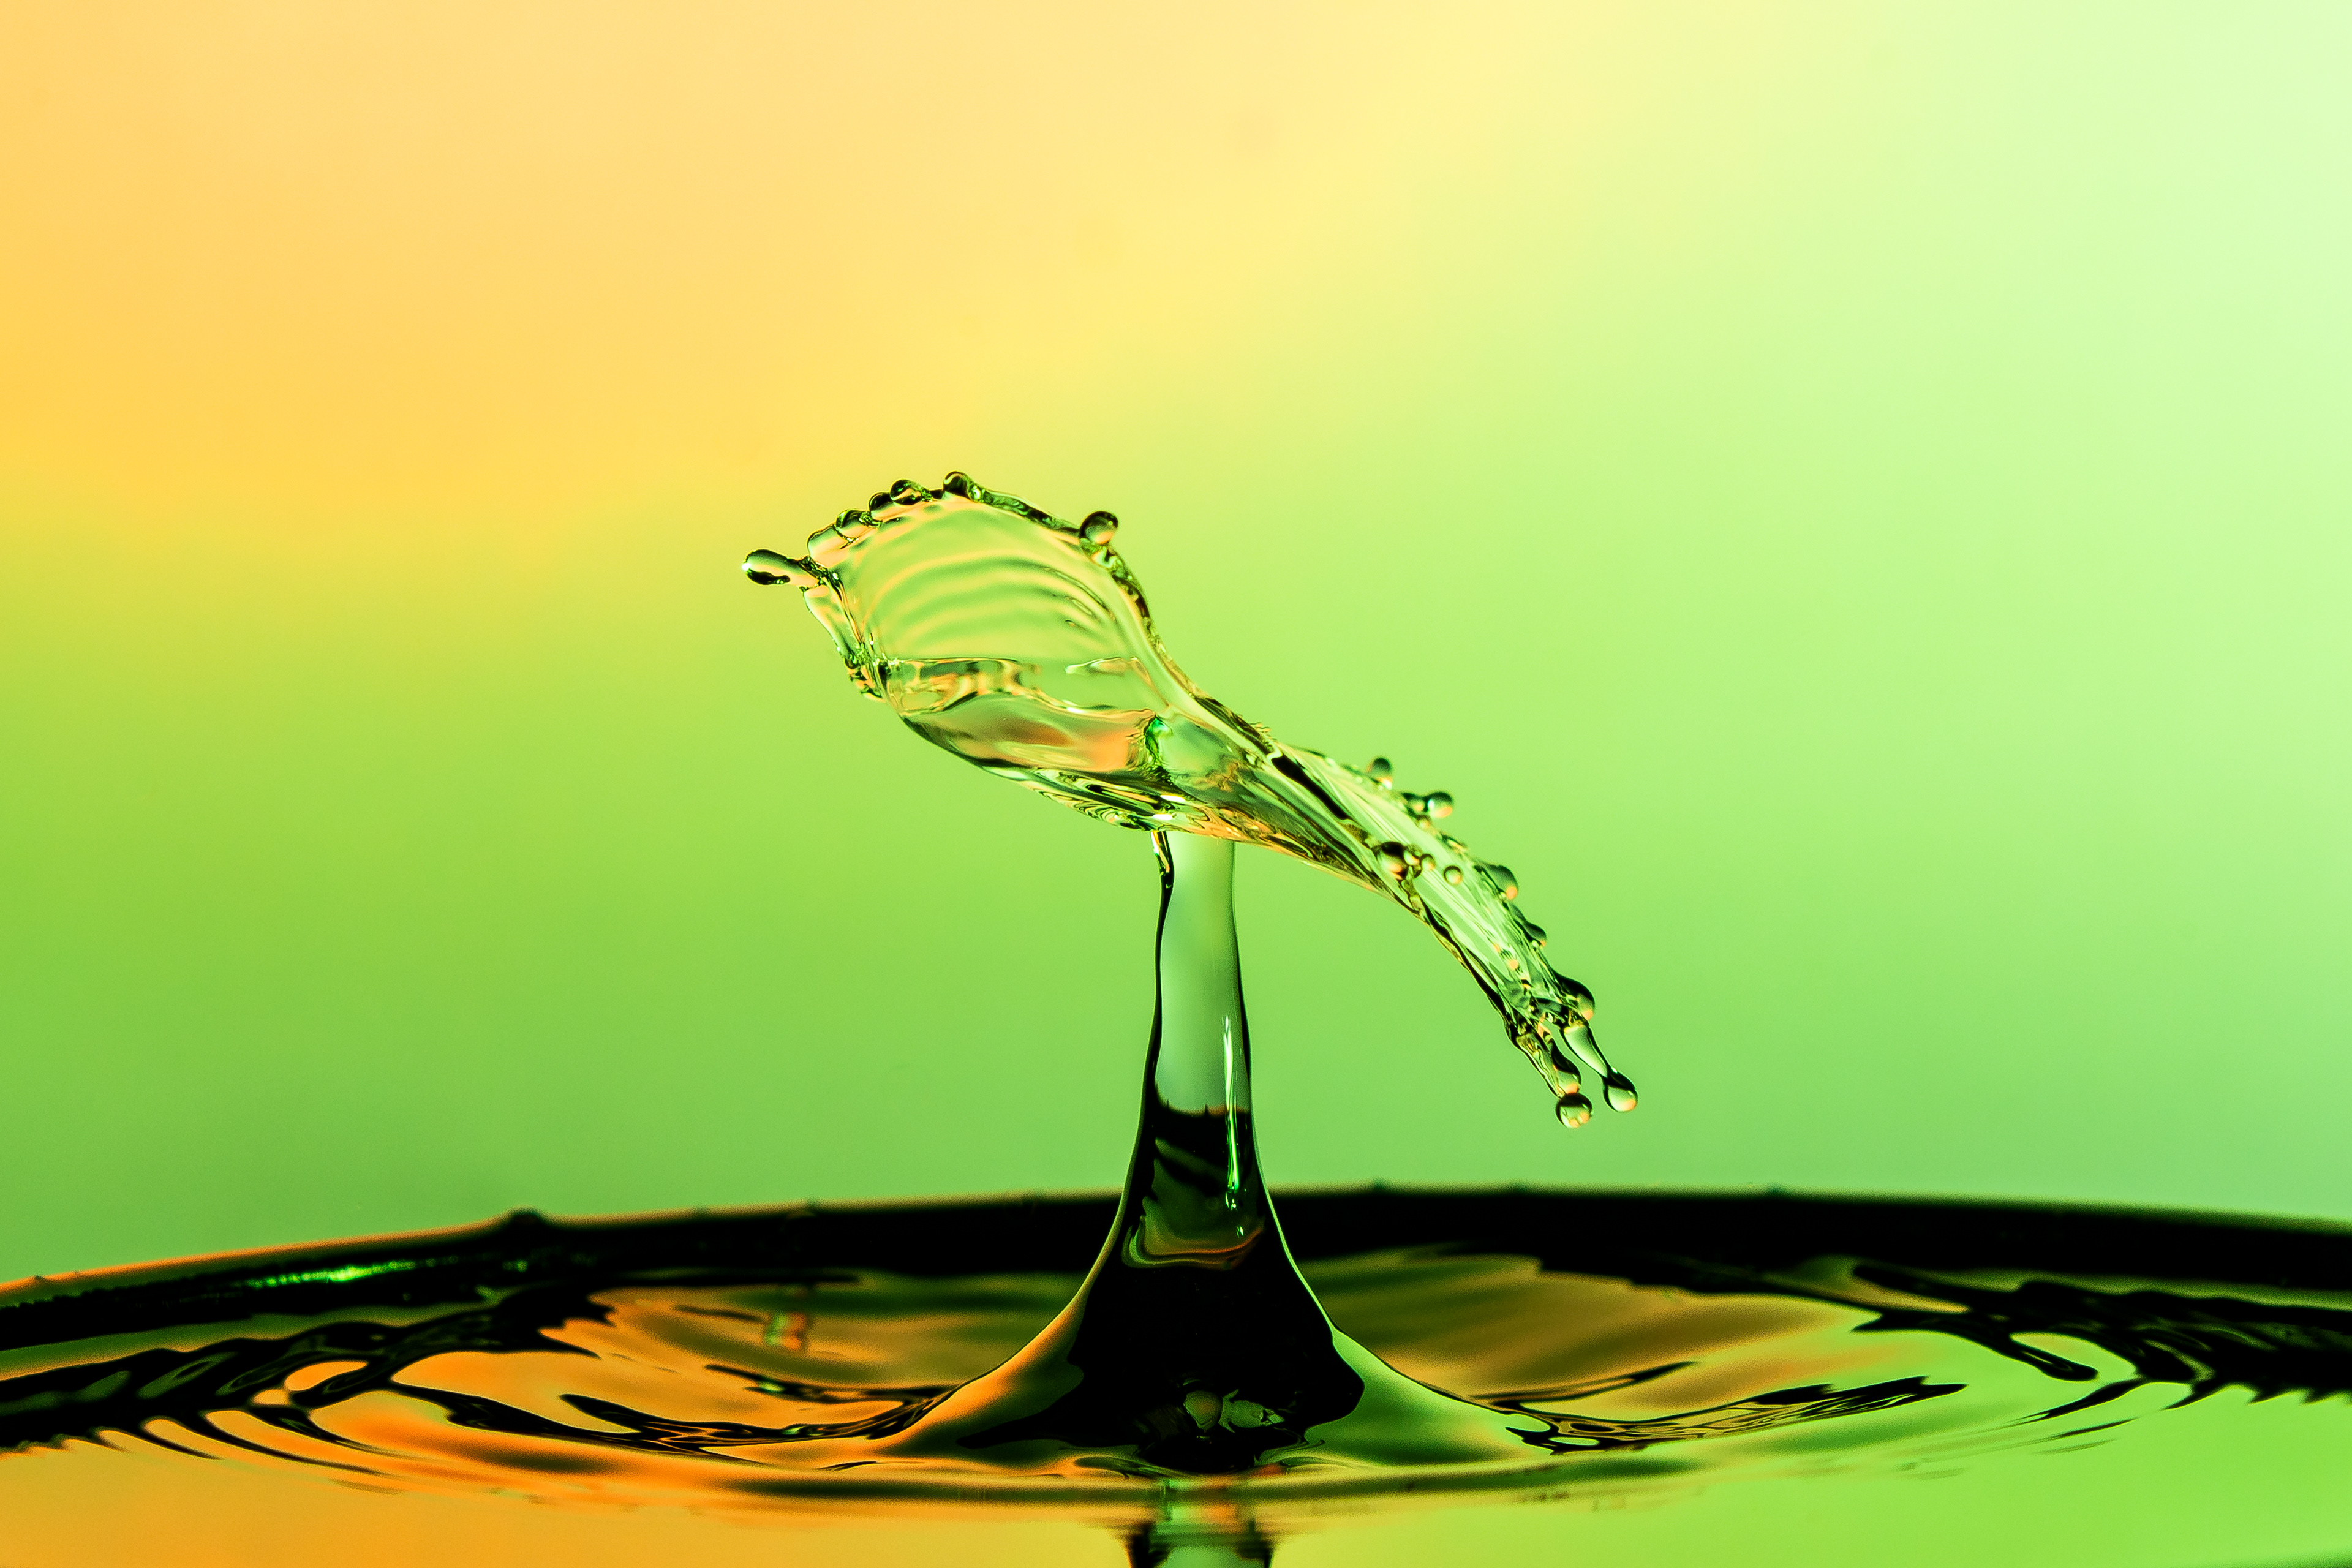
This evening I used just plain water in the dropper, but added plenty of rinse aid to the bottom container. I started off with having baking paper behind the bowl, and backlit the image with a green filter on the flash gun.

I liked the backlight, but not the blotchiness of the paper, so I changed it for a piece of white card.
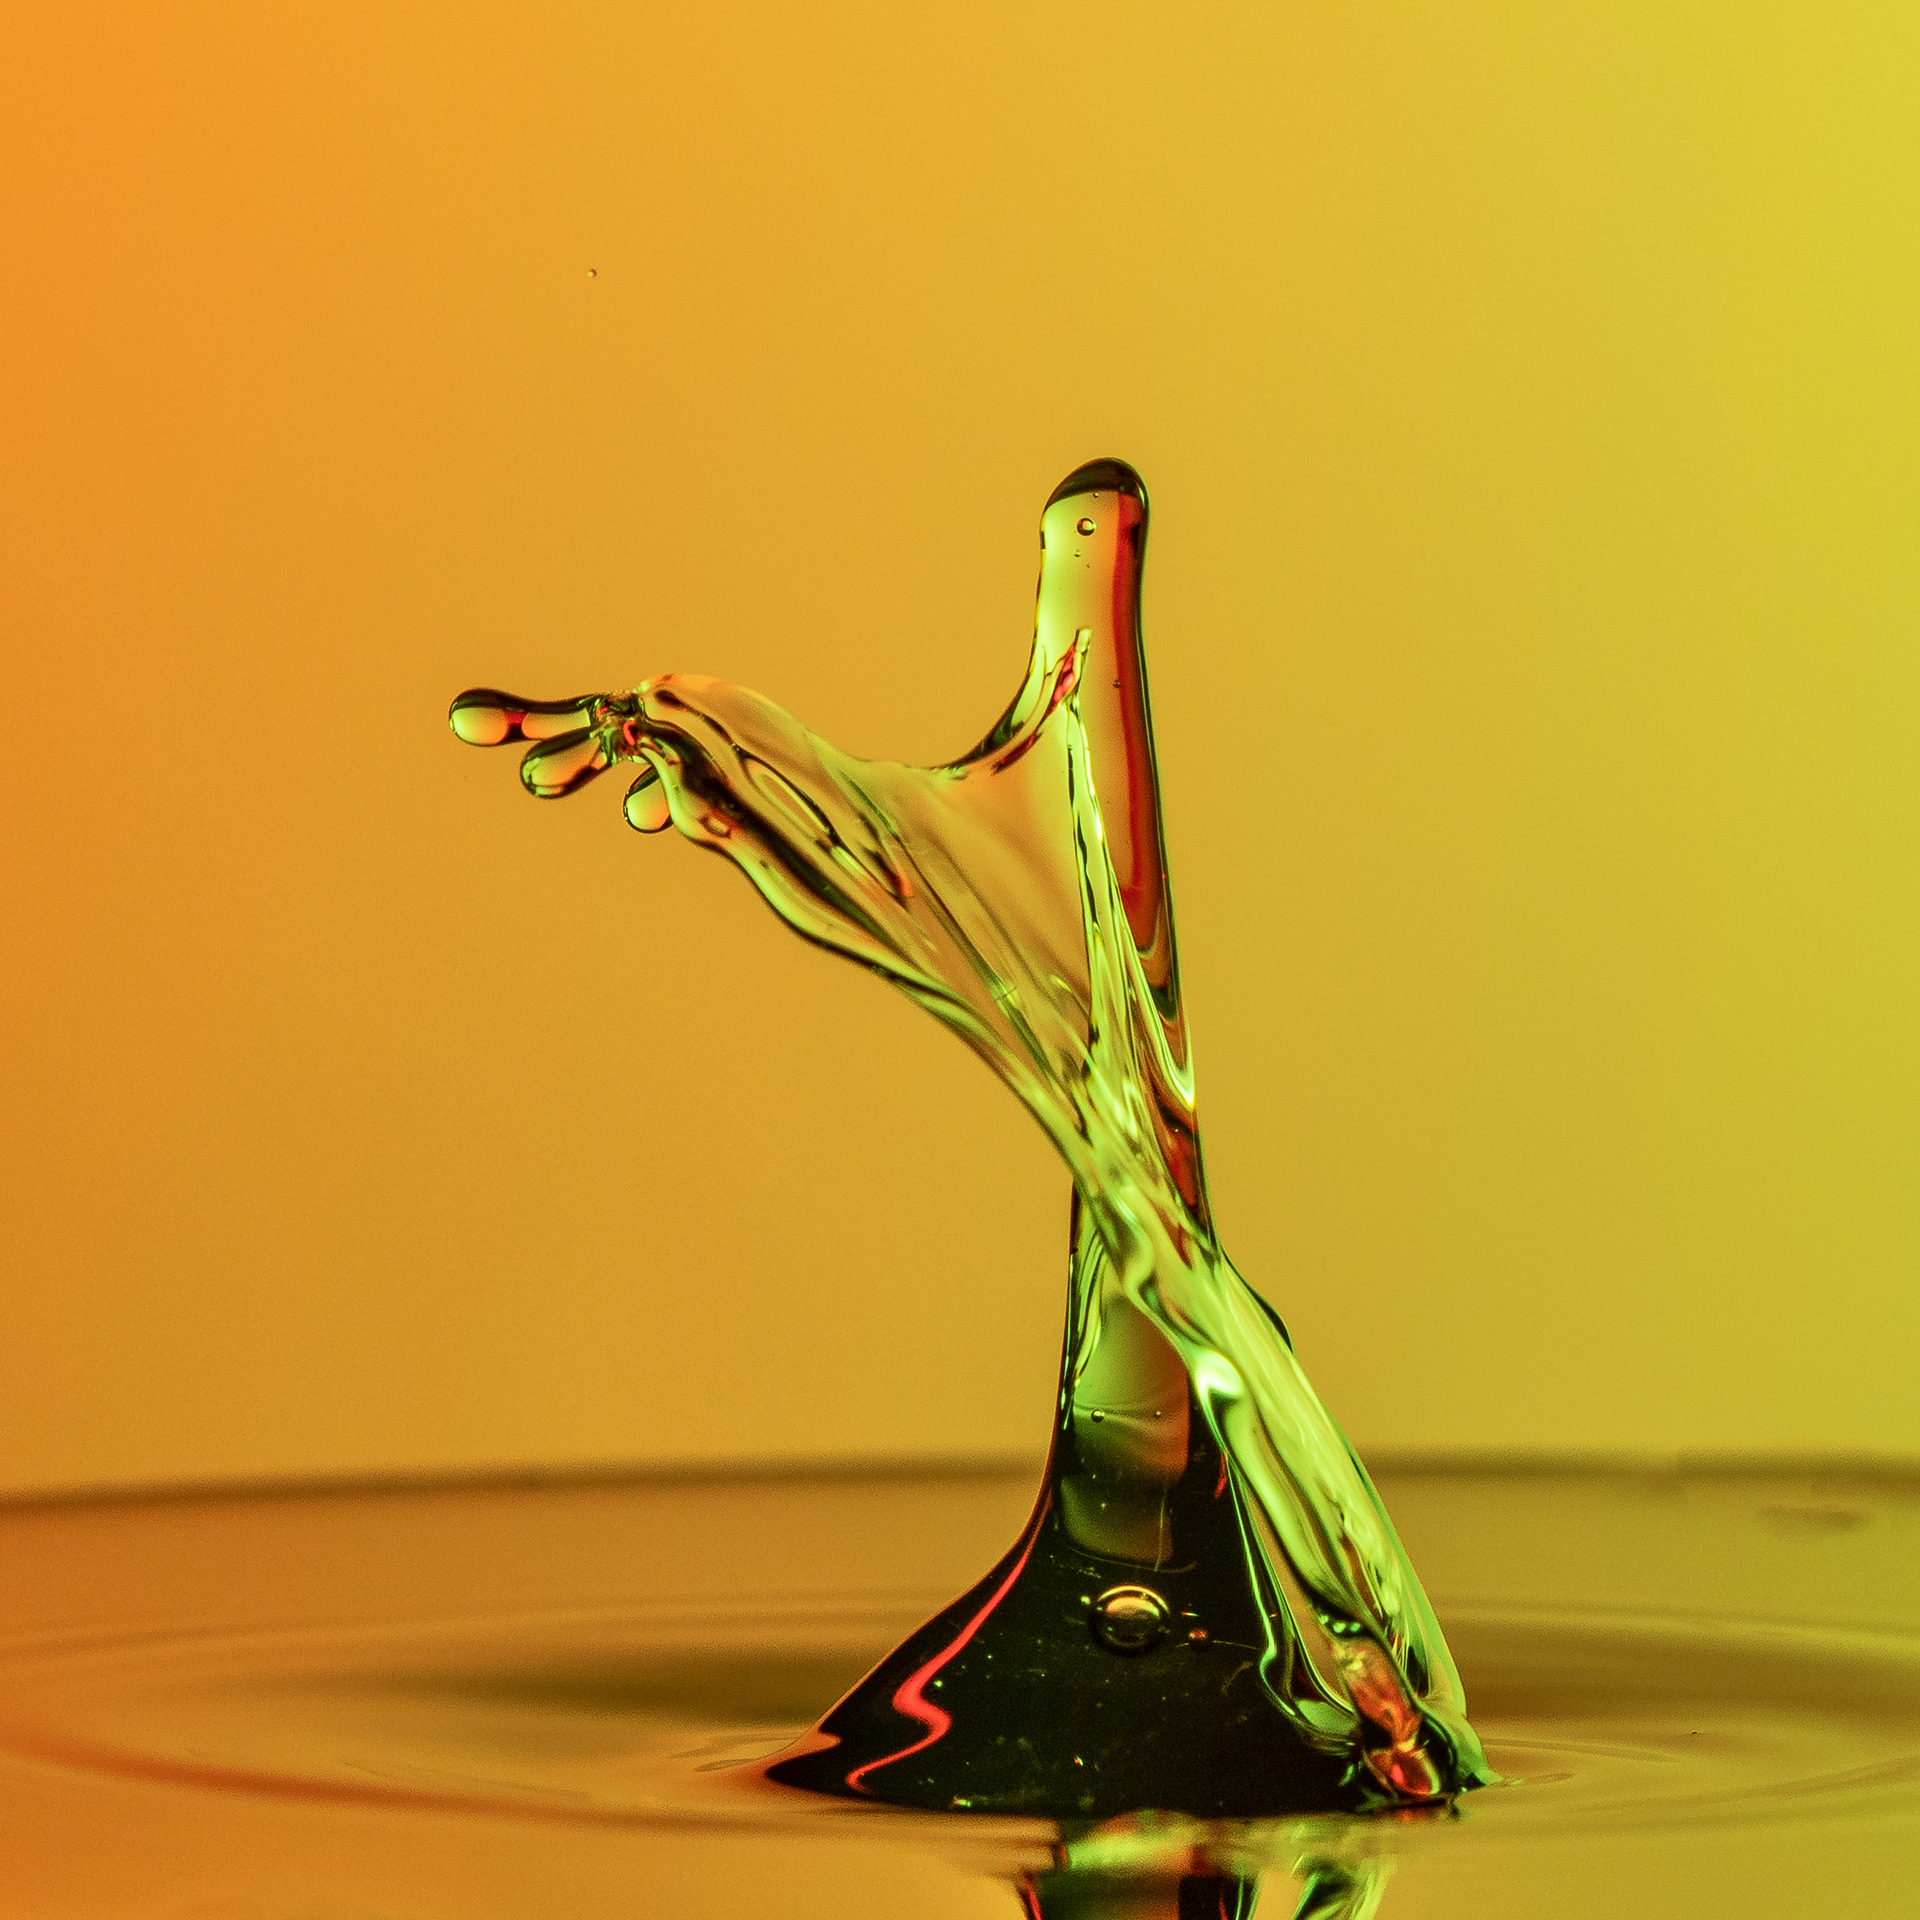
I thought the green was somewhat insipid, so added another flash gel; and also a red one to the other speedlight.
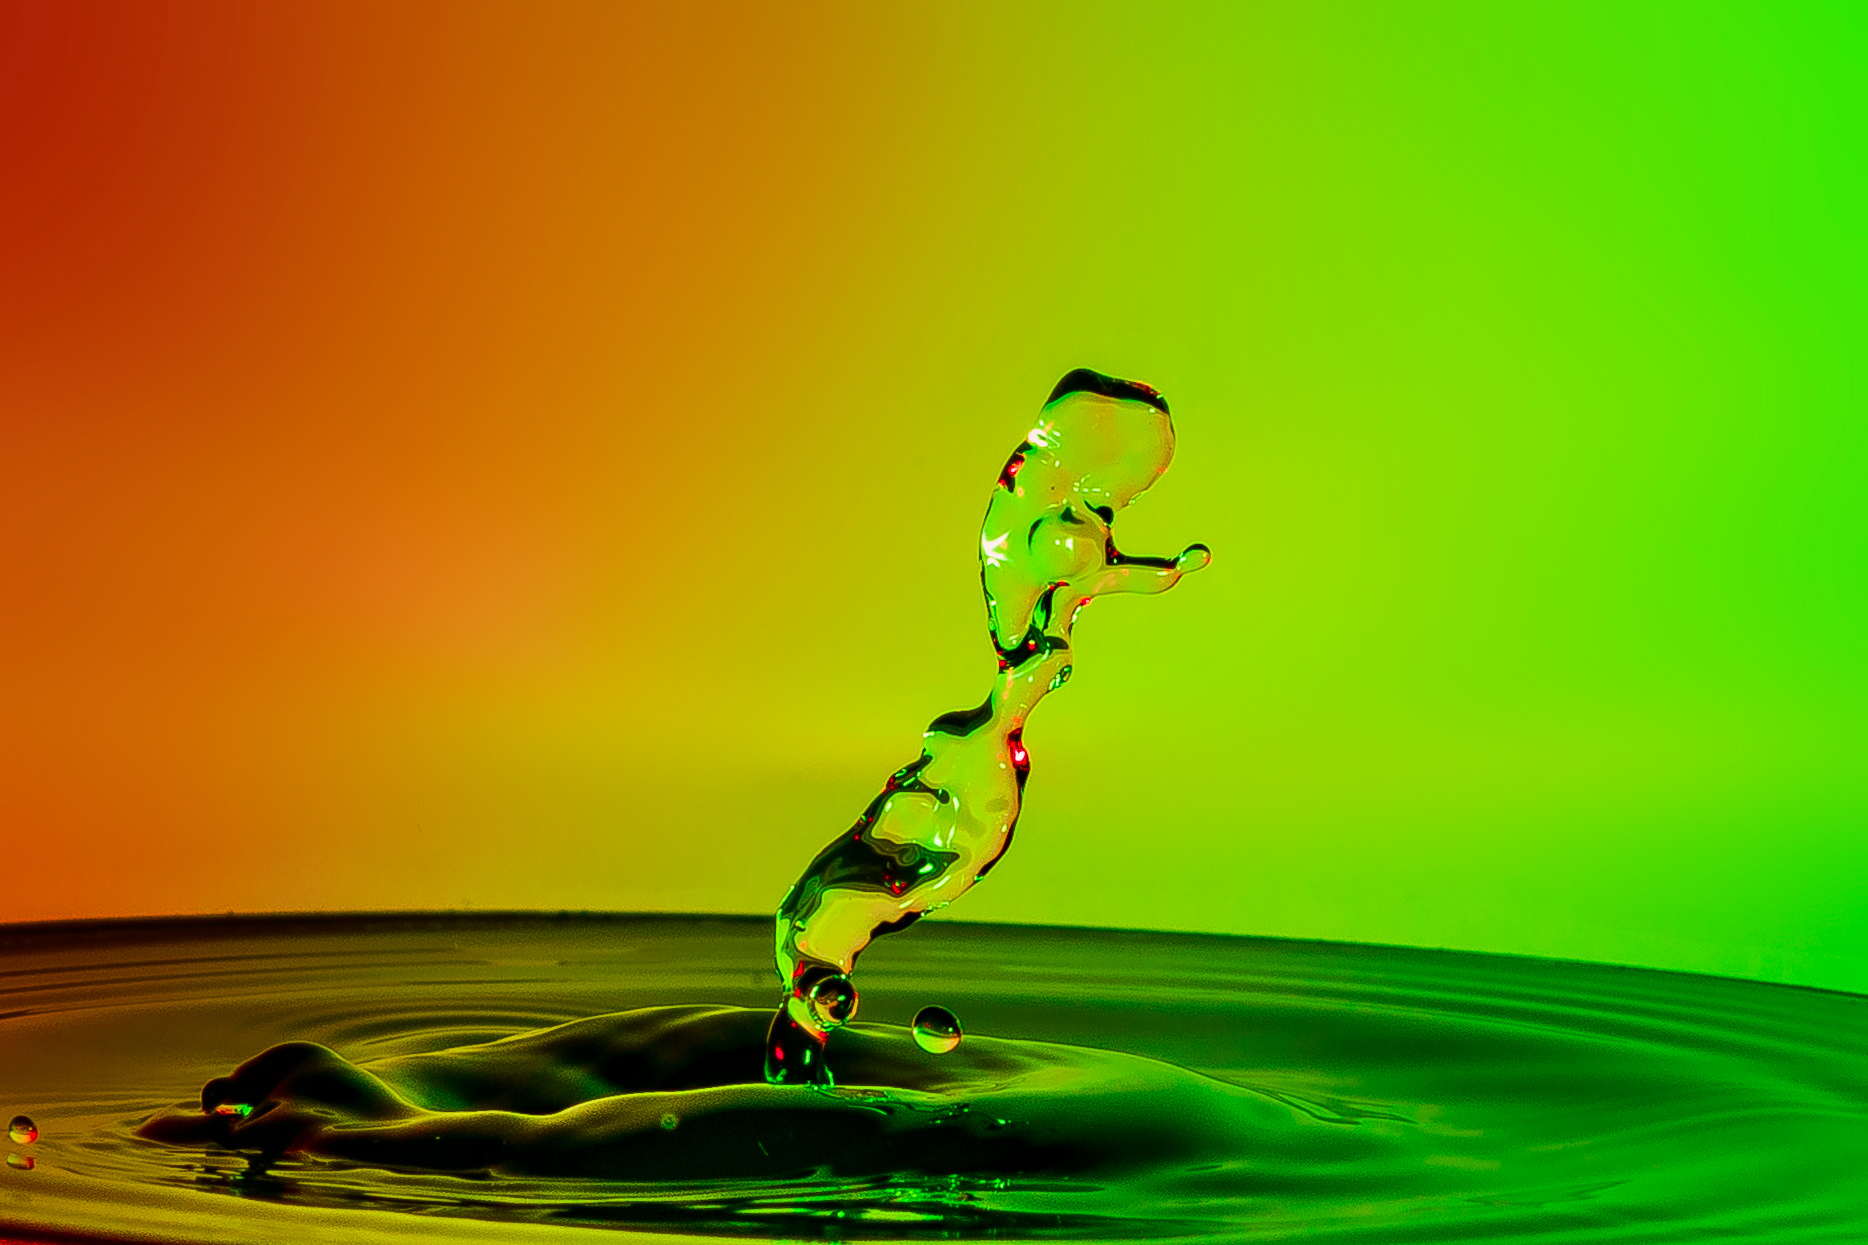
It took me a long time to get any sort of decent shapes this evening, getting the right balance between the size of the two droplets and the delay between them.
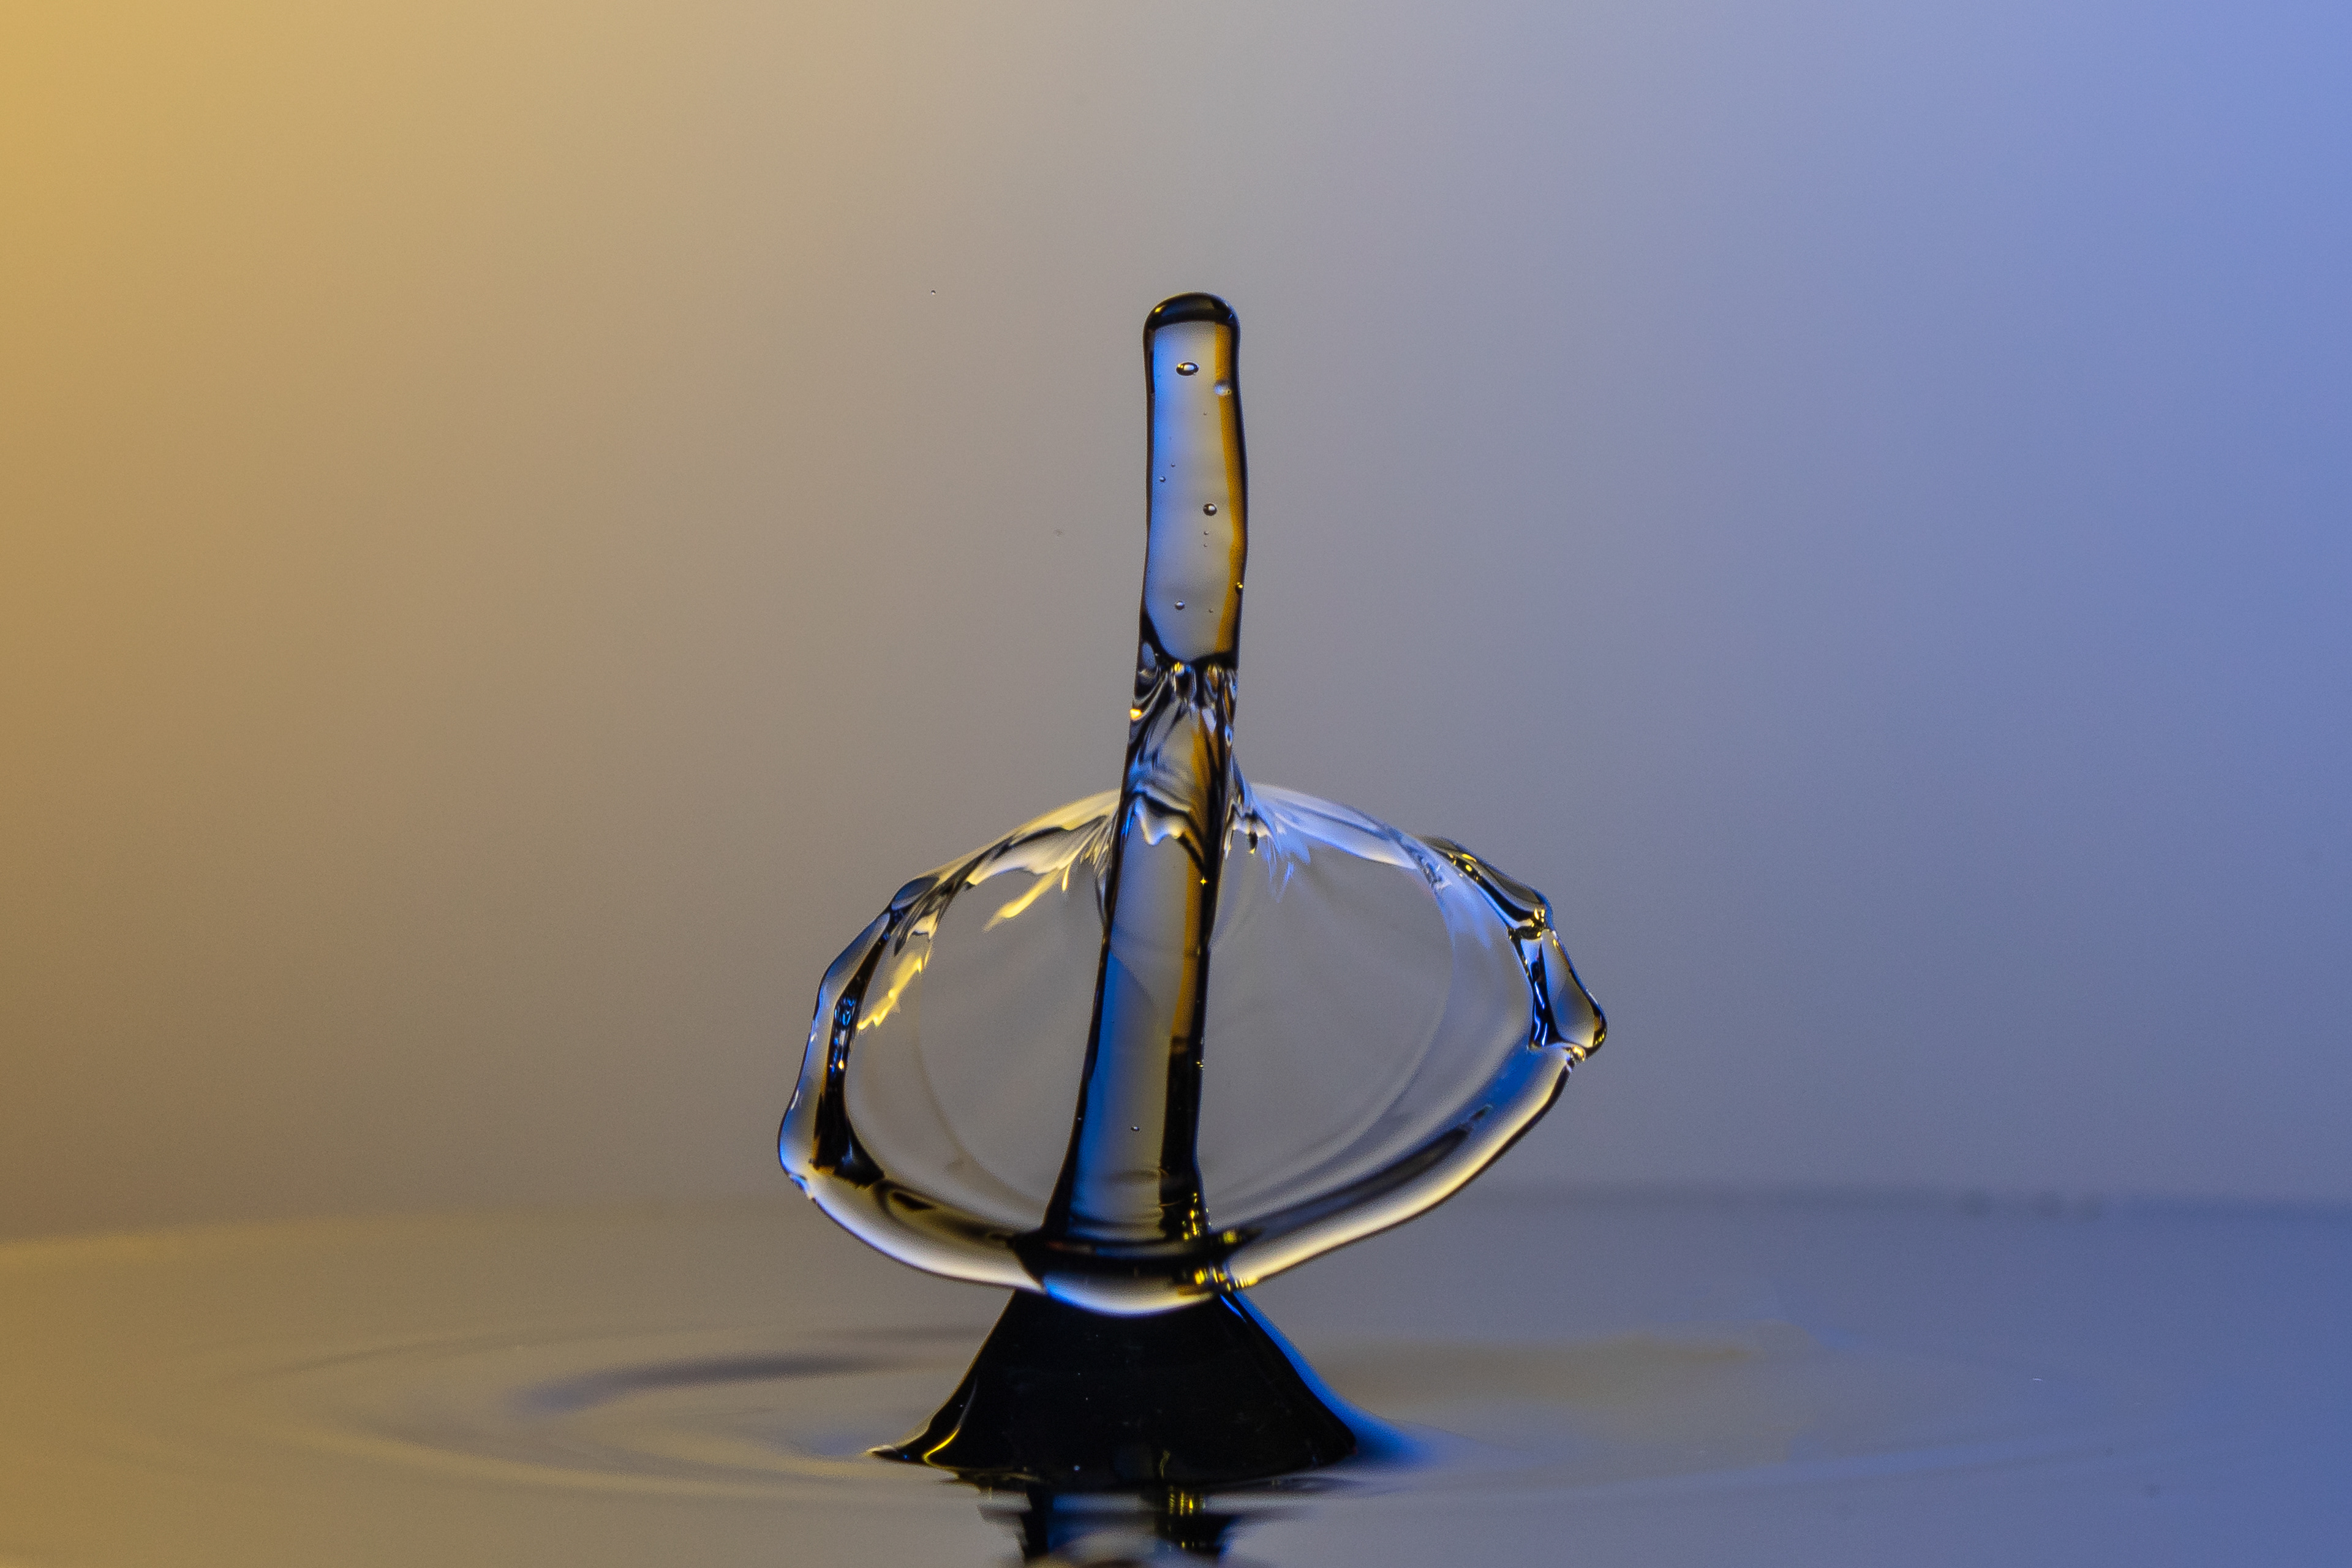
But once I did, I got some very different shapes this time, not just the usual mushrooms.
But once I did, I got some very different shapes this time, not just the usual mushrooms.


I bought a large selection of different food colourings on line, and also ordered some different coloured background cards, which haven't come yet.

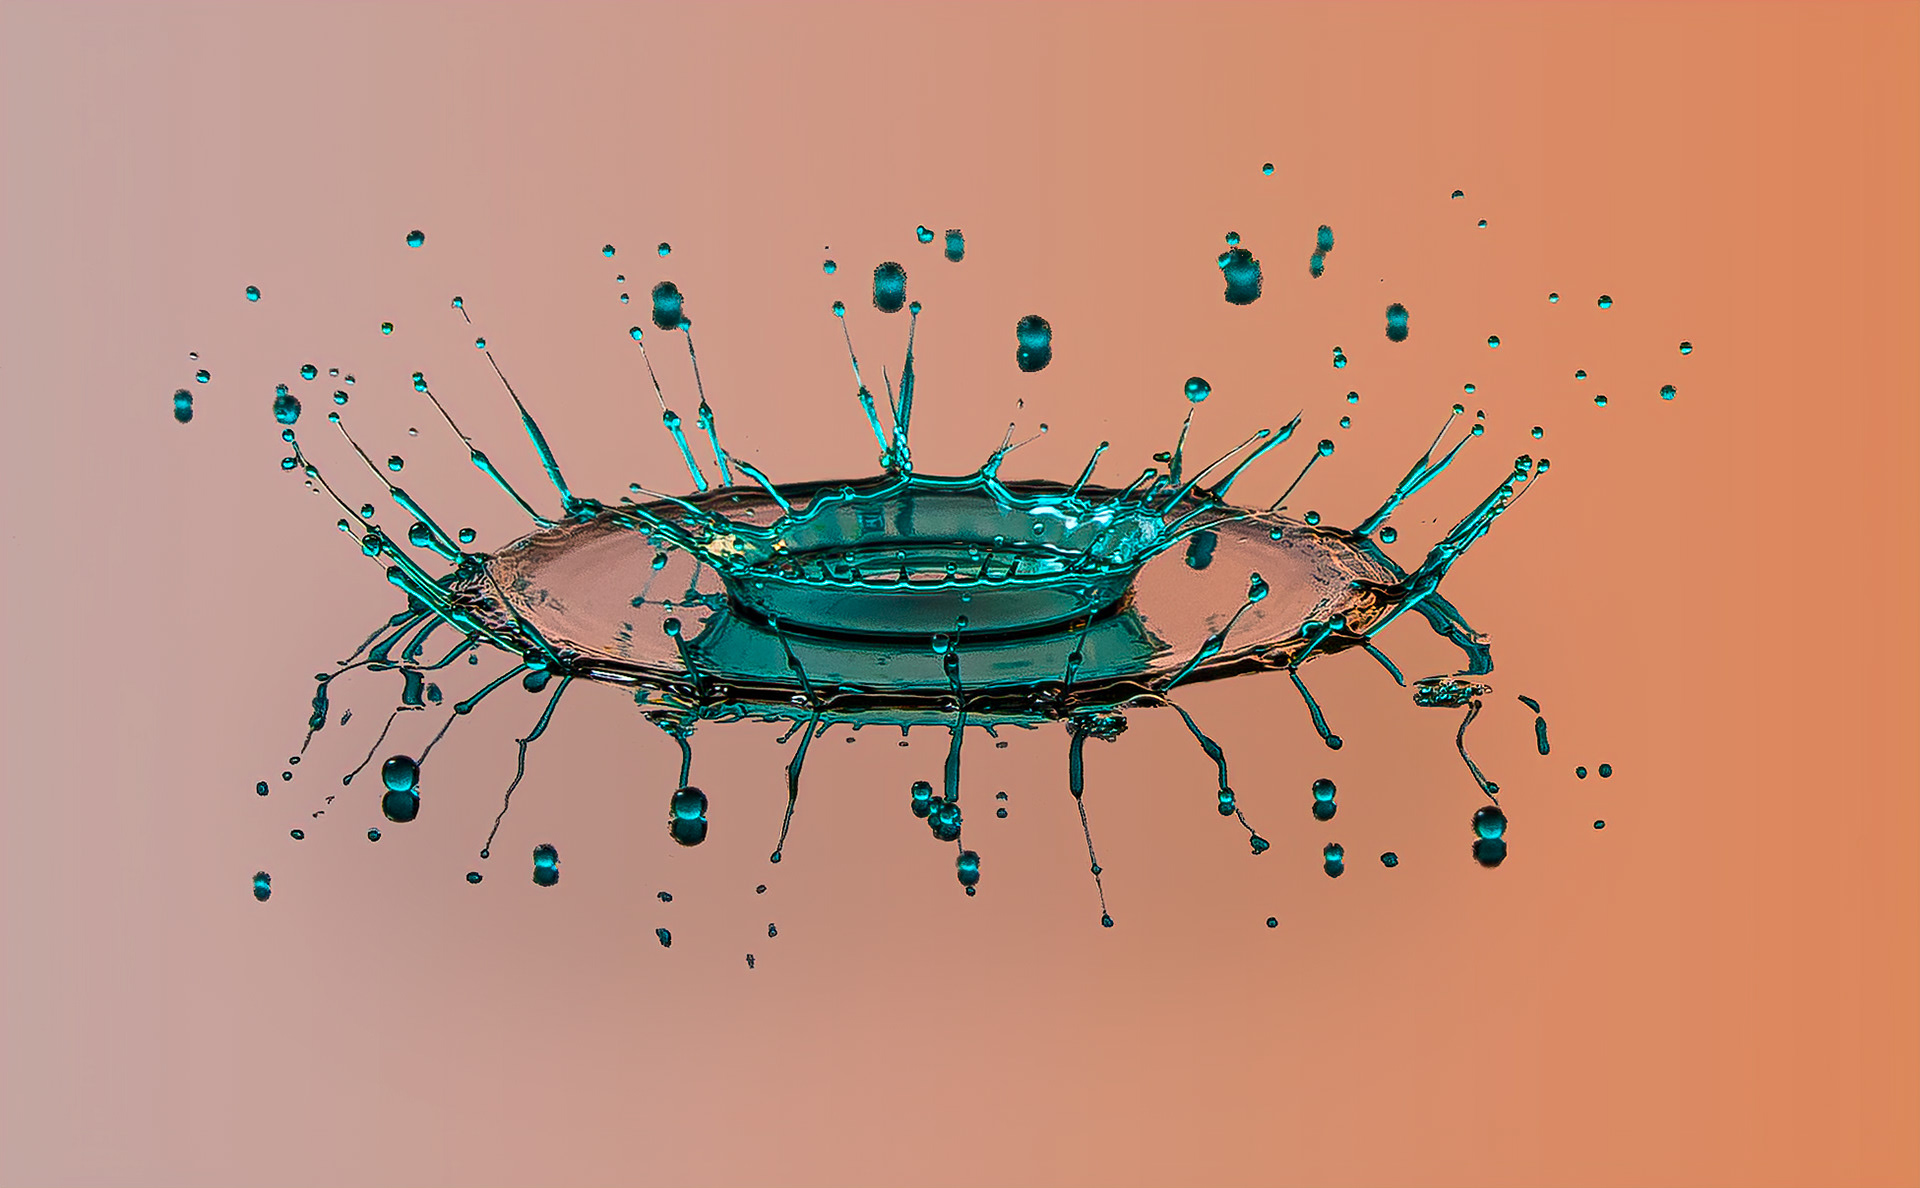
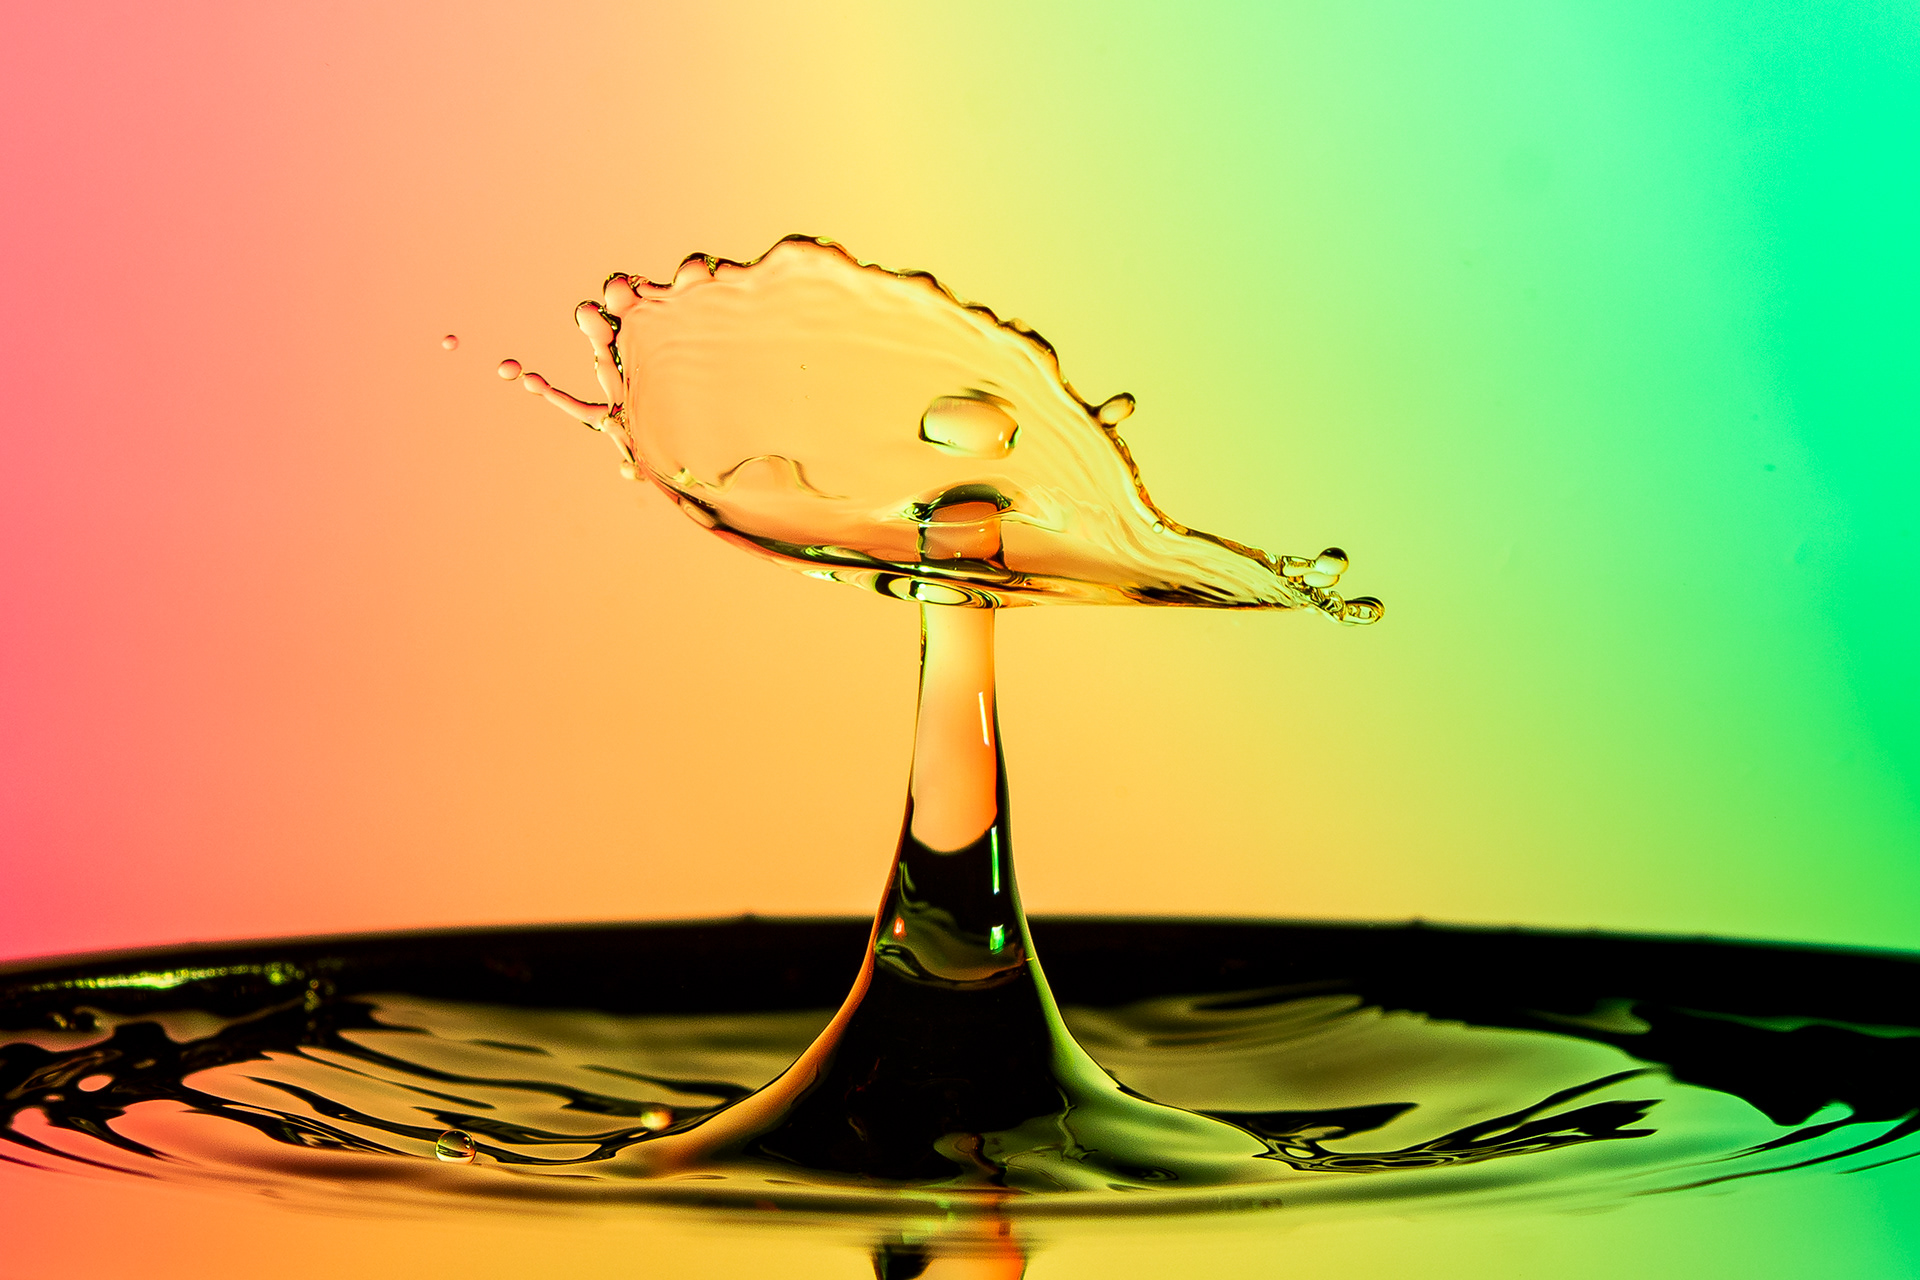
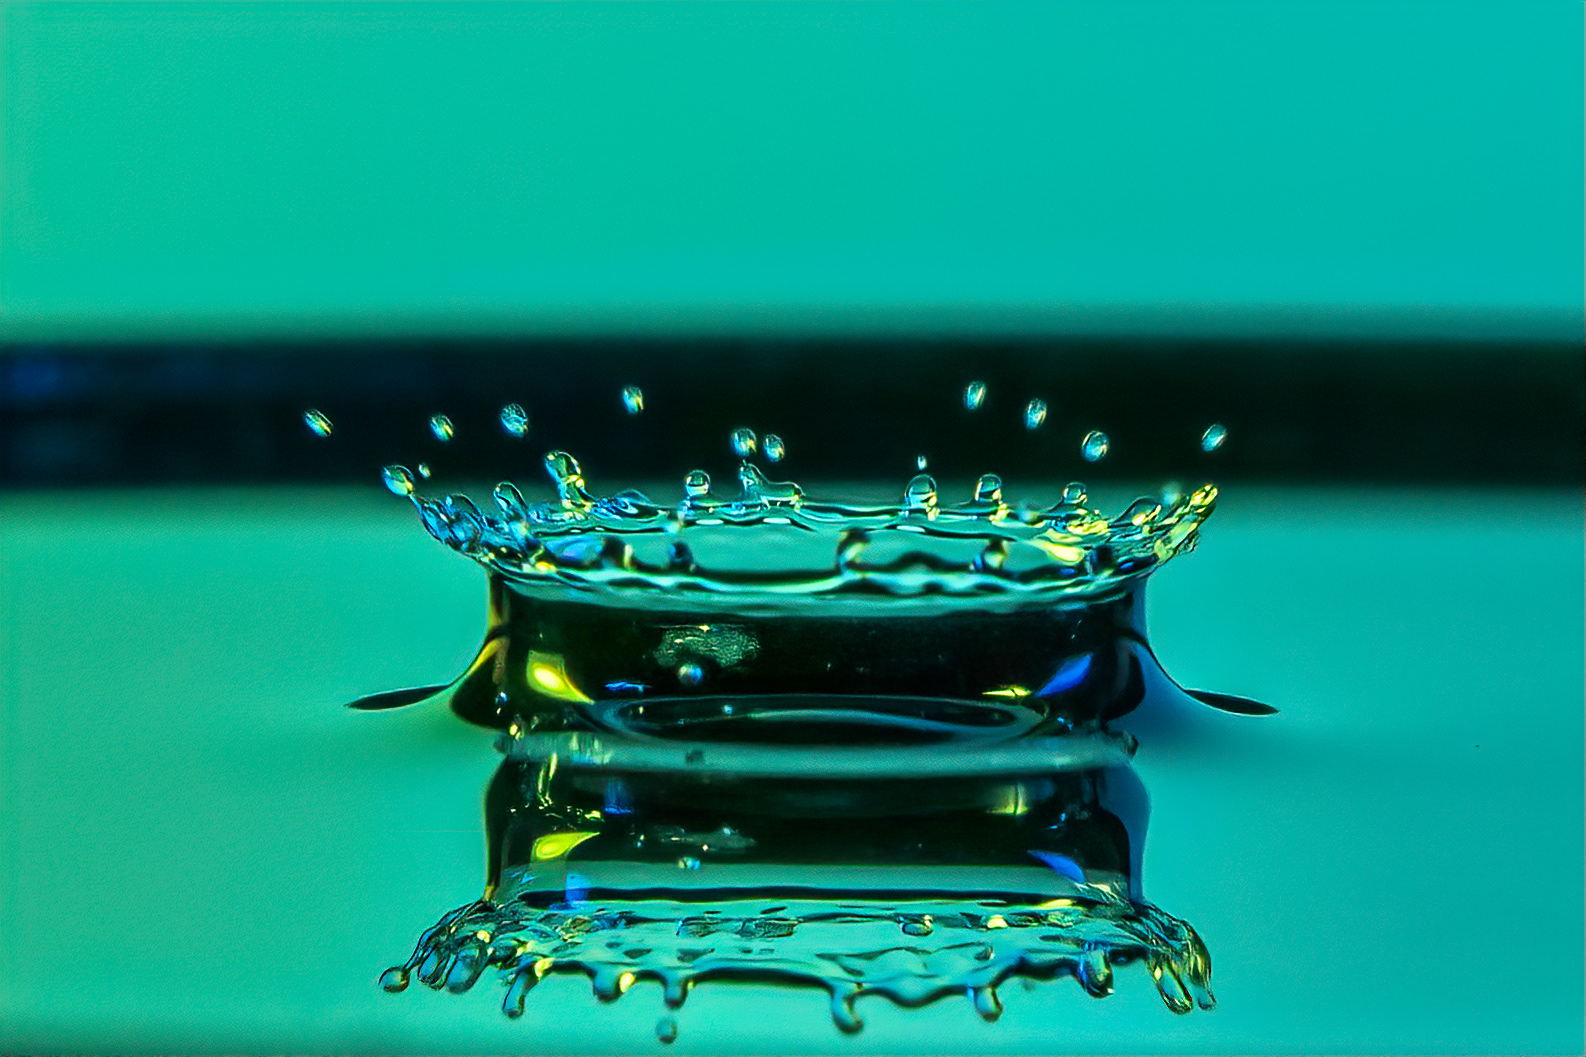
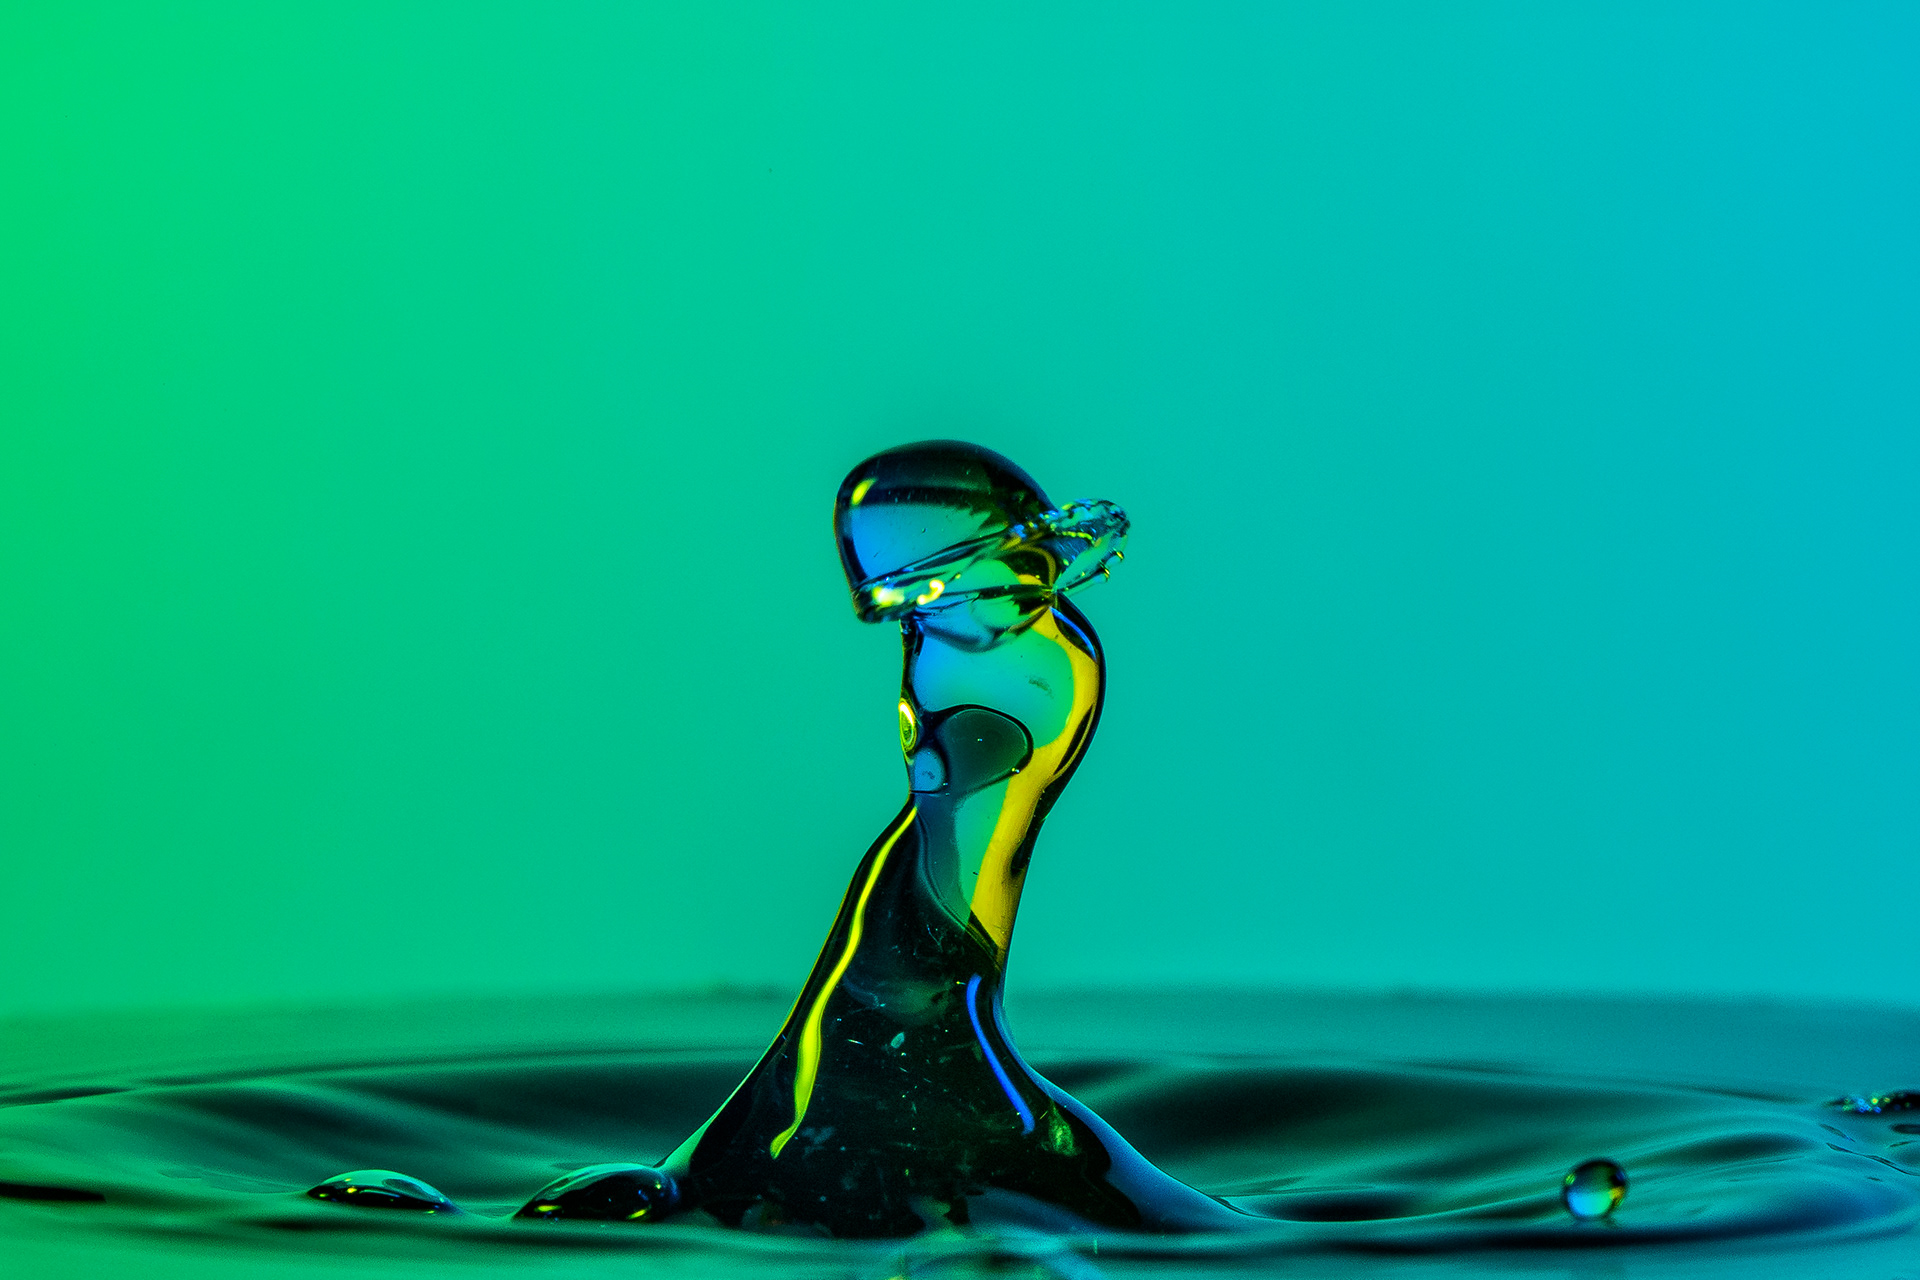
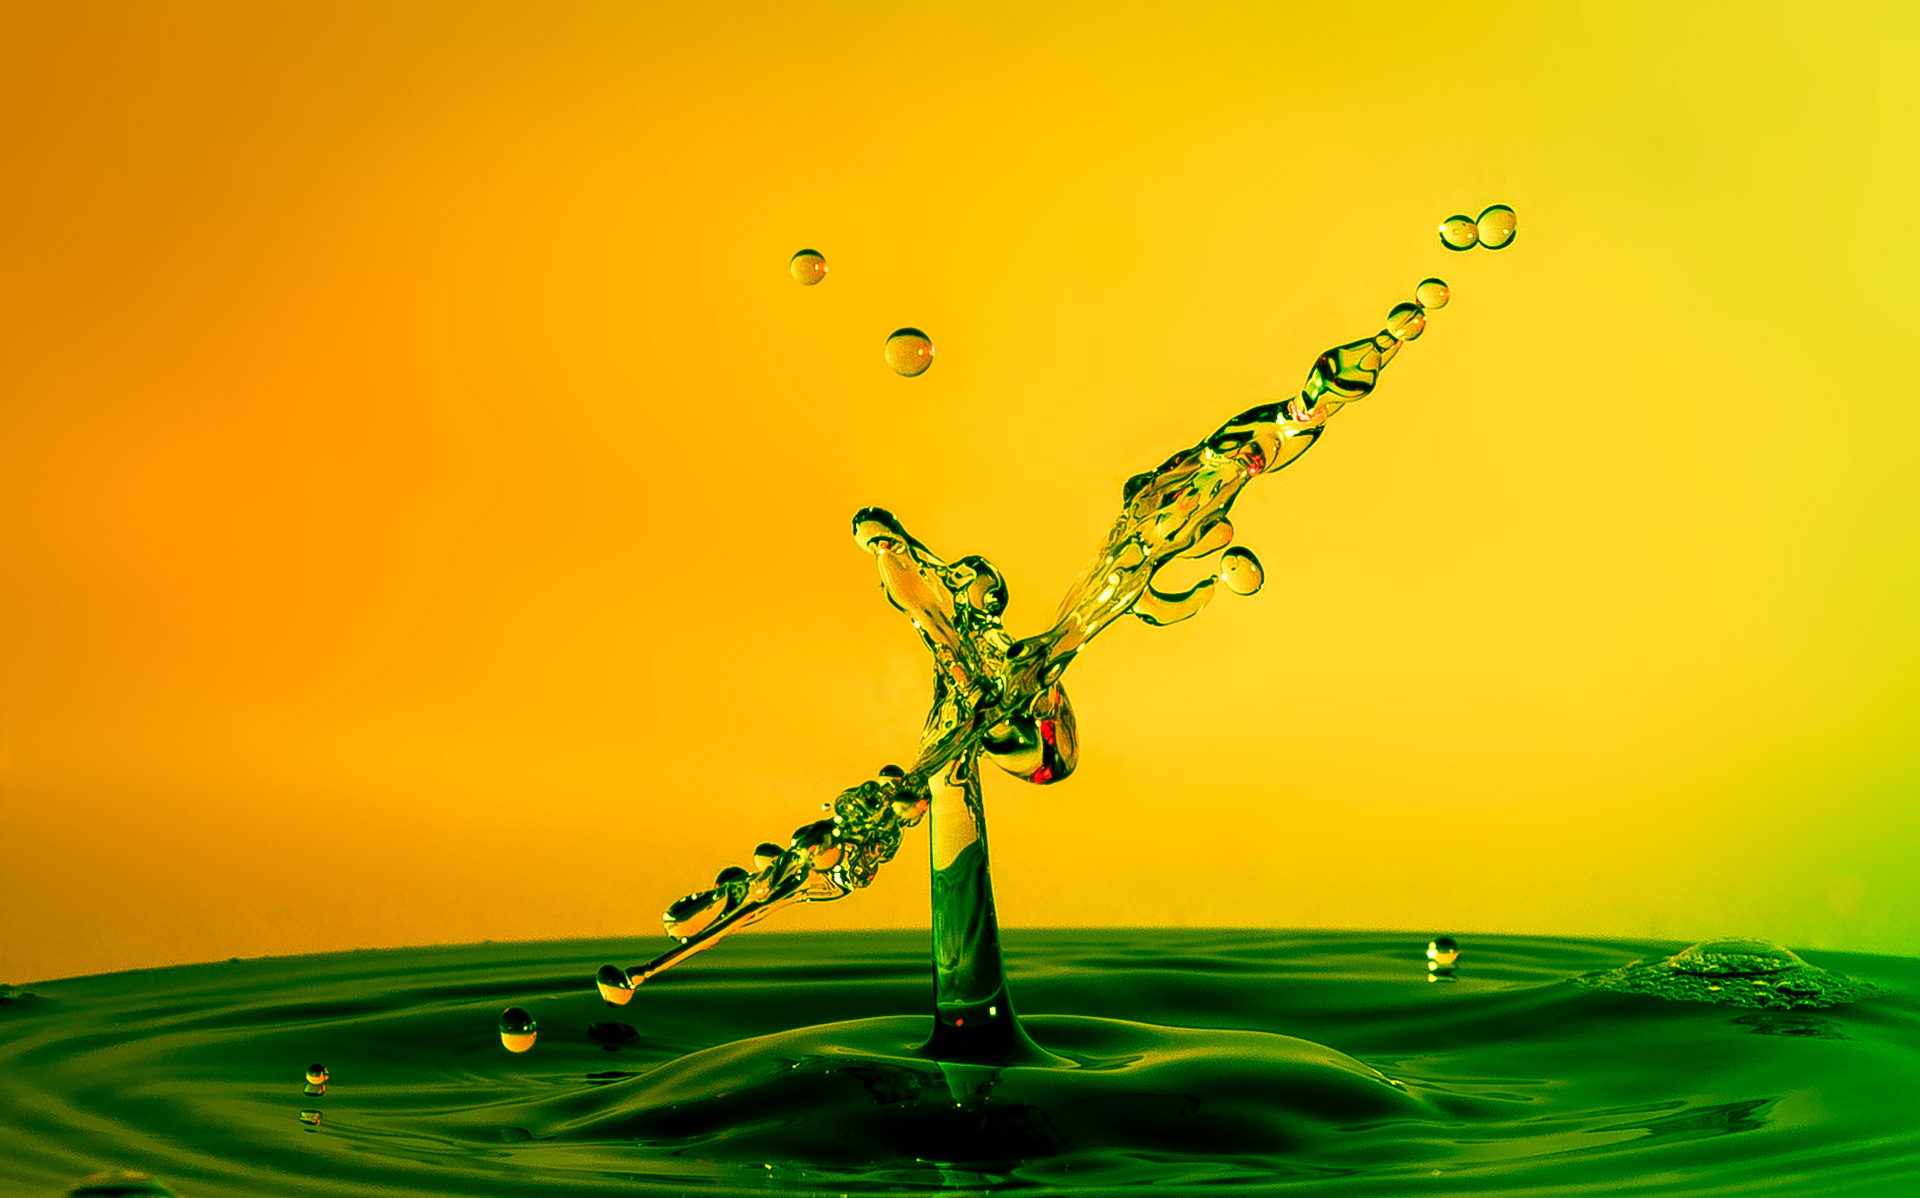
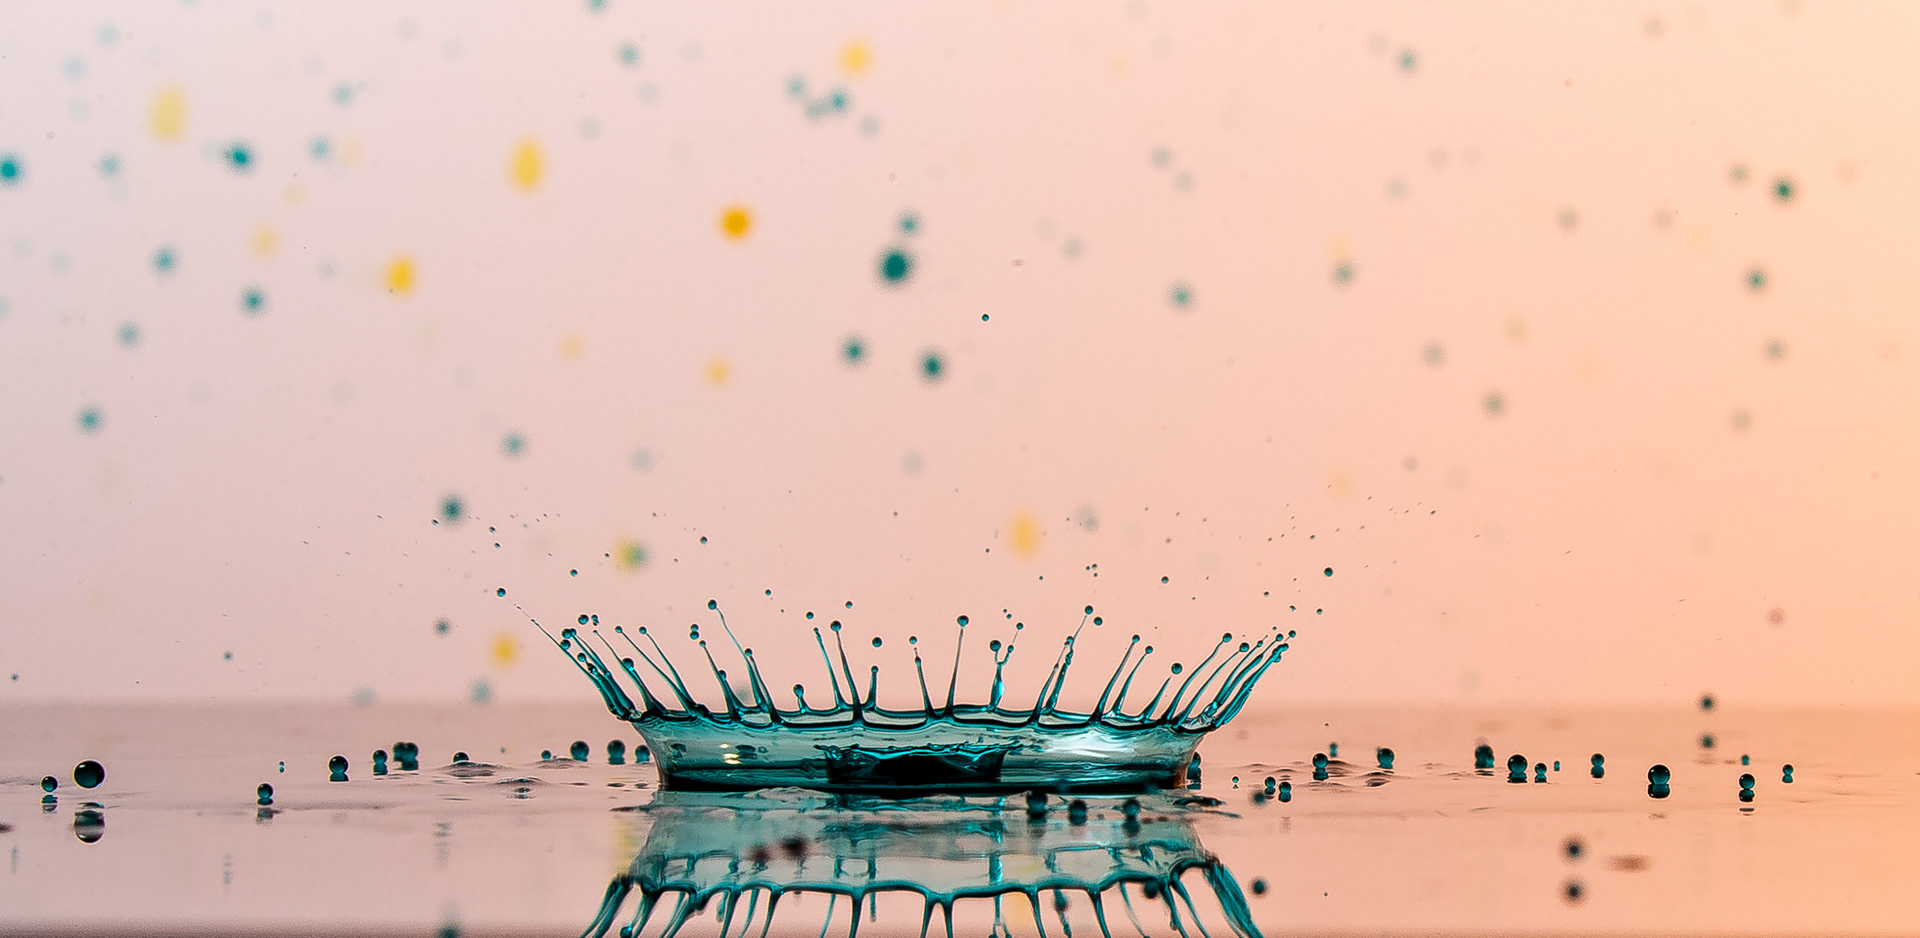
For my next session I wanted to try and create some little crowns, so set up my dripper to land on a sheet of black plexiglass with a white card as background. I added green food colouring to the dripping water, a drop of yellow on the glass for the drop to splash onto, and a peach coloured gel to one of the flash guns. This resulted in a couple of very interesting images.

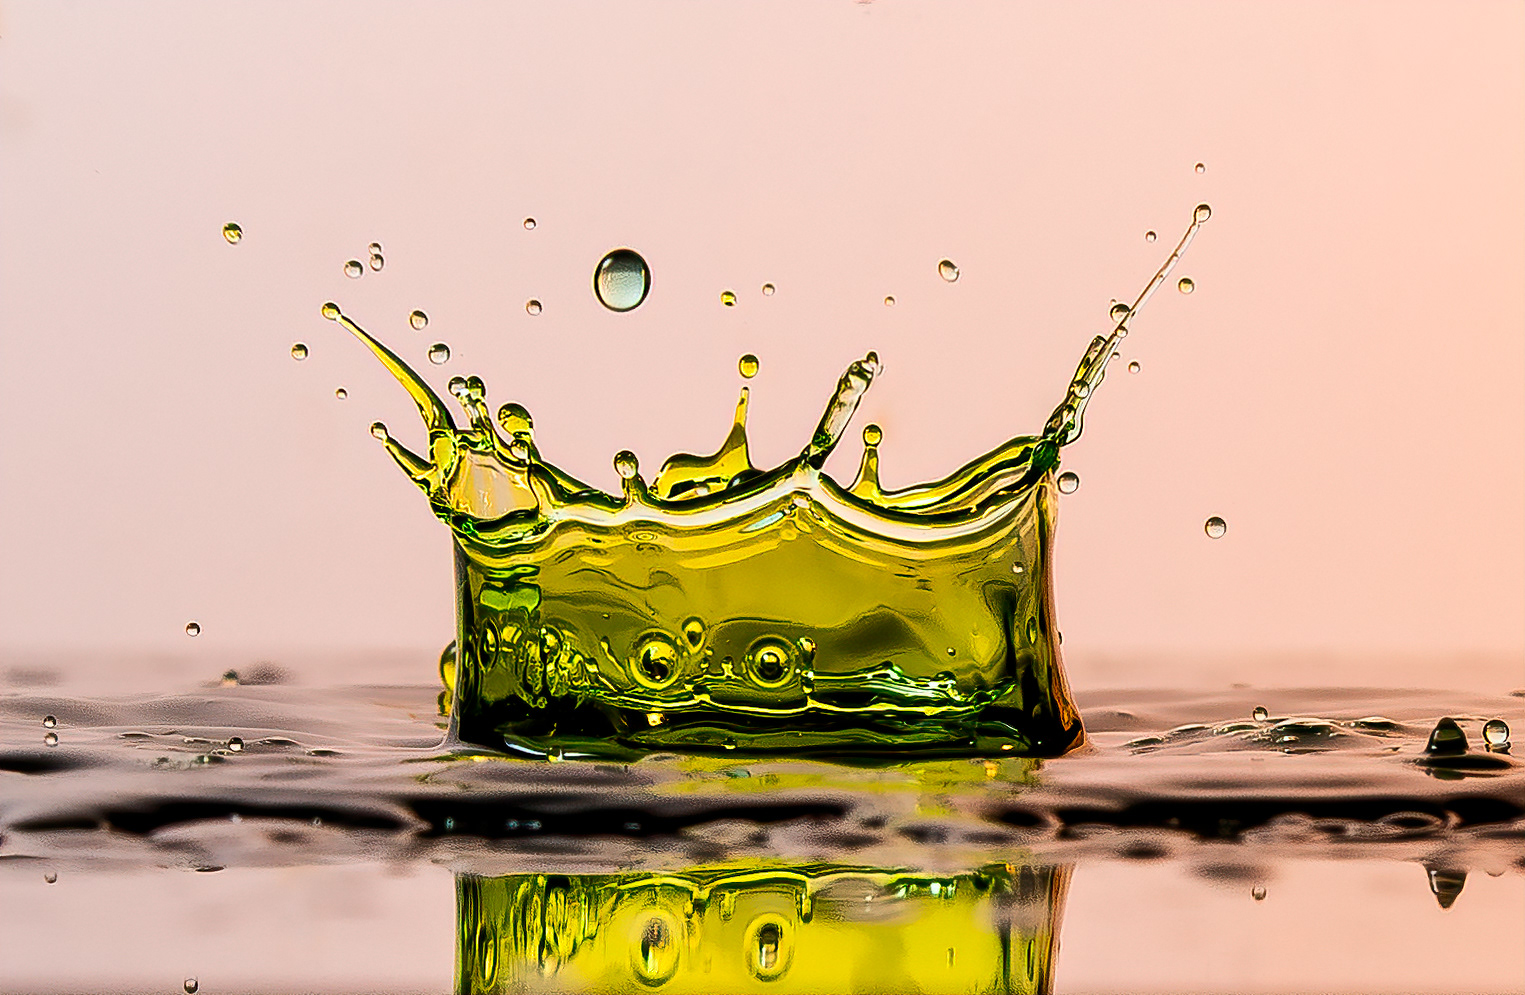
As the yellow mixed with the green and was somehow 'lost', I added some teal colouring to the green drops, which gave me some great crowns, with water splashing everywhere. Lots of cleaning up to do in Photoshop, but I am quite pleased about how they turned out.

Being too busy looking at the results on the LCD screen on the camera, I didn't notice how much water had accumulated on the plexiglass until I had a green flood all over the dining table. Oops.
I clean up the mess as best as I can, and start again with a blank 'canvas'. With no water for the drop to land in, it splashed droplets everywhere, and the background card is soon completely ruined.
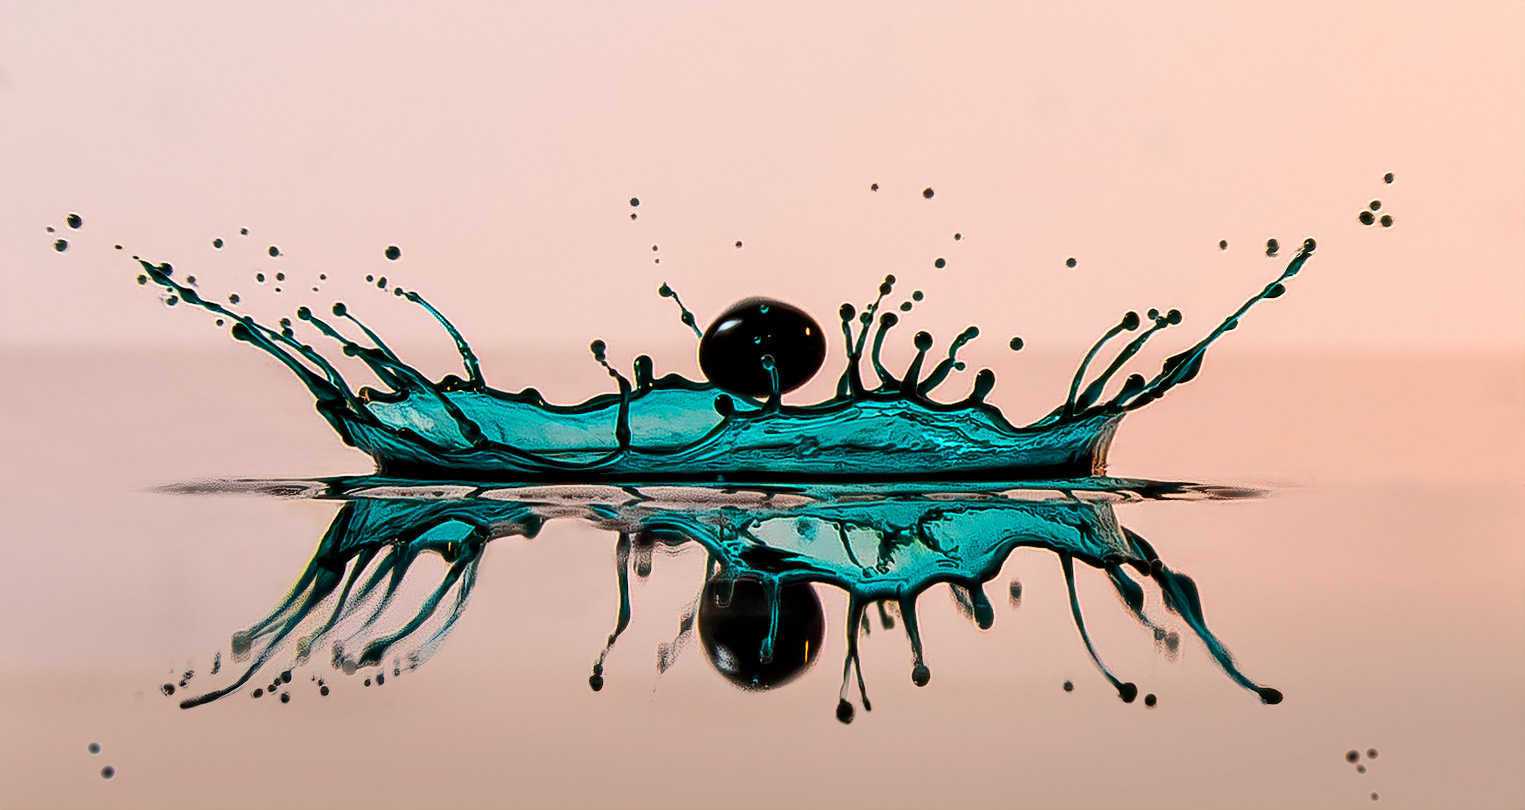
My next move is to raise the camera somewhat so that I can see more of the reflection, as well as look inside the crown. I was a little bit disappointed when I saw these on the back of the camera, but when cropped and tidied up in Photoshop, I am rather pleased with them!